Do you have an overexposed sunny side and an underexposed shadow on the other side of your image? Or maybe a well-exposed photo that needs more vibrancy? There’s a tool so versatile that can help you fix any of these problems and more: the Soft Light Blend Mode.
What are Layers?
Imagine your photo as a printed one. Then you take a sheet of acetate and draw on it. Then you take another sheet and you put it on top of the others and obscure a part of it; and so on, and so forward. Each acetate sheet is a layer and you can make as many alterations as you want on top of your original this way.
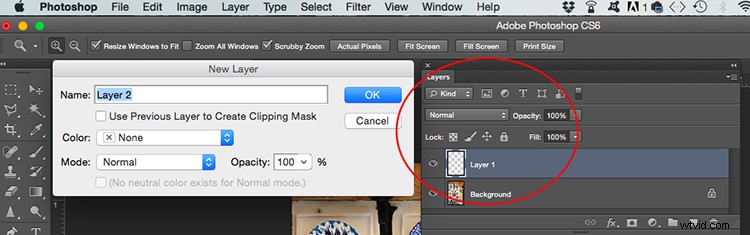
To create layers in Photoshop you need to go to Menu > Layers > New. A pop-up window will appear where you can name your layer, choose the color, the blending mode and the opacity. When you click OK the new layer will appear on the Layers panel window on top of the background, which is the original image.
What is the Blend Mode?
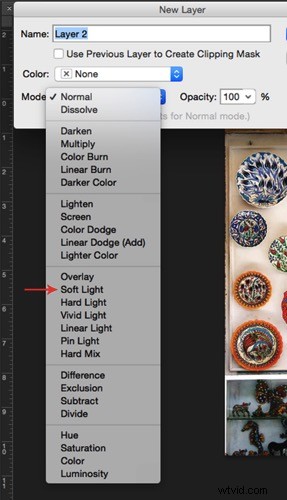
The default setting of a new layer is normal blending mode. This covers the background or the layer underneath. However, Photoshop gives you the option of choosing a different Blend Mode, which changes the way your edit affects the pixels. You can change it in the pop-up window of the new layer.
In the case of the Soft Light blending mode it is similar to using the dodge or burn tool. In other words, every color that is lighter than 50% grey will get even lighter, like it would if you shine a soft spotlight to it. In the same way, every color darker than 50% grey will get even darker. However it will never reach pure black.
So, why not use dodge and burn instead?
First of all, when you work in layers you don’t lose any information. You can always discard the layer and start over because there is no damage to the original image.
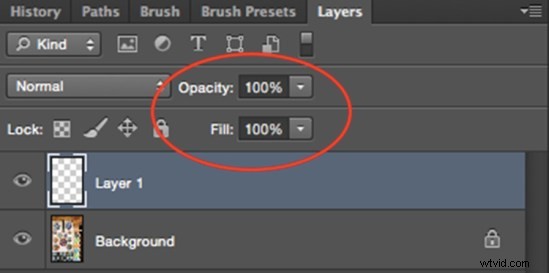
With layers, you can change the opacity or transparency of each one, which allows you to control how evident your edit is in the final image. You will find the opacity tool on the Layers panel with a slider that goes from 0 to 100 %.
Note that there is another slider next to it called Fill. There are 8 blending modes in which these two sliders make a difference, however, Soft Light is not part of these “special 8” so the Fill opacity and Standard opacity have the same result when using this Blend Mode.
Another advantage is that you can change the blending mode of each of the layers. In this article, we are exploring the use of Soft Blend, however, each mode offers different possibilities. One blending mode can have different uses, here are three of them.
3 ways to use Soft Light Blending Mode
1. Add punch to your image
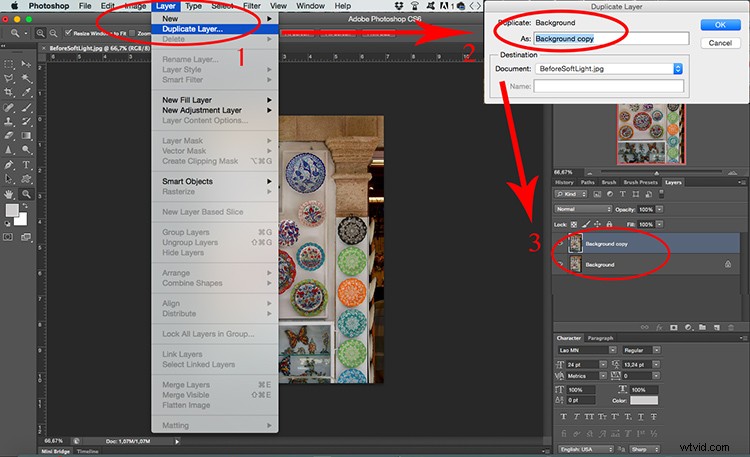
Increase the contrast and saturation to have more vivid colors and give a punch to your image. You can do this by duplicating the background layer: Menu > Layer > Duplicate Layer and changing the blending mode from normal to Soft Light. Finally adjust the opacity until you are happy with the result.
2. Gradient tool to balance the lighting
If you have an image that is underexposed on one side and overexposed in the other you can easily even it out with a Soft Light blend layer. First go to Menu > Layer > New Layer. Pick the Gradient tool and draw a line from the brightest side to the darkest one. The gradient will look like this:
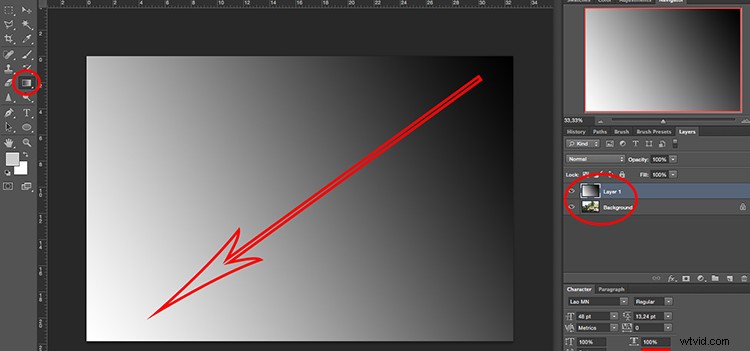
Then change the layer blending mode to Soft Light and lower the opacity to find the best results.

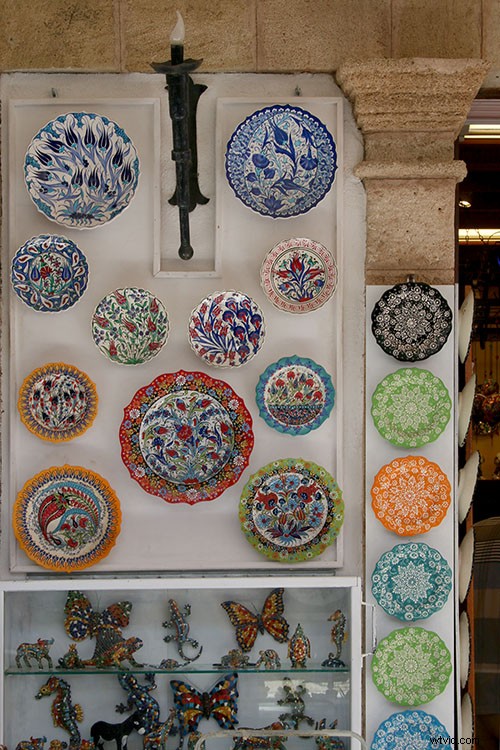
Before gradient

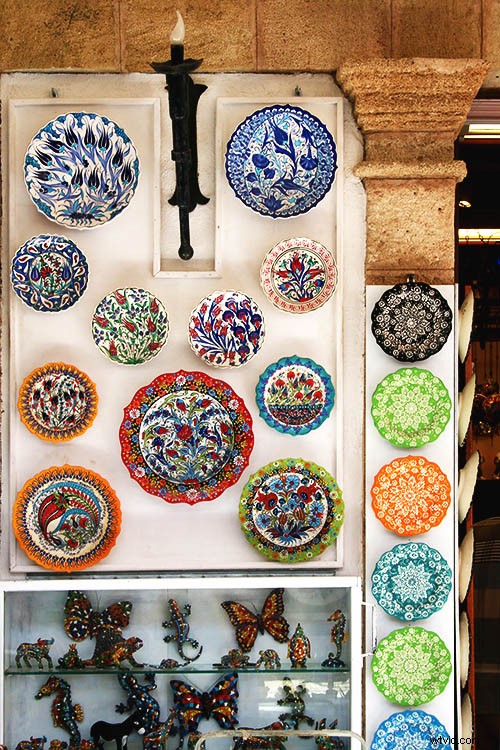
After gradient
3. Dodging and burning with a Soft Light layer
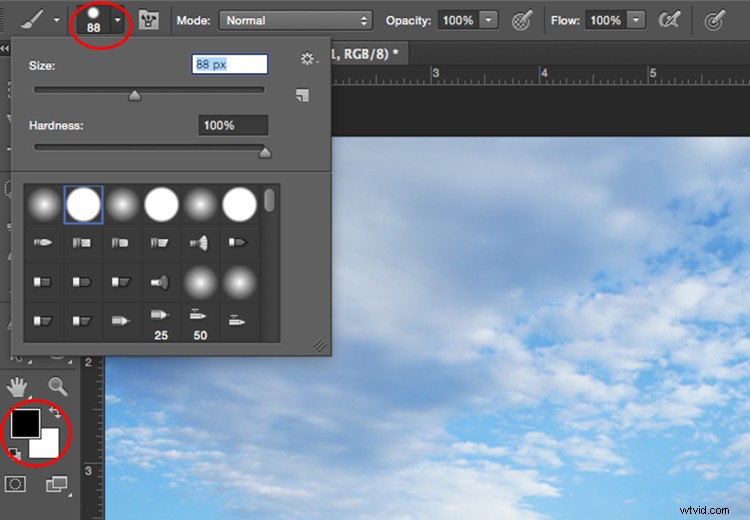
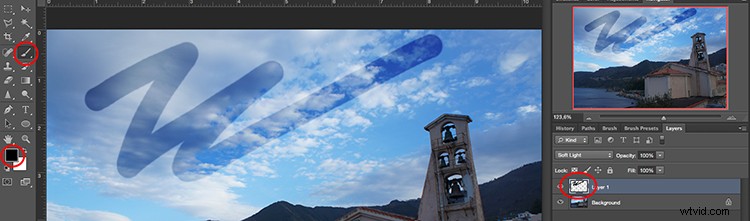
The past workflows altered the entire image, however, if you need to do a more precise job you can also do that using Soft Light. First, add a new layer with Soft Light blending mode like you did in the previous procedure. Only this time instead of the gradient tool, you are going to use the brush tool. When you select it you can choose the size of the brush on the top menu and the color on the bottom.
If you paint with black you will darken the image:
Painting with white will lighten certain areas, and with different shades of grey, you can also control tones of your image.
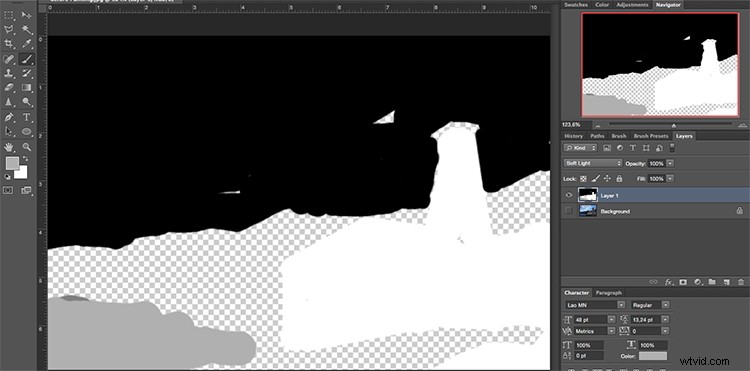
Keep going until you are happy with the contrast and exposure of your image.


Conclusion
Now you know that blending modes have a lot of potential, so keep exploring. How do you use Soft Light Blend Mode? Please share your ideas and tips in the comments below.