A rainbow is a meteorological phenomenon that needs many specific conditions to come together in order to appear, which is why they are not that easy to come across. They are, however, a beautiful and evocative sight, and they are associated with different cultural and even religious meanings.
For all these reasons you might want to have a rainbow in your image even when there isn’t one, not to worry though, here’s an easy way to create them in Photoshop.
Choosing the right image
Because of its significance and symbolism, you can incorporate a rainbow into almost any scene. However, if you want it to look natural it’s important that you choose a scenario in which it would be possible to see a rainbow in real life. To do so, you first need to understand how rainbows are formed.
When sunlight passes through a droplet of water it gets refracted and what we originally perceived as white light is now spread out into a band of colors called spectrum. Once it’s dispersed, we are able to perceive seven different colors in that light: red, orange, yellow, green, blue, indigo, and violet. This is what we call a rainbow.
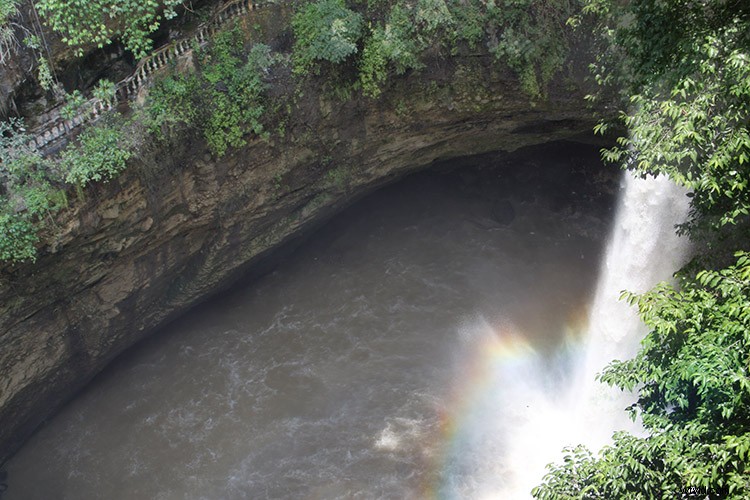
Because it needs sunlight and water drops in the air, a common place to find a rainbow is near a fountain or a waterfall. This is what I’ll use to show you how to do it in Photoshop.
Getting started in Photoshop
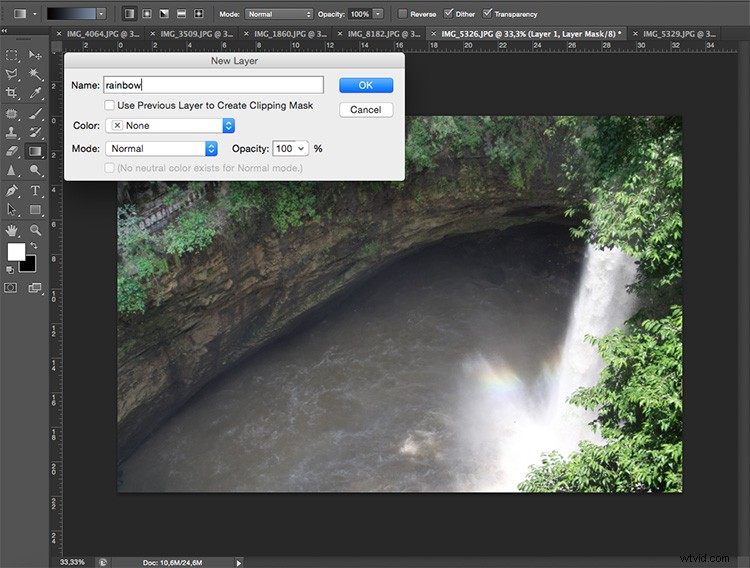
Once you have your image opened in Photoshop, add a new empty layer by going to the top Menu > Layer > New Layer. A window will pop-up, you can name it “rainbow” just to keep things organized and then Click OK.
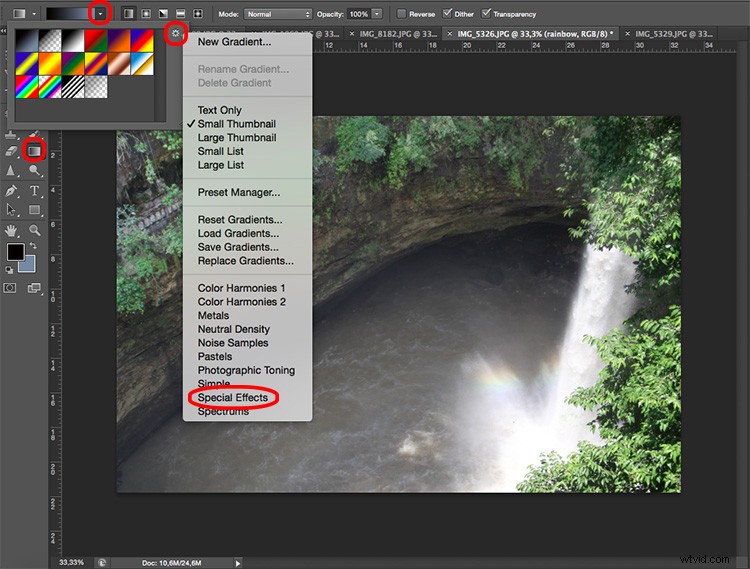
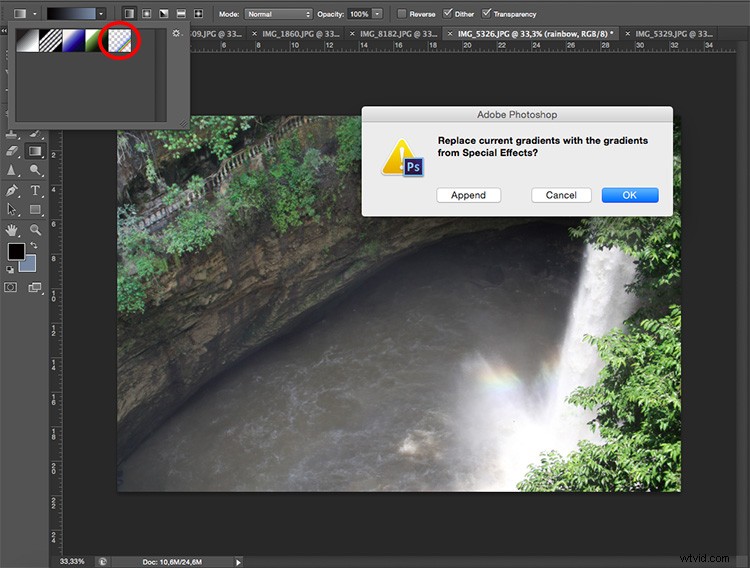
Then select the Gradient tool from the tools panel and a set of settings appear on the top bar as part of the options to adjust the gradient. On the left side of that top bar there is the Gradient Editor; if you open the menu for that by clicking on the down arrow, another window will pop-up with different gradient colors and styles. On the right of it, there is a gear icon that you can click on for more settings. From that menu, you need to choose the one called Special Effects.
Creating the rainbow
A window appears to ask you if you want to replace current gradients with those from Special Effects. You need to agree to it so that a new set of gradients appears.
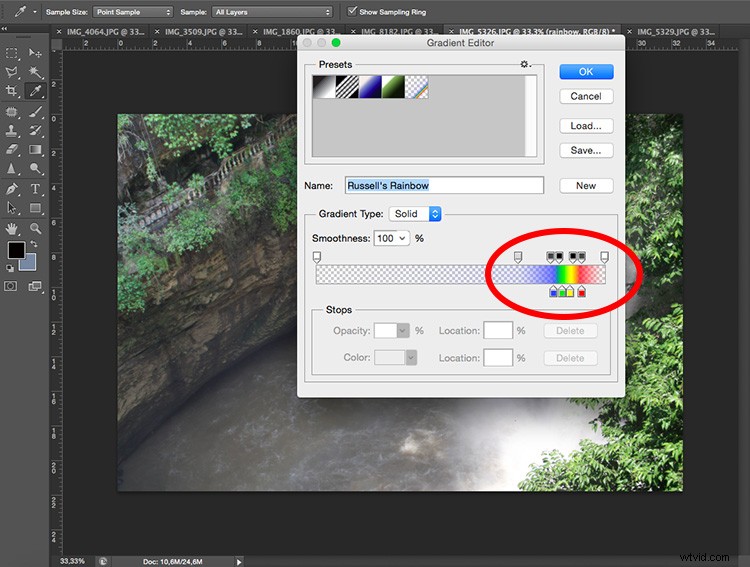
From those select Russell’s Rainbow and adjust the width of each color to your liking with the slider.
Shape the rainbow
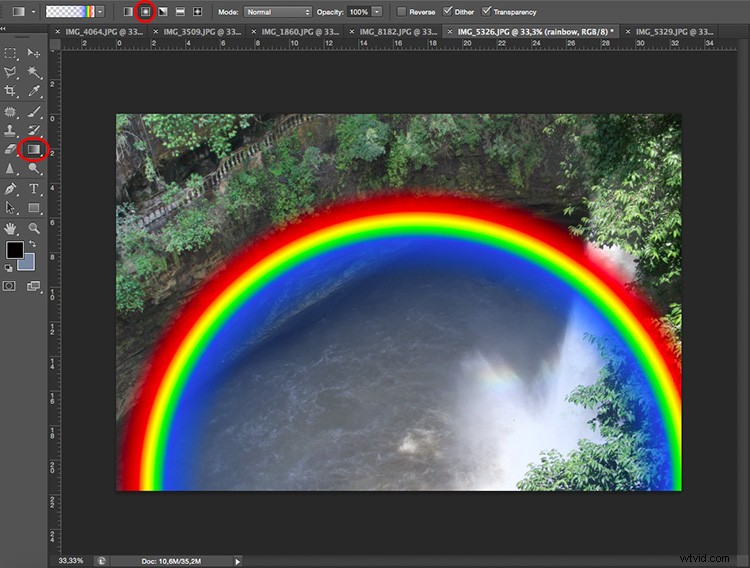
A rainbow is theoretically a circle. However, it’s almost impossible to see it complete, only in rare circumstances from a plane. Usually, we see only a part of a rainbow and maximum the top half. In any case, you need to give it curviness. To achieve this just select the Radial Gradient from the top menu.
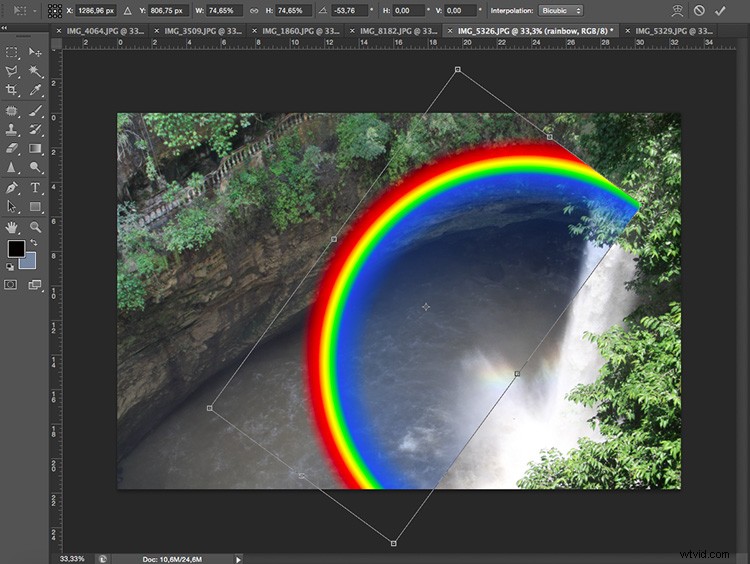
Then you can use any of the tools from the Menu > Edit > Transform options to rotate, distort or scale the rainbow.
Blend it to look more natural
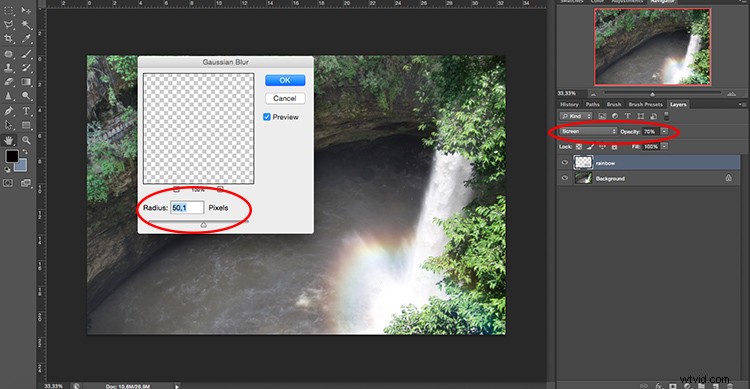
Finally, to incorporate the rainbow into the image naturally, you can change the Layer Blend Mode from the drop-down menu you’ll find on top of the layers window. Select the Screen mode and move the slider to control the opacity.
You can also soften the edges to make it more believable by going to Menu> Filters > Blur > Gaussian Blur and move the Radius slider until you are satisfied with the result.
Then you just have to erase (hide) the parts that are overlapping the landscape by adding a layer mask and using the eraser tool. Note: make sure you are erasing on the mask, not the actual layer.

Conclusion
There you have it, a perfectly natural rainbow that can appear anytime when the sunlight passes through raindrops. It’s frequently seen after showers and rainstorms or near a fountain or waterfall. As long as you are looking opposite the sun and are at a low altitude angle.
If you are more interested in the symbolic sense of the rainbow, you don’t have to worry so much about it looking natural. According to different cultures and periods in time, rainbows have been associated with different things.
For Christians, it’s found in the Bible after the big flooding as a covenant from God that water will no longer kill mankind, as a symbol of love. A different interpretation originated in ancient Europe as a legend that says that a leprechaun can be found at the end of the rainbow and if you can stare at it long enough, it will tell you where its pot of gold is hidden. And in contemporary cultures, a rainbow has been picked for the flag of the LGBT community as a sign of pride and symbolism of diversity.
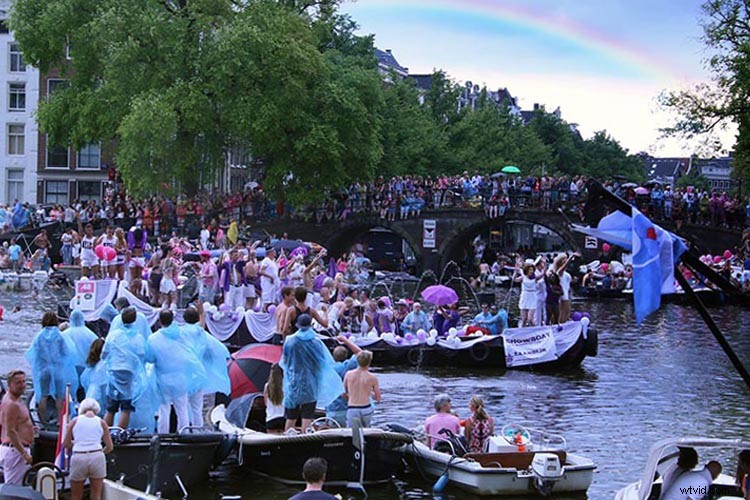
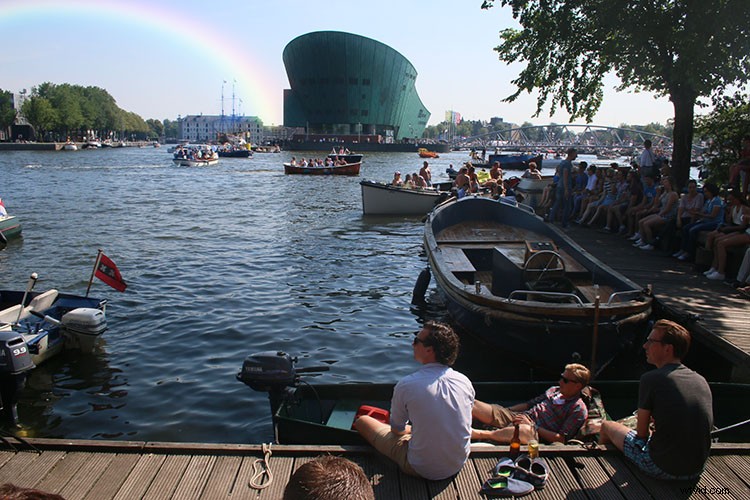
In this case, I used it with this purpose by adding a rainbow to this photo from an Amsterdam’s Gay Pride Parade where it conveniently was raining so it would have been possible to see one. And you, how are you going to use this technique? Please share with us in the comment section below.