The Watermarking feature in Lightroom was significantly overhauled in Lightroom 3. As a result you can now add sophisticated watermarks to your images on export either to disk or via the Print and other modules.
Not only can you add a text watermark to an image but you can also add an image watermark – and that’s what this post is all about – making and using images as watermarks in Lightroom 3 and Lightroom 4.
Create the Image
To use an image watermark in Lightroom you will need an image and for that you’ll need an image editor. You can use anything that can create .png images – Photoshop and Photoshop Elements are obvious contenders but basically any photo editor or painting program will do.
Unlike text watermarks you can’t set the color of an image watermark in the Watermark dialog so you need to get it right before you begin. For that reason I create two – one black and one white – which cover most situations.
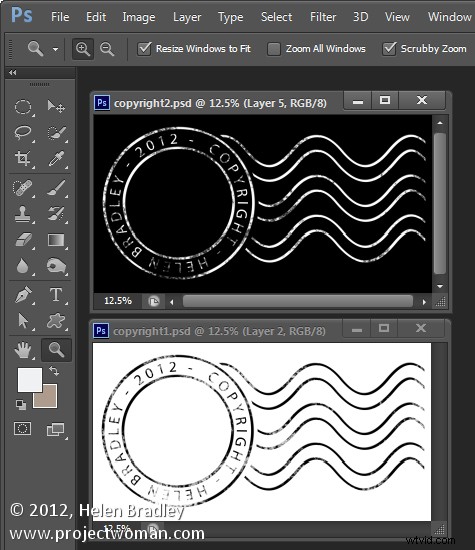
I do this in Photoshop working on a transparent layer – the reason is that I want this transparency to appear in the watermark when it is placed over the image. So, even if I use a fill layer behind the watermark so I can see the design as I work, I’ll hide this before saving the image.
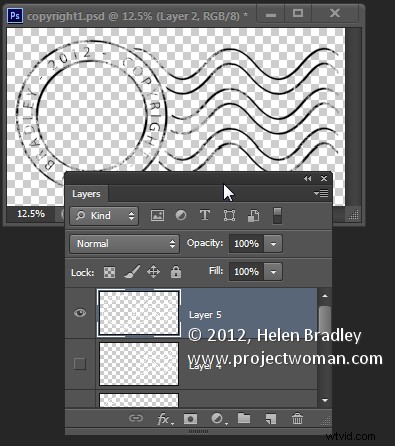
When saving the image I’ll save it as a .png format file – this flattens the image to a single layer but retains transparency – something that the .jpg format does not.
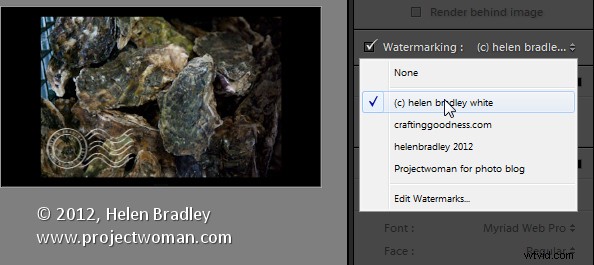
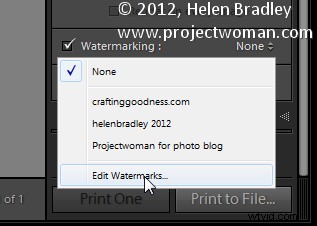
To create the image as a watermark open a module that has Watermarking such as the Print module. Click it to enable it and then choose Edit Watermarks from the dropdown list.
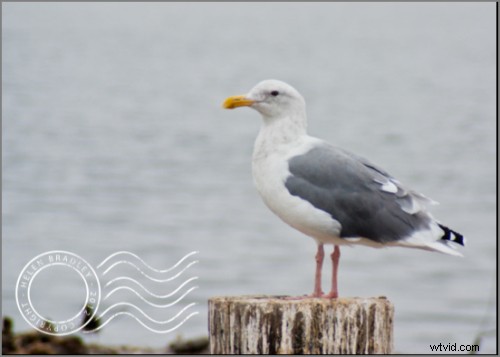
Click Graphic in the top right corner to select that as the Watermark Style. When prompted select the image to use. This image is dark so I chose the white version of the copyright watermark image.
If you cannot see the image, scroll down to the Watermark Effects area and adjust the Size so you can see the image. Set the desired size and placement using the Size, Anchor and Inset settings. Typically you will use the bottom left anchor point (or the bottom right) and move the image a little in from the edge of the photo.

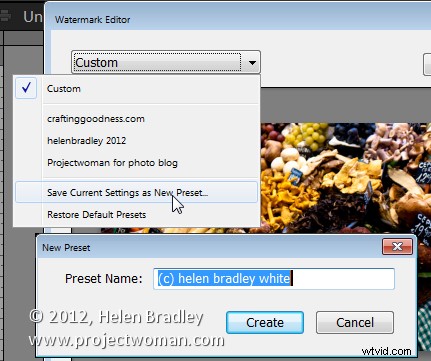
Once you have the position and size correct you can save this as a Watermark you can use anytime in future by clicking the Custom dropdown list and choose Save Current Settings as New Preset and type a name for the preset.
In future you can select and use this watermark in any of the panels in Lightroom that support Watermarking such as the slideshow module here: