In an earlier post, I showed you how to use Lightroom’s Survey View to choose one image from a selection of images. In this post I’ll show you how to use another of Lightroom’s specialty views – Compare View which has a similar purpose but which operates very differently.
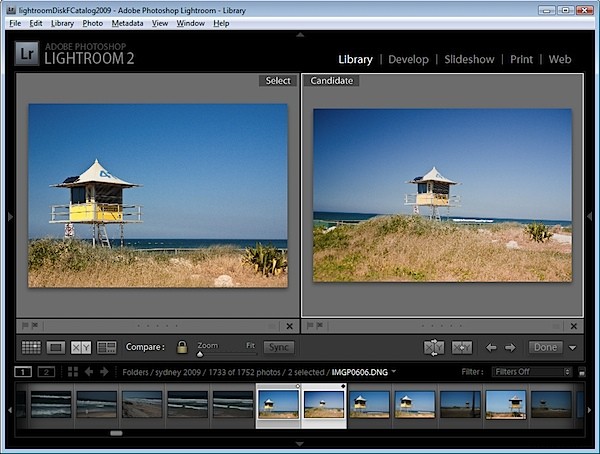
Start in the Library module, select an image and then click Compare View or press C. When you do, Lightroom shows two images, the one you had selected and the one you most recently selected before this one in this same folder.
If you didn’t previously select an image, for example if you selected Compare View immediately after you selected a folder, the first image in that folder will be the only one selected so Compare View will show the first image and the one immediately to its right in the Filmstrip.
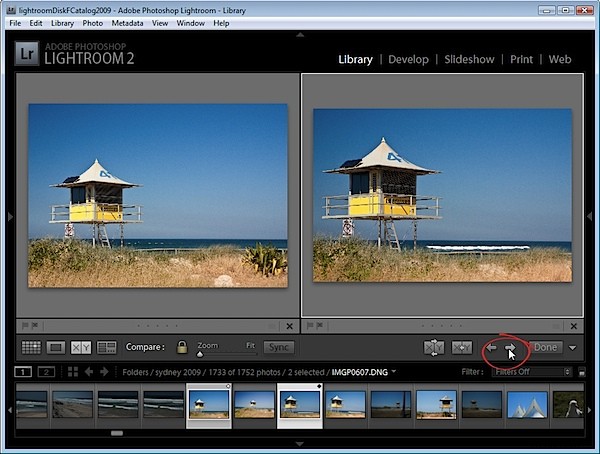
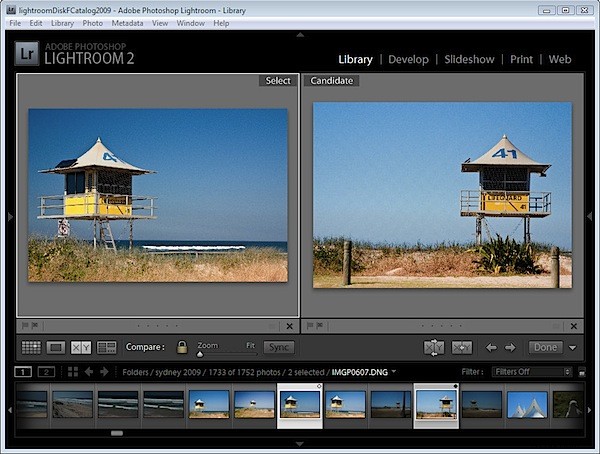
The two images you see are labeled Select and Candidate. The Select image is fixed and the Candidate image can be changed. To do this, click the left or right arrows underneath the Candidate image to move in the direction of the arrow through the folder. This replaces the Candidate image each time you click an arrow with the next image in the Filmstrip.
When you find an image that you want to use as your new select image, click the X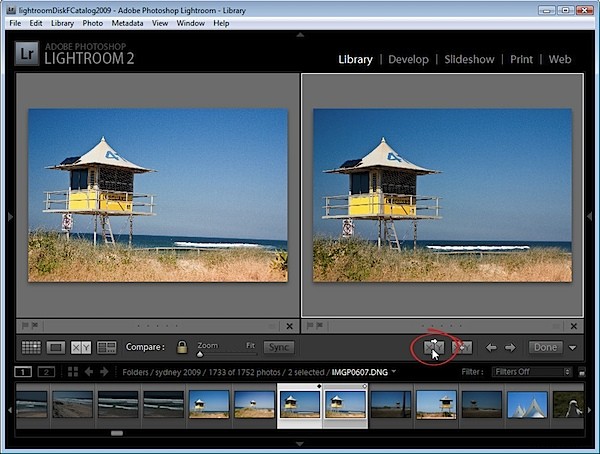
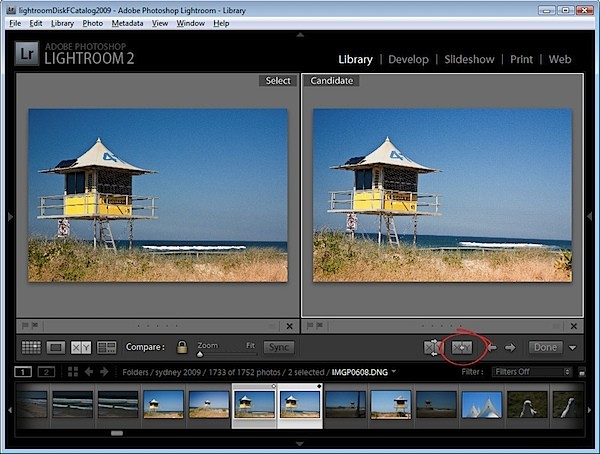
To simply swap the two images, click the Swap button to swap the two images. The current Select image becomes the new Candidate and vice versa.
Continue to work through the images on the filmstrip comparing them until you have the Select image that you want to use.
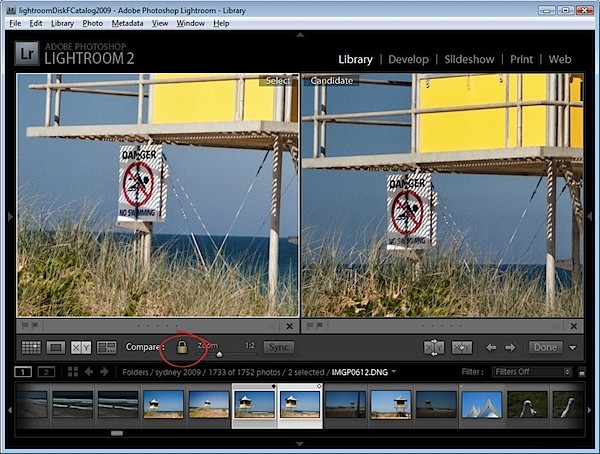
In Compare View, unlike Survey View, you can zoom the images. The lock icon on the toolbar, when locked, lets you scale both images at the one time using the Zoom slider.
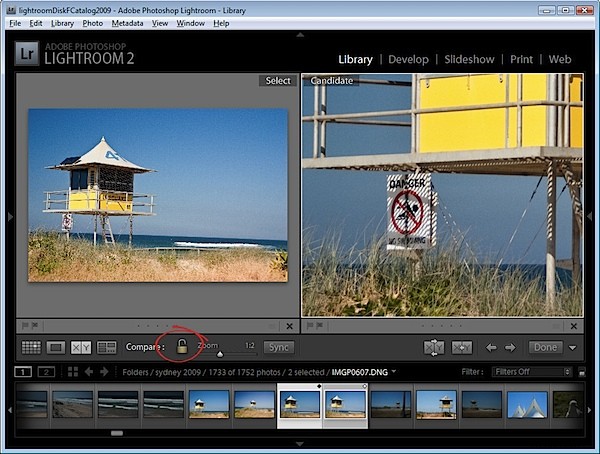
If you unlock the padlock icon by clicking it, just the currently selected image (which can be either the Select or Candidate image) will zoom when you click the Zoom button.
You can also use Compare View with just one image by deselecting one of the images in the Compare View. Each image has a small X under its bottom right hand corner, which you can click to remove it. If you remove the Select image this way, you can work through images as Candidate images until you find a Candidate worthy of being a Select image and, when you do, click the Make Select button and the Candidate will become the Select image and the next image in the sequence will become the Candidate.
Click Done to exit Compare View with the Select image selected.
How Compare View and Survey View compare
While Survey View allows you to compare multiple images with each other and to remove images you do not want until you get the one that you do what, Compare View works a little differently in allowing you to view only two images. The Select image always remains in place, but you can scroll through multiple images very quickly to determine if any of them are a better candidate for your needs than the select image. If it is, you can replace them and continue your comparison.
While Compare View allows comparison between only two images, it is more complex to use and understand than Survey View. However it’s a useful way to make a choice from two images as to which is the better and then continue to compare your current ‘best’ pick with others in a sequence.