Aurora HDR 2018 has plenty of tricks up its sleeve, and one of those is versatility. It’s not a one-trick pony when it comes to creating your HDR look. The range of different tools really allows you to create a huge variety of looks really easily. Part of that is knowing what your available tools do. The other part is just playing around and exploring your own creative side!
In this article, you’ll see five different looks in HDR and how you can recreate them – but on top of that, you’ll also get them in preset form to use yourself. You’ll also get to see some of the new Lens and Transform options inside Aurora HDR 2018.
Plug it in
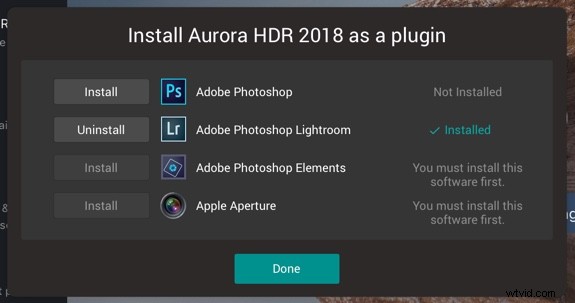
Aurora HDR 2018 doesn’t have a way to manage files, but can easily be used from other applications including Lightroom. In fact, you’ll even be able to process the files using Aurora’s built-in HDR processor, so you’re not trying to combine three already rendered files. To run Aurora HDR 2018 from inside Lightroom, you’ll need to run the standalone version first. From the Edit menu on PC or the Aurora HDR Menu on Mac, choose the Install Plugins.. menu item.
From the dialog that appears, choose the host applications that you want to use.
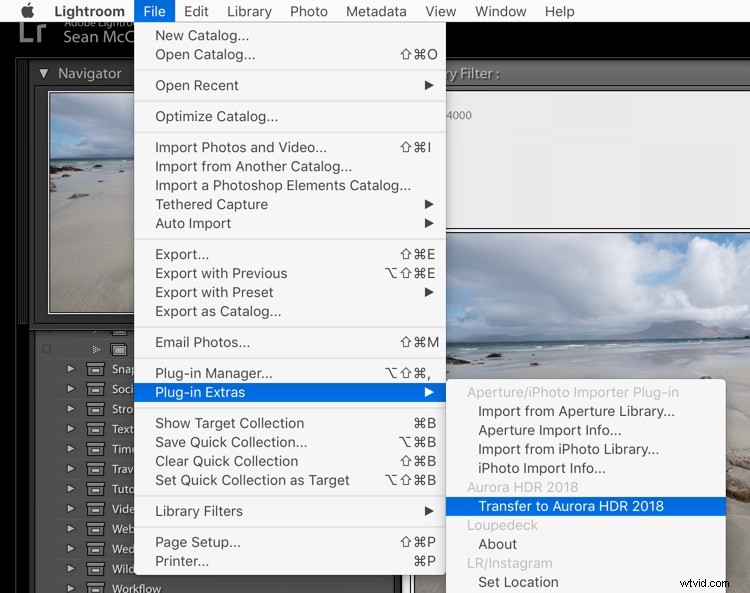
Back in Lightroom, once you’ve selected the bracketed exposures you want to edit, go to the File menu and from the Plug-In Extras menu, choose Transfer to Aurora HDR 2018.
Getting Started in Aurora
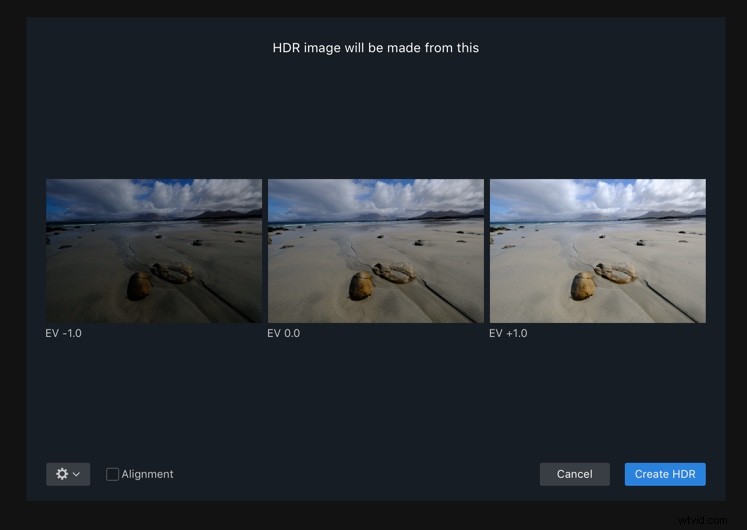
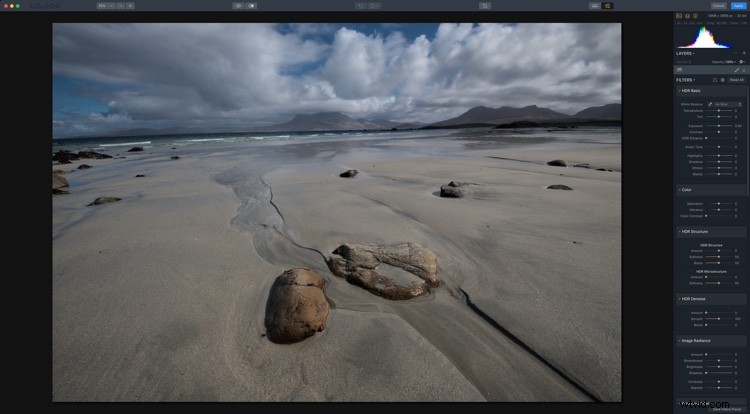
Aurora HDR 2018 will load up with your selected bracketed sequence. I’ve chosen these photos specifically because they have lens distortion and a crooked horizon, which you’ll see how to correct shortly.
Once the files have loaded, you can set about working with alignment and ghosting settings. You’ll see the sequence and the bracketing interval in the photos. To align the photos if you’re not on a tripod, click Alignment. To access the other settings, click the cog you see on the bottom left (see below).
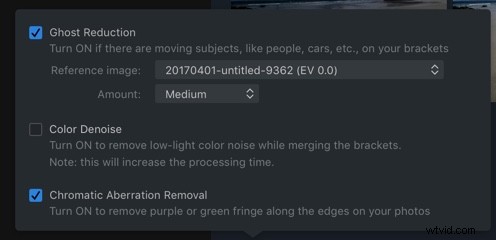
If you’ve got photos with moving objects in them, such as waves, trees in the wind or moving people, turn Ghost Reduction on. Choose your preferred reference image, and how strong you want the reduction to be. Color Denoise helps remove noise but increases the time your HDR takes to render. Finally, turn on Chromatic Aberration Removal to automatically get rid of color fringing on your photo.
Lens and Perspective Corrections
In the Filters header, you’ll see two icons. The first is for Perspective corrections or Transform (including rotation) and the second for Lens corrections.

The little odd looking shape is for Perspective and the round one is Lens Corrections.
You can fix rotation here (or using Crop as well) by clicking the Perspective icon. Rotation of 24 and Scale of 50 correct this image nicely.
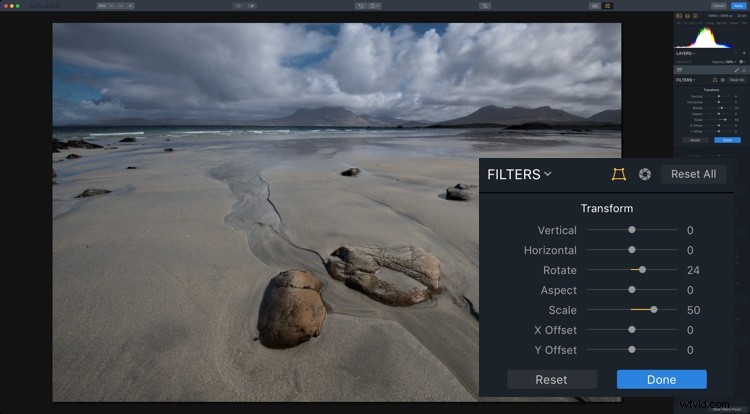
Transform sliders correcting perspective.
Your penultimate step before going to the individual HDR looks is to fix the bow in the horizon caused by the wide-angle lens. A setting of 18 looks good for this photo. It also reveals that 24 was too much in the previous step, which you can always fix by going back to Perspective correction. 19 looked better zoomed in.
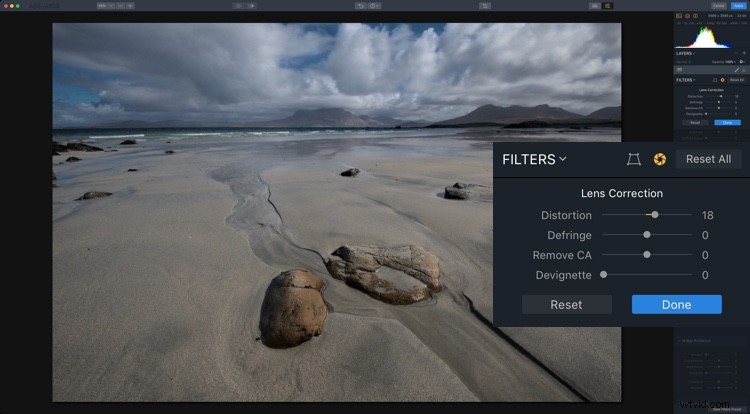
Lens Correction fixing distortion caused by wide lenses.
As the photo is a little underexposed, boosting the Exposure before going to create your looks is probably a good idea. While you may need to change this for each look, an additional stop is a good start here.

#1 Photo-Realistic
For your first look, something photo-realistic is the best approach. You’re not trying to get anything gritty, or super desaturated, or over saturated here. We’ll get to that later.
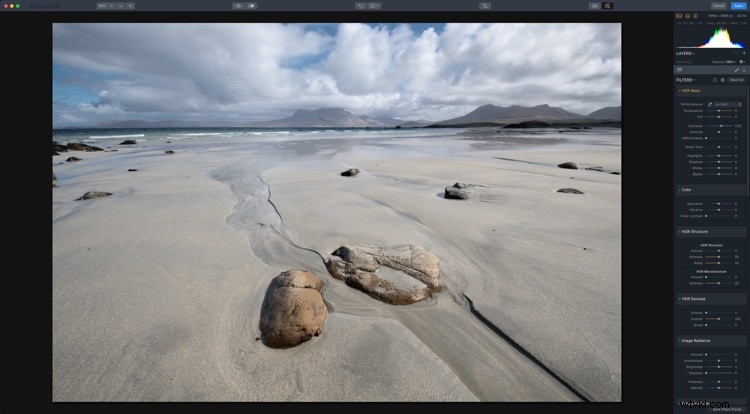
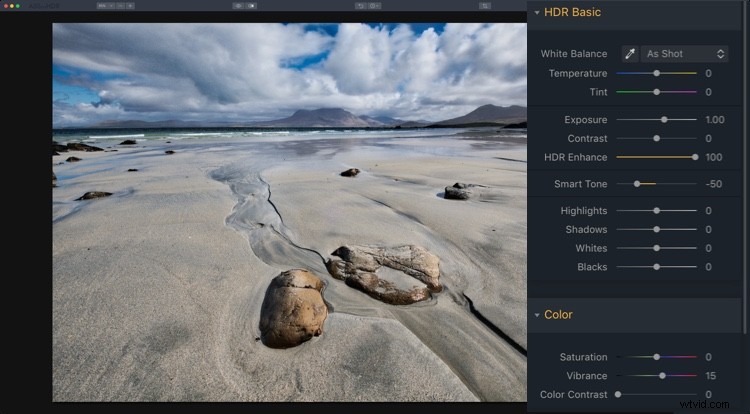
For this look, use HDR Basic, Color, and HDR Denoise. In HDR Basic, smooth out the dynamic range by reducing Highlights and increasing Shadows. Smart Tone of 44 also helps it along. HDR Enhance (formerly Clarity) brings up some nice detail, 50 is looking well here. Your aim is to get the best looking photo you can before tweaking the look – this will be true of all looks.
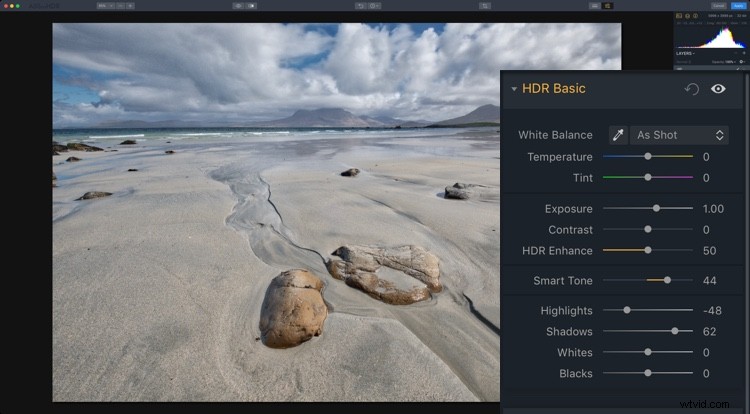
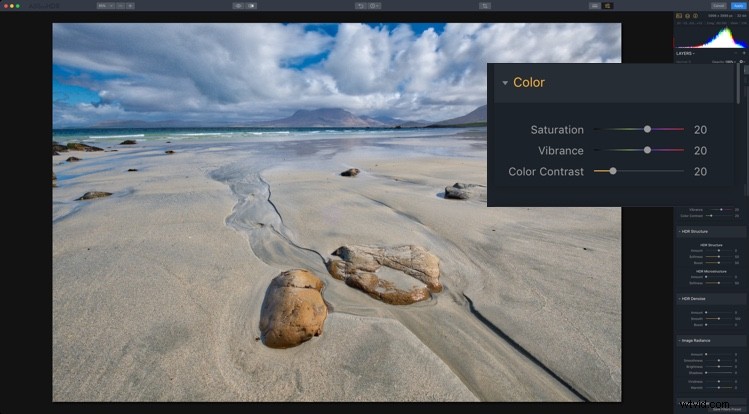
The color is a little flat so in the Color panel, you can boost both Saturation and Vibrance to +20. Color contrast, which controls the contrast between the primary and secondary colors looks good around 20 as well. You’re not aiming for extremes here, just to get a good looking photo.
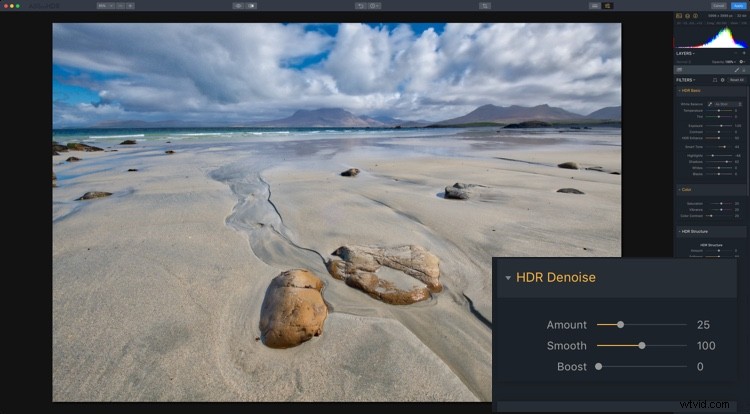
You’ve probably noticed the noise in the clouds at this point. This is where HDR Noise comes in. Setting this to around 25 softens up the noise.
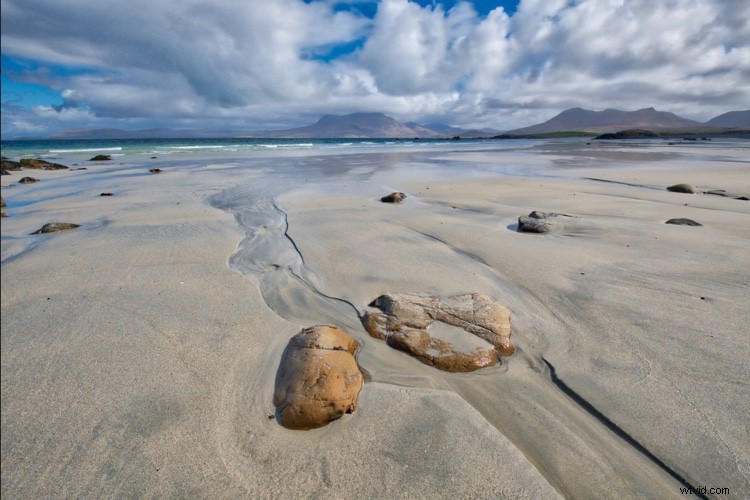
And that makes your first look, a photorealistic HDR photo.
#2 Gritty HDR
With the basic look out of the way, it’s time for the more surrealistic to take over.
Start by using the History Panel to reset everything to your original starting point AFTER increasing the Exposure +1 and applying your Perspective and Lens Corrections. The History Panel records every action you take in Aurora HDR in chronological order, so simply select the last action after the ones you’d like to save, then begin the next edits. The History Panel will begin recording any edits from there leading to your Gritty HDR look!
Now it’s pretty flat and bleak, so you’re going to take it even further in that direction.
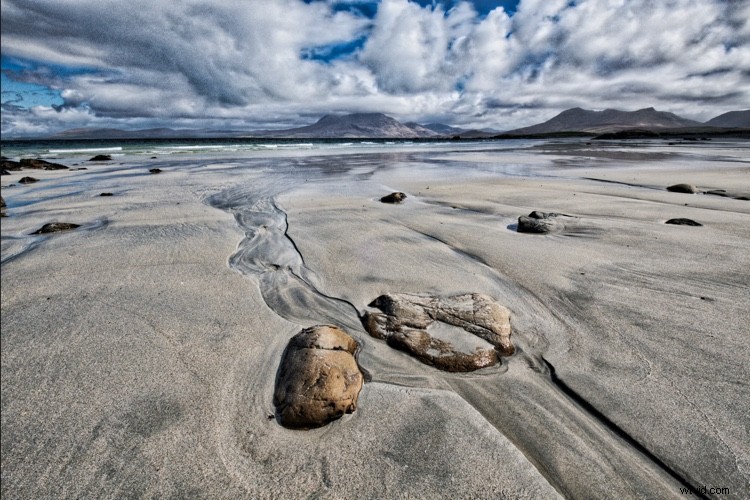
Set your HDR Enhance to +100 to get the bleak and gritty ball rolling. Smart Tone of -50 darkens the photo as well, and a hint of Vibrance (+15) gives color to the sky, while leaving the rest of the photo muted.
To complete your gritty look, go to the HDR Structure panel. In the top section, set Amount to 25 to begin to increase detail in the photo. Increasing Softness (+80) makes the detail more realistic, while Boost accentuates it (+75). The latter two sliders might seem at odds, but a quick play shows they complement each other rather than compete.
HDR Microstructure boosts micro contrast, while Softness makes it more realistic. By increasing Amount to 71 and Softness to 28, you’ll get even more detail. You may even like the noise that this processing adds to the photo. I think it’s a big part of the look.

And now you have your classic gritty HDR look!
#3 Warm Ethereal
At the opposite end of the spectrum is a soft and ethereal look. There are two different variations you can have on this, and they depend on using Image Radiance or Glow (and combinations of each). So with a reset to your basic corrected photo, let’s begin again!
A good beginning would be for a warmer look, so set your Temperature in HDR Basic to 10. While Image Radiance does have a Warmth slider, Temperature is much more effective. This look is all about Image Radiance. Set your Amount to 75 to really give the image a glow. Smoothness affects the softness of the image, and in this case, you’ll probably agree, it’s a little too soft, so set it to -50.
Overall at this point, the photo is too bright, so a reduction in Brightness to -76 helps. Darkening Shadows also helps. Finally, for Image Radiance, an addition of +61 Vividness to boost the saturation, while Warmth just adds another hint of yellow tones in a more controllable way than with Temperature.
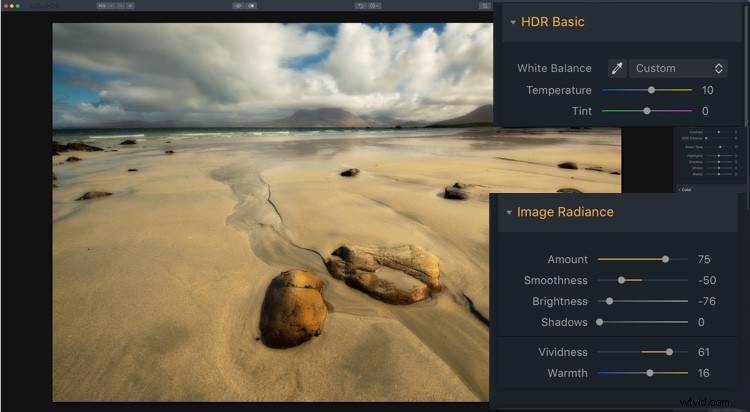
There’s a lot of warmth in the photo (in a good way), but you may want to add a little contrast of color into it. By using the Polarizing Filter, you can add more blue to sky, emulating a real circular polarizer.
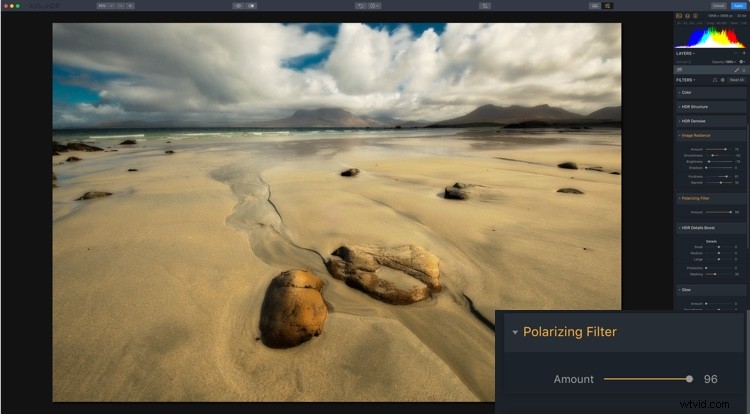
The final thing for this look is for you to introduce a little global detail using HDR Detail Boost. As you can guess Small affects the fine detail, Large affects the global contours of the photo, while Medium controls the details between Small and Large.
To sharpen the global edges, you can push Large. This firms up the edges while retaining the softness that Image Radiance has created. Protection protects fine detail while Masking controls where the effect is applied with 30-70 being optimal.

So that’s your first ethereal look.

Warm Ethereal
#4 Soft Glow
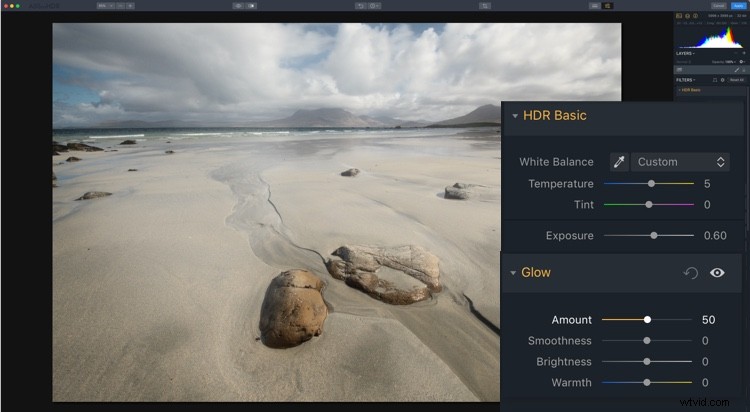
Your second ethereal look uses Glow. Reset your photo again to the settings at the start of the looks. Because Glow works on the Highlights, it’s probably a good idea to reduce your Exposure down to 0.60. Now, go to Glow and set the Amount to 50. A fog settles over the photo. This would work better on a dark evening scene that a sunny day, but you get what it does.
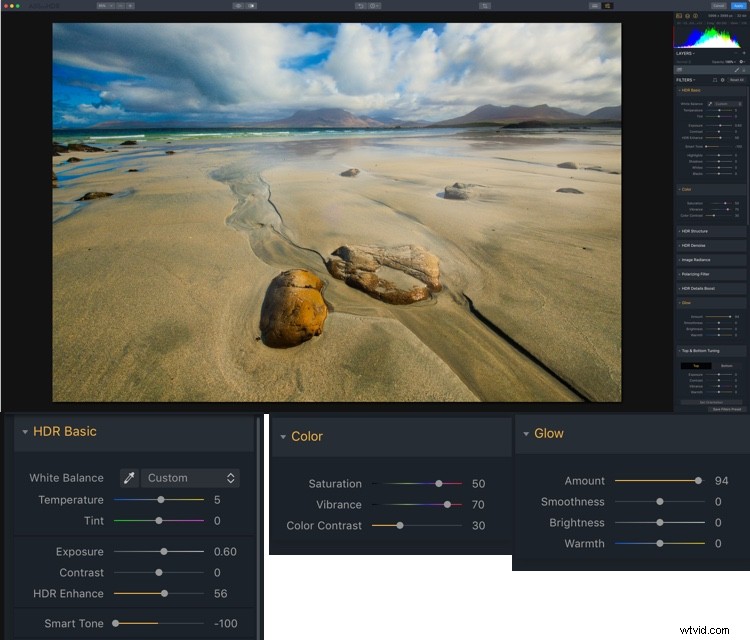
Now that you know what Glow looks like, it’s time to get a little wacky. Start by setting your Smart Tone to -100, and HDR Enhance to 56. This reduces some of the Glow, so set that Amount to 94. You probably want to go a bit wilder with Color, so set Saturation at 50 and Vibrance much higher, at 70. A hint of Color Contrast gives even more of a boost at 30.
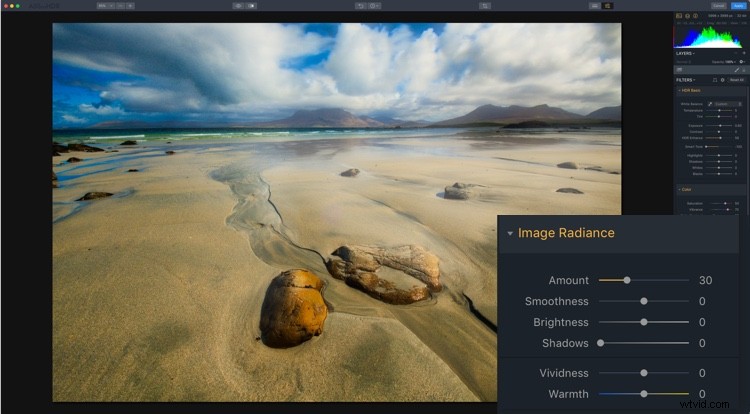
For the final part of this look, add +30 Amount from Image Radiance to enhance the glow.
And that’s look #4.
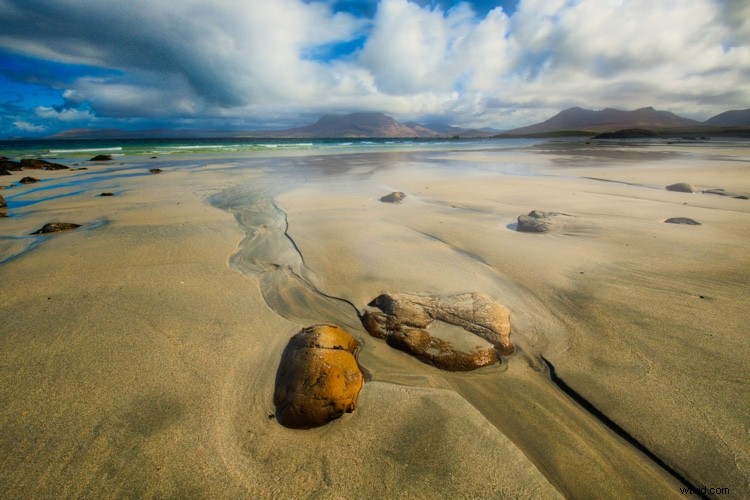
Soft Glow
#5 Nitty Gritty Black & White
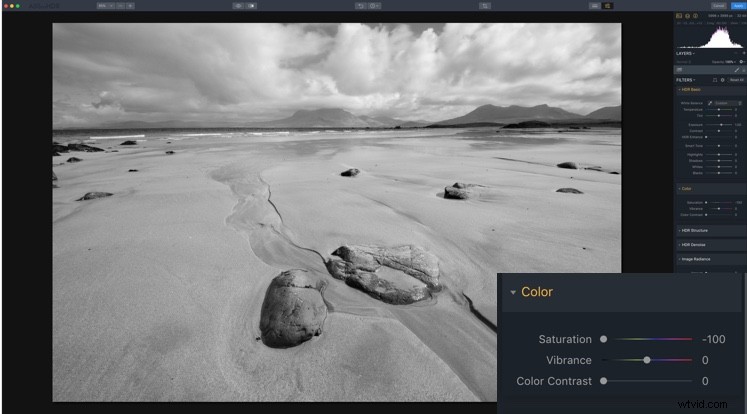
And now for something completely different – a nice gritty Black & White. Again, begin with a reset. Now, in Color, turn the Saturation down to -100.
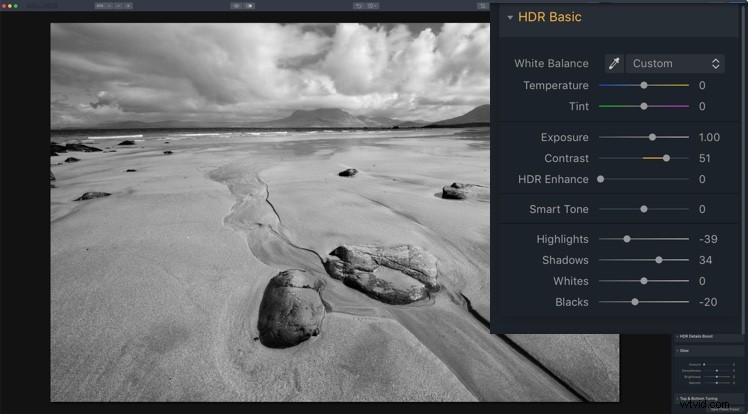
Before going for grit, you’ll need to get contrast right. A few tweaks will get it to a workable point. It’s not set in stone at this point though.
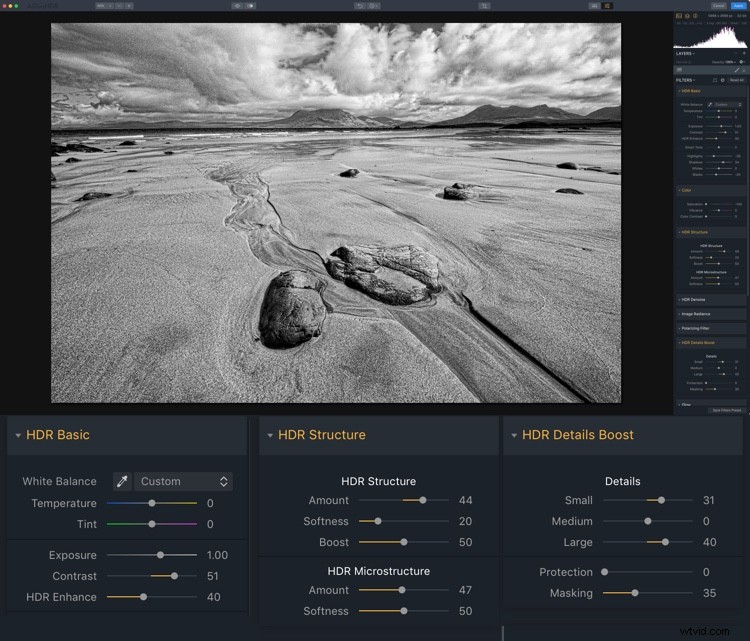
And now you get to go for grit! You can use all the tools from previous looks that gave more detail, so HDR Enhance, HDR Structure, and HDR Details Boost apply. Go wild. This is definitely one for your own taste. The settings used here were HDR Enhance 40, HDR Structure Amount 40, Softness 20 and Boost 50. HDR Microstructure is Amount 47 and Softness 50. HDR Details Boost has Small 31 and Large 50.
Here’s the final look.
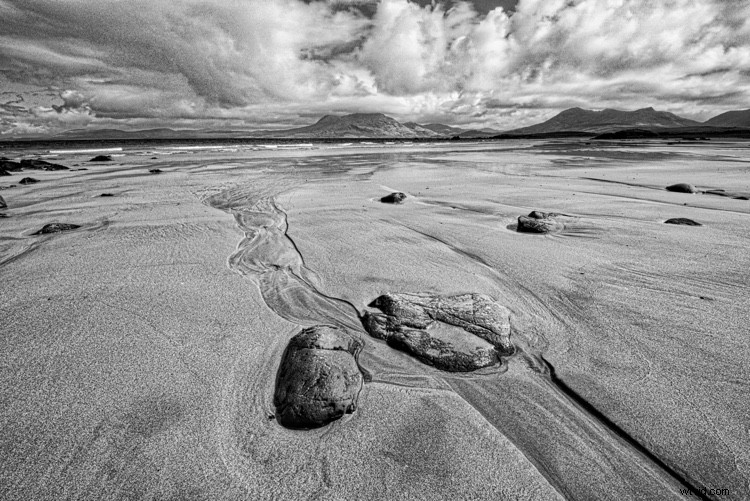
Nitty Gritty Black & White
Presets
And here are the five presets for you to use: HDR-5-Looks-Presets. Download the file and unzip it, then save it on your hard drive.
To install the Presets, open the standalone version of Aurora HDR 2018. From the File menu select Show Presets Folder. Drag the new presets folder (you must unzip it first) into that one. Restart the program to have the presets show up in Aurora HDR 2018 (look under User Presets).

Go out there and have a bit of fun with your HDR images, and post your results in the comments below.
Disclaimer: Macphun, soon to be Skylum, is a dPS advertising partner.