It will be more interesting to change the speed of a video to give your project a totally different feeling, for example, by speeding up a video of a city’s traffic or the flow of clouds. Final Cut Pro offers users multiple options to adjust video speed easily, including time-lapse.
In this article, we are going to show you how you can easily increase the speed of your video from 2X up to 20X with Final Cut Pro. Also, you can choose manual custom speed as you like.
You May Also Like: How to Make Freeze-Frames and Slow Motion >>
This is a basic tutorial about Apple Final Cut Pro X, a professional video editing software. However, if video editing is new to you, consider Wondershare Filmora for Mac (Originally Wondershare Video Editor for Mac). This is a powerful but easy-to-use tool for users just starting out. Download the free trial version below to try it right now. And here's a video tutorial on how to make a time-lapse video with Filmora for your reference:
How to Make a Time-Lapse Video in Final Cut Pro
Step 1 Import Clips
Choose File > New > Event. Name it and click OK. Label the project Timelapse. Then go to File > Import Media. Browse to source clips folder. Click Import Selected. Drop the clips onto the timeline.
Step 2 Apply Time-lapse Effect
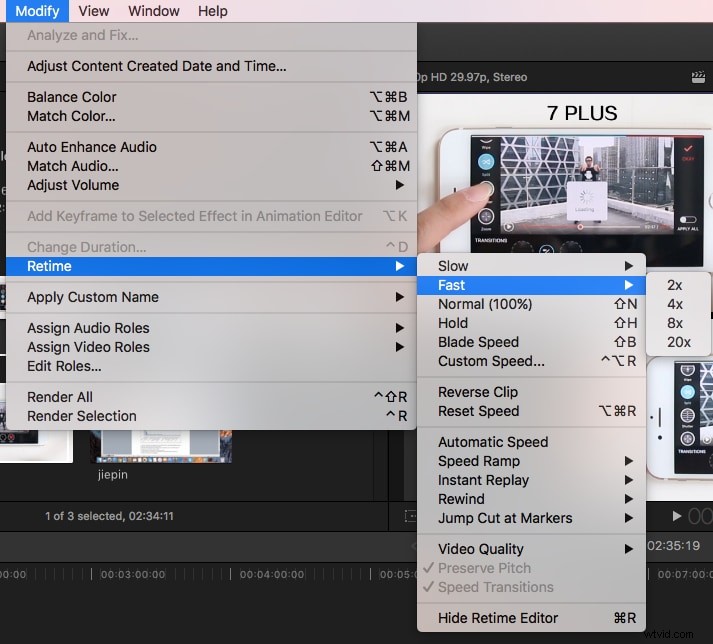
Click the Retime pop-up menu below the viewer and choose Fast (or you can access Modify > Retime > Fast). There are 4 preset options you can choose: 2x, 4x, 8x, 20x. Or you can customize the speed by selecting Custom.
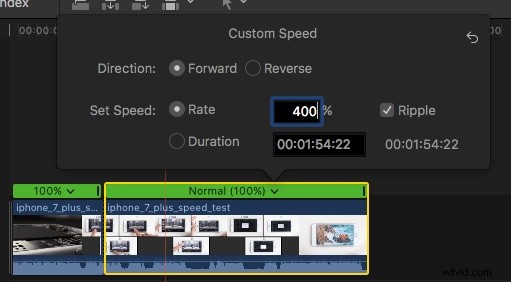
You can set any speed by adjusting the Rate. Reset the speed by clicking on the little arrow on the right side of the window.
You can also drag the retiming handle to adjust the speed: dragging to the left increases the speed, and dragging to the right decreases it.
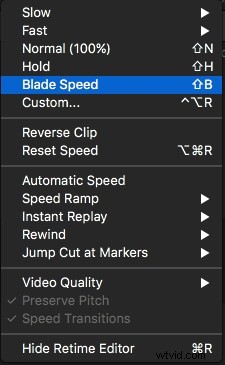
Note: To set speed separately for different parts of one clip, you can choose Blade Speed first, and then blade the clip where you want to set different speeds.
That's it. You may also want to learn this: how to add a countdown-timer in fcpx
If you have any questions about making time-lapse videos, feel free to drop a line below.