You’ve underexposed your shot and now it’s too dark to tell what’s going on. Don’t panic. Instead, use these techniques to correct underexposed footage.
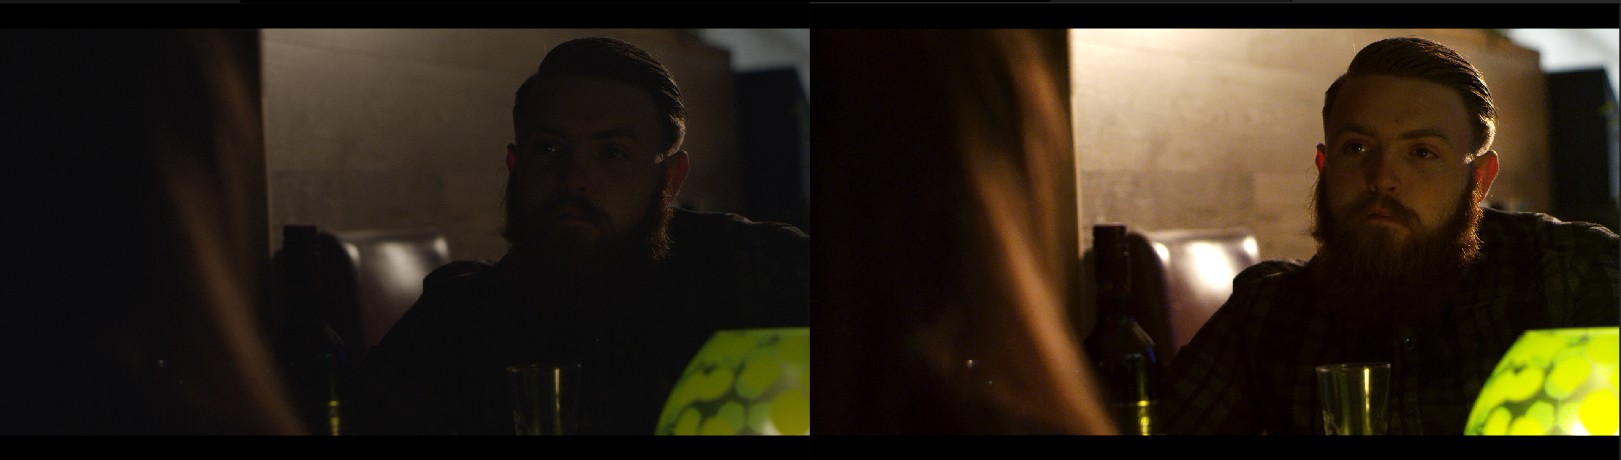
We’ve covered how to salvage overexposed shots, but what about the opposite? Everyone at one point has offloaded their footage to find that, disappointingly, a shot was underexposed. Depending on the severity of the shot, you might still be able to salvage details from the midtones and shadows. Here’s the underexposed shot we’ll be working with. 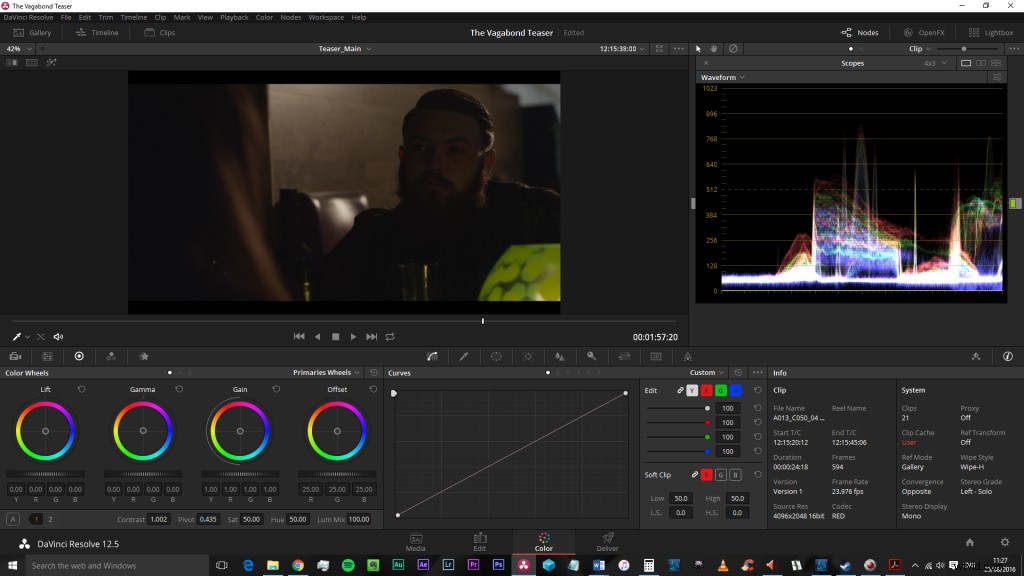
Upon initially trying to correct underexposed footage, one might increase the exposure or ISO settings to add more ‘light’ to the clip in order bring back detail. However, this isn’t going to work in your favor.
Here’s Adobe’s definition of the exposure effect: The Exposure effect simulates the result of modifying the exposure setting (in f-stops) of the camera that captured the image.
Increasing the exposure affects every aspect of your image, and ultimately you don’t want that, as it’s going to bring out the dirty noise. Here is a look at the result of increasing the exposure of the overall image. It leaves the shadows and lower midtones very murky.
How To Correct Underexposed Footage
Take the following steps to bring your subjects out of the darkness and keep your shadows clean.
Small disclaimer: Of course, if your shot is completely shrouded in darkness, you’re not going to claim back much of that detail without completely ruining the image. If your blacks are already at (or below) 0, then you’ll likely find that shadows will start to form into clunky areas of noise. If your shot is a few stops underexposed, this tip will bring life back into an underexposed image. This method delivers detailed shadows while maintaining the midtones that we boosted.
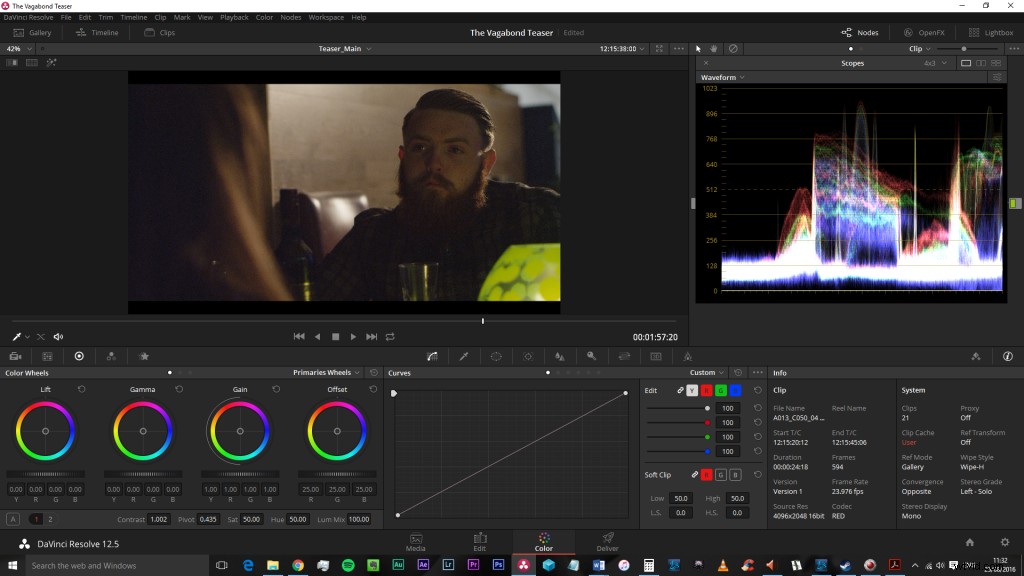
Step 1: Adjust Midtones and Highlights

First, you need to make a few simple adjustments with the midtones (Gamma) and highlights (Gain). These need to be increased. No matter what software you’re using, from the basics of the built-in 3-way color corrector in After Effects to DaVinci Resolve’s dashboard, you’re going to be able to adjust these properties specifically.
You’ll need to have the waveform scope active so you can see where your whites and blacks are sitting. By adjusting those settings, I’ve been able to bring the image back to a reasonable exposure for the scene. As this specific scene was dimly lit to start with (it’s in a restaurant at night), it’s important to respect the location’s lighting when bringing the exposure back into the shot. Our waveform says that we have good midtones, the blacks are black, and we have a few highlights peaking naturally.
Step 2: Adjust Shadows
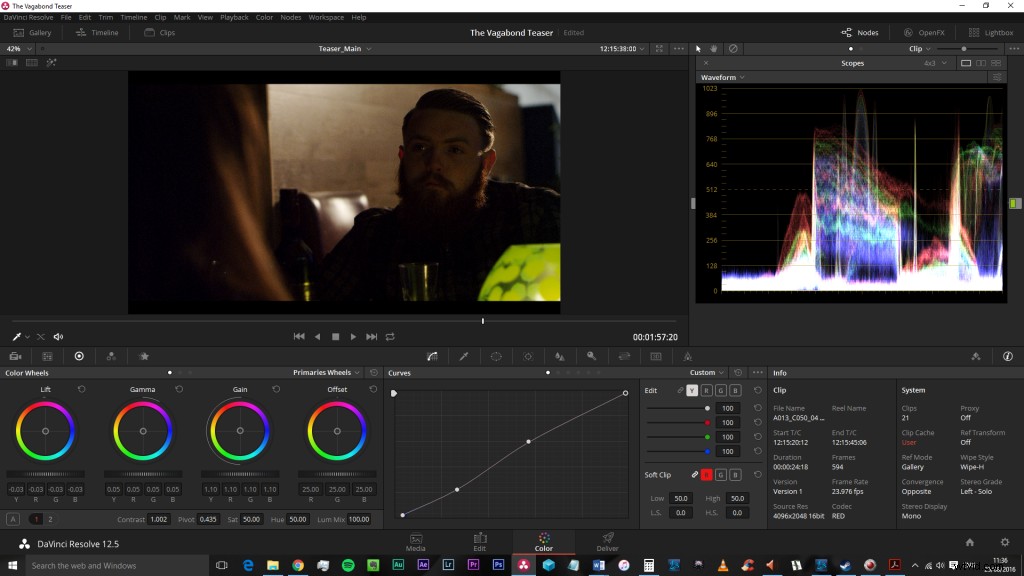
Our shadows are a little milky despite the waveform saying we are sitting near 0 black. Not to mention they are also noisy. To fix this, you want to take the curves (again, all editing platforms should have a curves control) and pull the lower the midtones down. Our shadows are now starting to look black. Although it looks as if we’ve lost detail in the man’s shirt, when the clip is playing you can still see the detail.
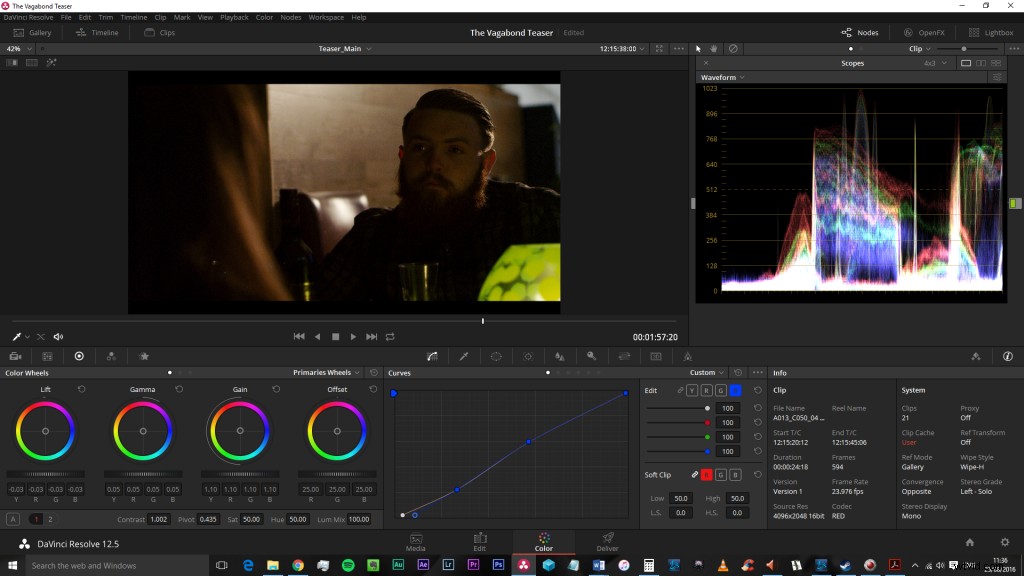
However, we now have this blue cast within the shadows. This is another by-product of bringing detail out of the shadows. To remove this, you can either push red into the shadows on the Lift control, or (preferably) you can use the blue curve to remove those lower blue midtones/shadows.
Step 3: Reduce Noise
Finally, clean the image with a noise reduction application. Your image should now look a lot better than it did before. Boosting the midtones will be a better use than just increasing the exposure or brightness — by doing that you will bring a lot of noise out of that darkness. Finally, it should be noted that underexposed images will more than likely be absent in saturation. You may also need gently to boost the saturation of the underexposed image.
Here’s a handy recap:
- Increase midtones and highlights while lowering the shadows.
- Apply curve to pull down the lower midtones.
- Apply correction curve to remove unwanted color casts.
- Boost saturation (if needed).
- Apply noise filter.
Got any tips for working with underexposed footage? Please share them in the comments below!