
Last Updated on October 30, 2025
Adding subtitles or closed captions to your videos is a simple, cost‑effective strategy that instantly boosts accessibility and engagement. In this guide you’ll discover how to embed captions with a powerful yet user‑friendly tool—Streamlabs Podcast Editor—and why doing so can increase views by up to 40%.
Why Subtitles Matter
Research shows that 80% of social‑media viewers watch videos with sound off. Subtitles not only make your content accessible to hearing‑impaired audiences but also keep people’s attention in noisy or silent environments.
Key benefits include:
- Higher Engagement: Captions help retain viewers and reduce drop‑off rates.
- Improved Reach: Non‑native speakers and international audiences can understand your message.
- SEO Boost: Text is searchable, increasing discoverability on platforms like YouTube and TikTok.
Whether you’re growing a YouTube channel, running a podcast, or posting short clips on Instagram Reels, captions are the secret sauce that many creators overlook.
5 Easy Steps to Add Subtitles with Streamlabs Podcast Editor
#1: Sign Up & Upload Your Video
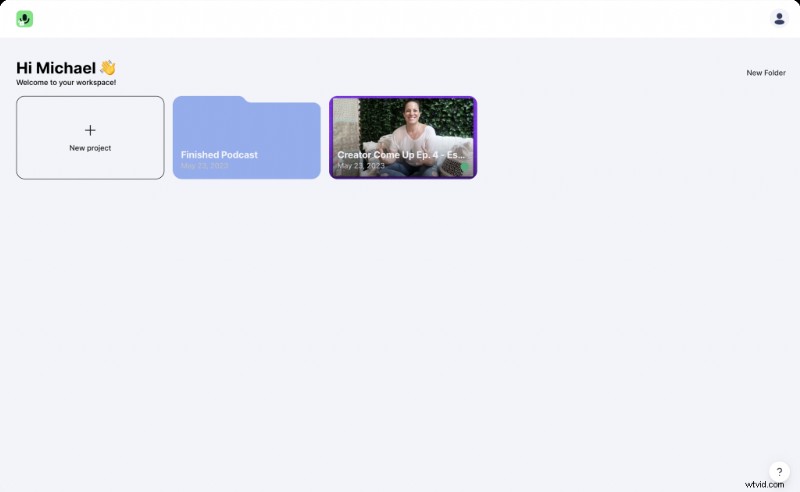
Register in just one minute—name, email, and password—or use your Google account. Drag and drop your file, or paste a link from YouTube, Google Drive, or Dropbox. The editor automatically detects the video’s language.
#2: Enable Subtitles
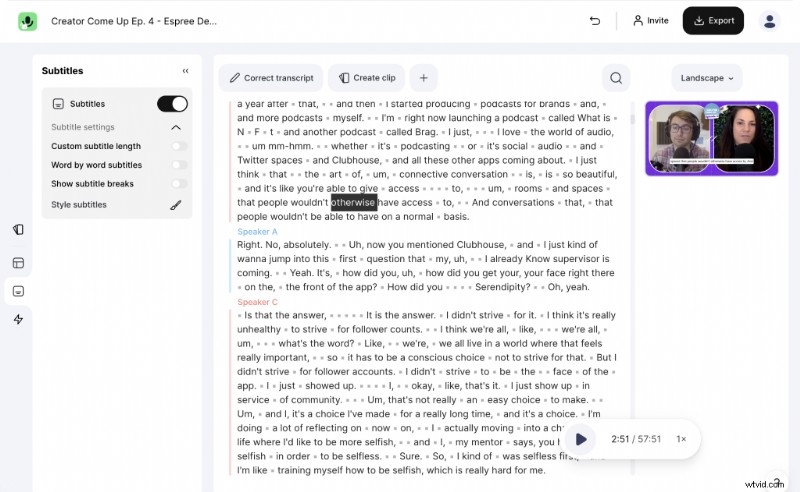
Once your video is loaded, click the Subtitles button in the top menu. Choose static (sentence‑by‑sentence) or dynamic (word‑by‑word) display modes.
#3: Style Your Text
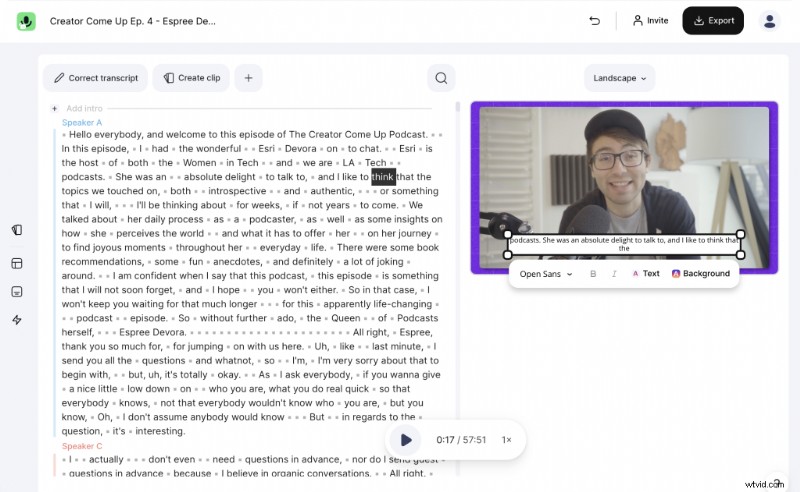
Drag the subtitle box to position it, resize it, and pick from a range of fonts, colors, and background styles. Transparency is optional for a cleaner look.
#4: Refine the Transcript
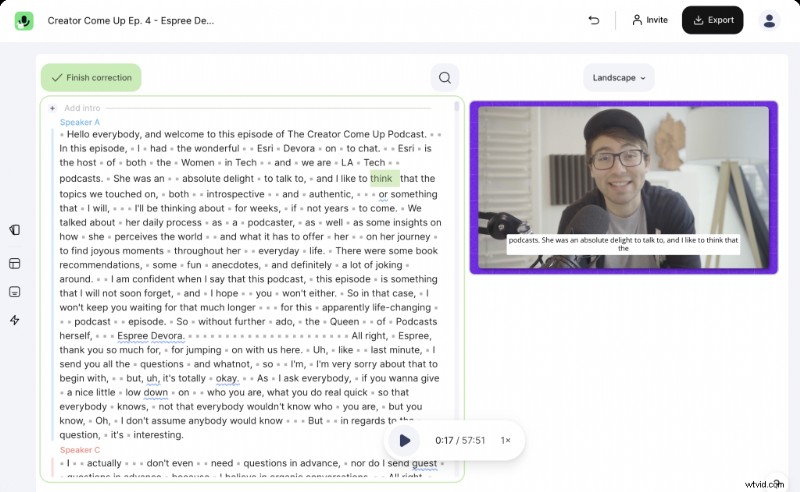
While the built‑in transcription engine supports over 30 languages, manual edits are simple: double‑click a word, correct it, and hit Enter. Use arrow keys to navigate quickly. Adjust subtitle breaks by dragging the marker in the text panel to control sentence length and timing.
For vertical formats (9:16), avoid placing subtitles at the extreme edges to prevent cropping.
#5: Export Your Video
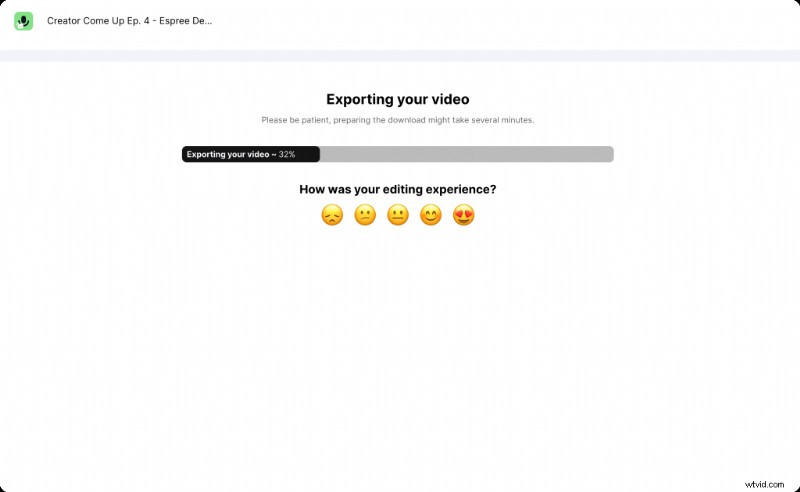
Click Export in the top‑right corner. Choose a local download or share directly from the editor. Rendering times vary with video length, but the process is automated and requires no manual encoding.
Additional Features: Translation & Subtitle Files
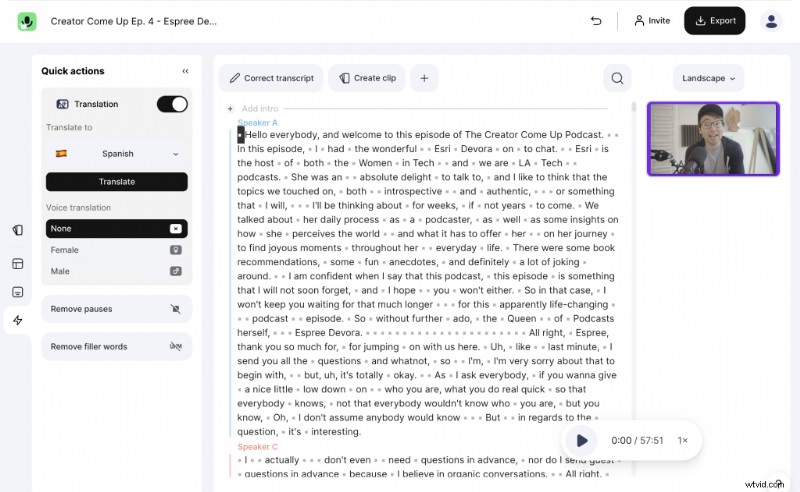
Translate your captions into any of the 30+ supported languages by selecting Translate from the top menu. Export as .srt or .vtt files to provide native captions on platforms like LinkedIn, Facebook, or YouTube, giving viewers the choice to enable or disable subtitles.
Conclusion
Adding subtitles has never been easier. With Streamlabs Podcast Editor’s automated workflow, you can create professional captions in minutes, expanding your reach and improving viewer satisfaction.
Frequently Asked Questions
What fonts work best for subtitles?
Choose clean, sans‑serif fonts that read well on all devices. Popular choices include Inter, Open Sans, Roboto, Work Sans, and Poppins—all available in the editor.
Where can I use .srt files and how do I download them?
Export .srt or .vtt files via the Export menu. Upload them alongside your video on YouTube, LinkedIn, Facebook, or import into editors like Adobe Premiere for professional workflows.
What’s the difference between captions and subtitles?
Our separate guide explains the technical distinctions, including how closed captions convey audio cues for the hearing impaired.
For more in‑depth tutorials, see:
Further Reading
How to add close captions and subtitles to TikTok clips – June 01, 2023 – Michael Sieb
How to add subtitles & closed captions to Vimeo videos? – June 01, 2023 – Michael Sieb
How to add SRT subtitle files to Facebook videos? – June 01, 2023 – Michael Sieb
Edit your videos with text to grow your streams, podcasts & interviews!
Enabling creators to do more