Every video creator has encountered the 16:9 aspect ratio, but its practical meaning and how to apply it can be unclear. This guide explains what 16:9 really is, why it matters for modern displays, how to calculate and maintain the ratio, and how to adjust it efficiently in Wondershare Filmora.
What Is the 16:9 Aspect Ratio?
The 16:9 ratio, also called "16 to 9" or "1.71:1," represents a widescreen format where the width is 16 units for every 9 units of height. It has become the industry standard for HDTV, streaming services, and most digital displays, as defined by ITU‑R BT.709.
Calculating the 16:9 Ratio
Use a simple formula: Aspect Ratio = Width ÷ Height. For example, a 1920×1080 image yields 1920 ÷ 1080 ≈ 1.78, which rounds to 16:9.
To resize a clip while preserving its aspect ratio, follow these steps:
- Determine the original width and height.
- Divide the height by the width to get the aspect ratio factor.
- Multiply this factor by the new desired width to compute the new height.
- Apply the calculated dimensions to your editor.
Standard 16:9 Resolutions
Choosing a common resolution ensures compatibility across devices and prevents letterboxing. The most frequently used 16:9 resolutions are:
- 854×480 (FWVGA)
- 960×540 (qHD)
- 1024×576 (WSVGA)
- 1280×720 (HD/WXGA)
- 1366×768 (FWXGA)
- 1600×900 (HD+)
- 1920×1080 (FHD)
- 2048×1152 (QWXGA)
- 2560×1440 (QHD)
- 3200×1800 (WQXGA+)
- 3840×2160 (UHD)
- 5120×2880 (UHD+)
- 7680×4320 (FUHD)
- 15360×8640 (QUHD)
- 30720×17280 (HHD)
- 61440×34560 (FHHD)
- 122880×69120 (QHHD)
Changing the 16:9 Aspect Ratio in Wondershare Filmora
Filmora offers multiple ways to adjust aspect ratios, making it ideal for both beginners and professionals. Below are five methods you can use:
1. Set Ratio at Launch
When you start Filmora, select File > New Project and choose from the preset ratios (16:9, 4:3, 1:1, 9:16, 21:9). This ensures your timeline matches your desired output from the start.
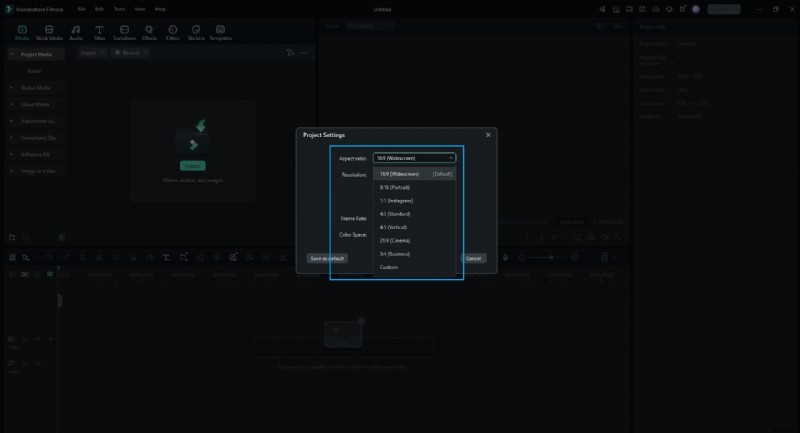
2. Adjust via Project Settings
Open Project Settings to define a custom aspect ratio. If your source footage is 16:9, selecting this ratio avoids black bars when exporting.
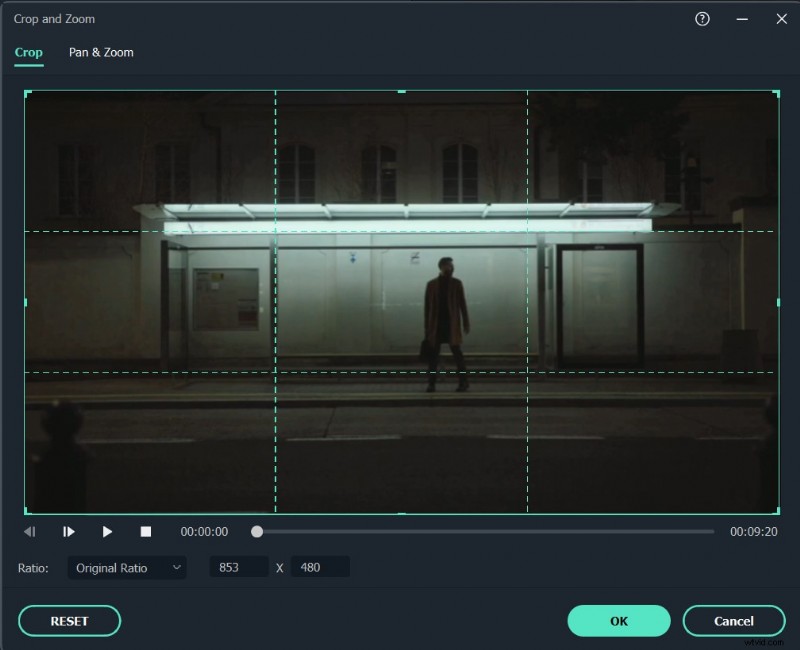
3. Crop and Zoom During Editing
Right‑click a clip in the timeline, choose Crop & Zoom, and manually set the ratio. You can also input custom dimensions.
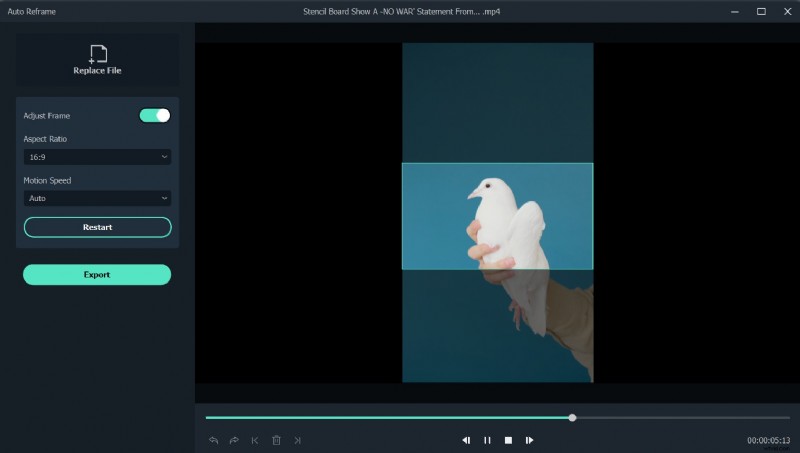
4. Use Auto‑Reframe
Filmora’s Auto‑Reframe automatically adjusts the frame to keep subjects centered when changing ratios. Ideal for social‑media‑ready videos.
Steps:
- Right‑click the clip and select Auto‑Reframe.
- Choose the desired ratio and motion speed.
- Click Analyze and let the tool crop automatically.
- Fine‑tune the frame if needed, then export.
5. Set Ratio at Export
When exporting, select the target platform (Local, Device, YouTube, DVD) and choose the appropriate resolution and aspect ratio. Filmora will encode the video accordingly.

Conclusion
Mastering the 16:9 aspect ratio—whether by calculation or editing—ensures your videos look polished across all devices. With Filmora’s versatile tools, you can effortlessly maintain the right format for any platform, from social media to full‑size displays.