Preparation
What you need to prepare:
- A computer (Windows or macOS)
- Your video materials.
- Filmora video editor
Step 1
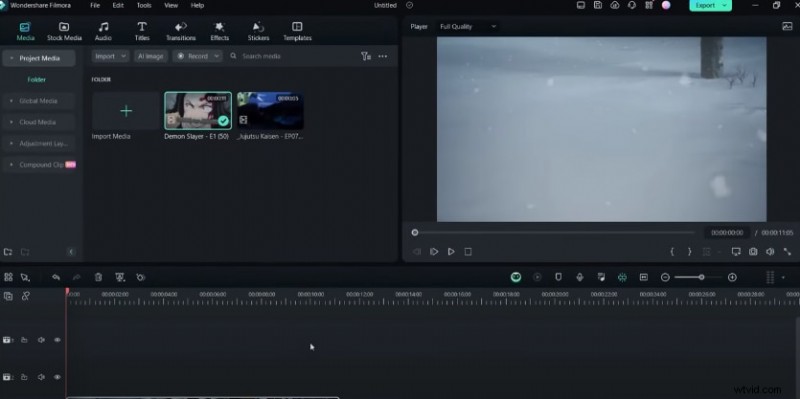
Open Filmora
You should use the Wondershare Filmora to start your AMV editing process. Launch the program and get ready to import your desired clip.
Step 2
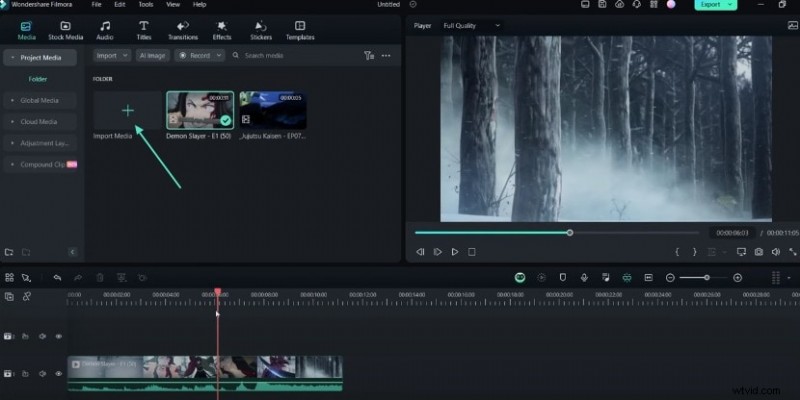
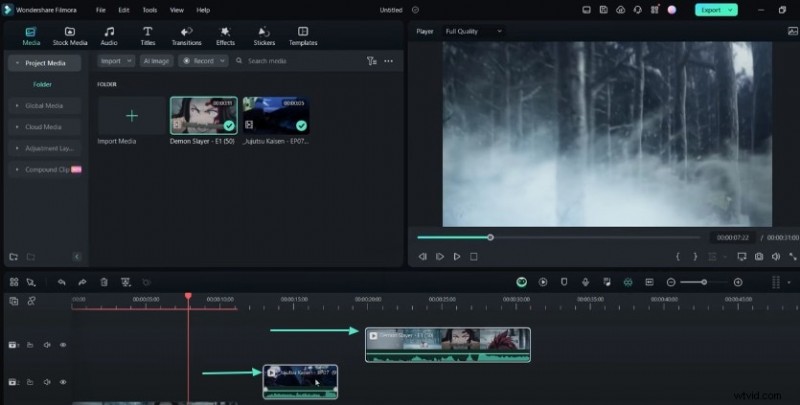
Import Your Clip
You should import the video clip you wish to work with. Look for the "Import Media" category in the editing window and select the option to import your clip.
Step 3
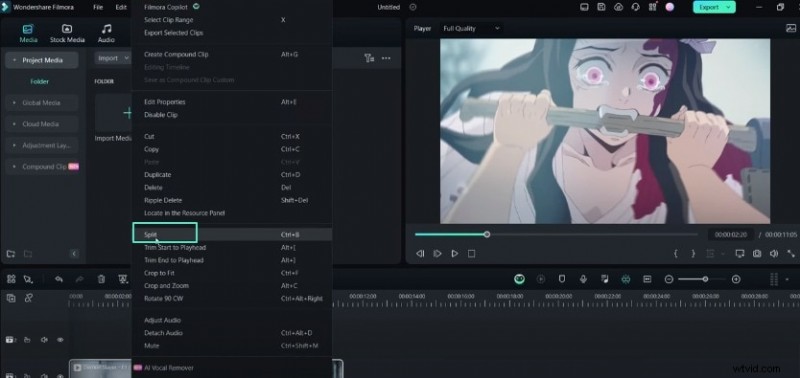
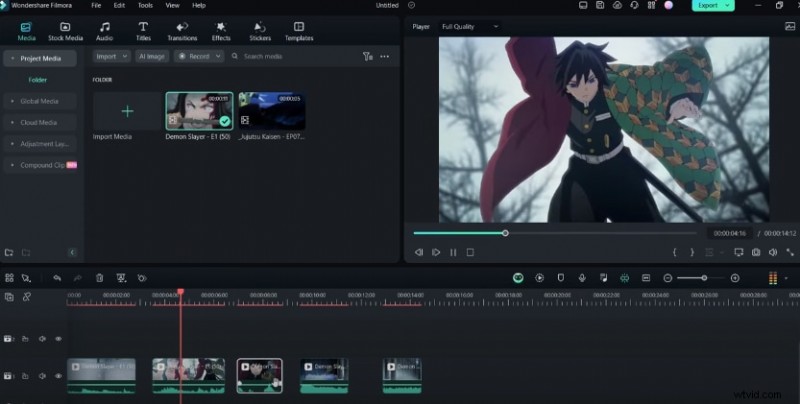
Split the Clip
After importing your clip, you can split it into multiple segments if needed. You should press the "Ctrl + B" keyboard shortcut to do this. Alternatively, you can right-click on the video in the timeline and choose the "Split" option. Splitting allows you to remove unwanted portions or create separate sections for editing.
Step 4
Undo and Redo Actions
Filmora lets you undo or redo actions you perform during the editing process. Press the Ctrl + Z keyboard shortcut to undo an action. If you want to redo an undone action, press Ctrl + Y.
Step 5
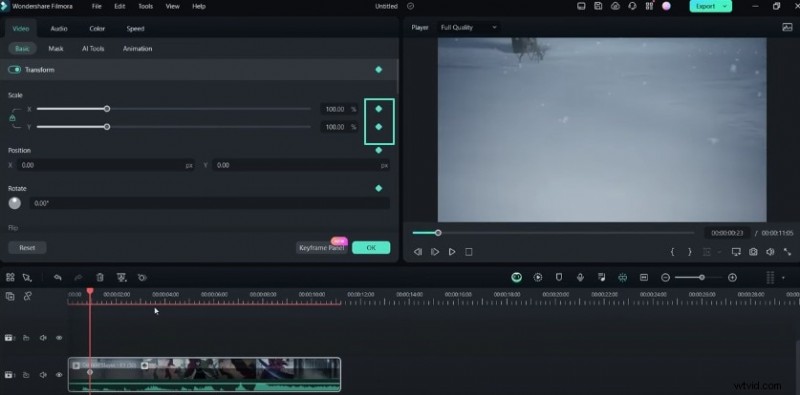
Add Keyframes
Keyframes are used to create motion or opacity effects in your video clips. To add it, press the Alt + Left Click on the desired position in the timeline. You can also adjust the opacity value by opening the clip's settings.
Step 6
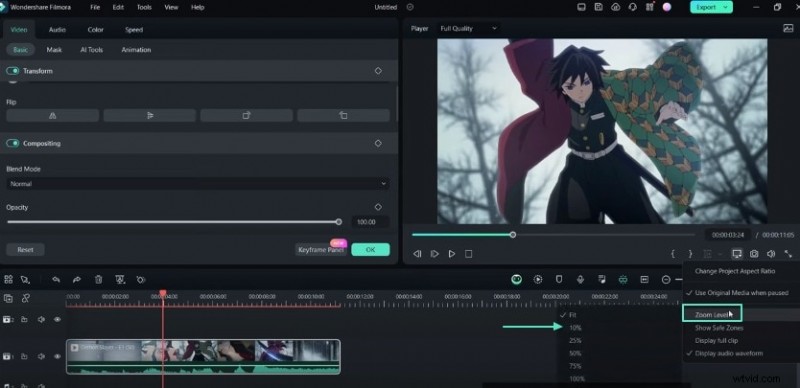
Adjust Zoom Levels
Filmora offers various zoom level options, such as fit, 10%, 25%, 50%, and more. You should select the appropriate zoom level. It helps when performing masking operations where precision is required. Go to the video settings and choose the "Mask" option to select the portion of the clip you want to zoom in on.
Step 7
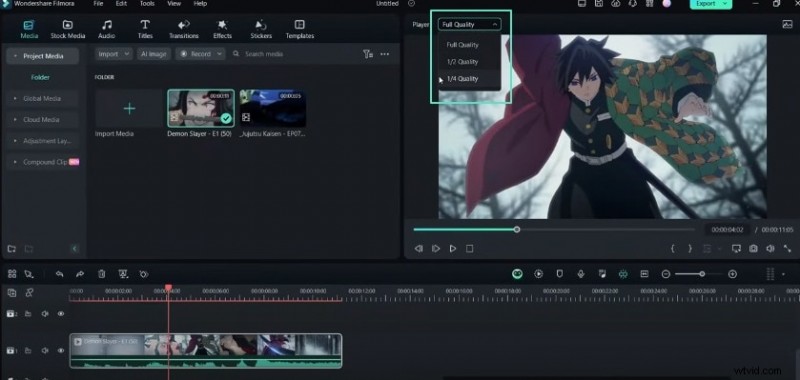
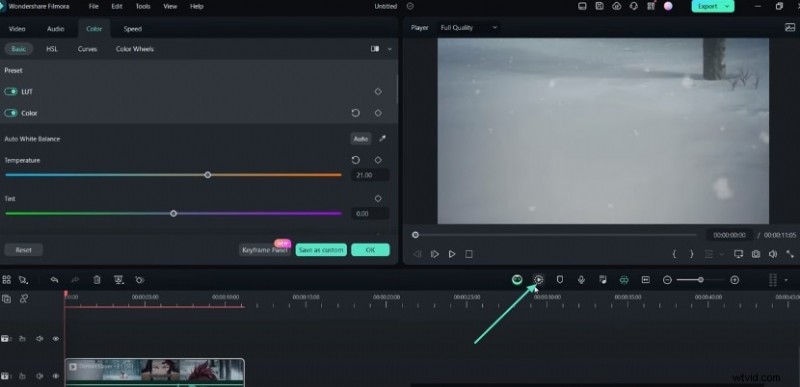
Adjust Playback Quality
You can manage the playback quality of your video during the editing process. Look for the Full Quality option above the video preview area.
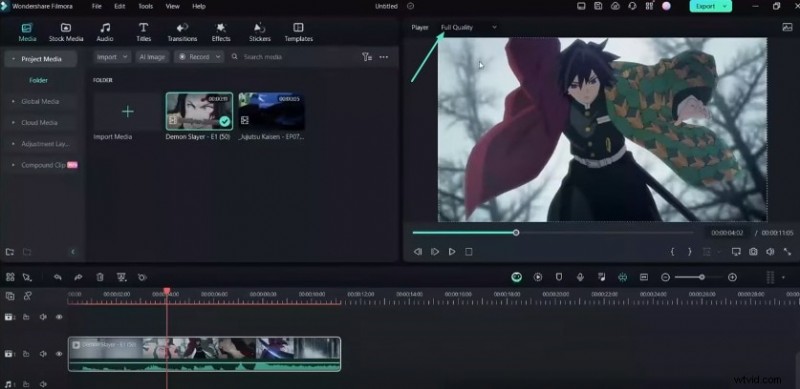
Clicking on it will reveal multiple options, including Full, 1/2, and 1/4. You can choose a lower playback quality to render the video faster with less lag. However, it won't affect the final export quality.
Step 8
Select Multiple Clips
You may want to simultaneously select and move many video clips along the timeline. So, you should use the "Ctrl + Left Click" keyboard and mouse combination. It will let you perform actions on multiple clips at once.
Step 9
Pre-Render the Video
You can perform a pre-render to preview how the edited video will look. To do this, you should press the "Enter" key. This action will render the video without exporting it. As a result, it lets you review the results before finalizing the project.
Step 10
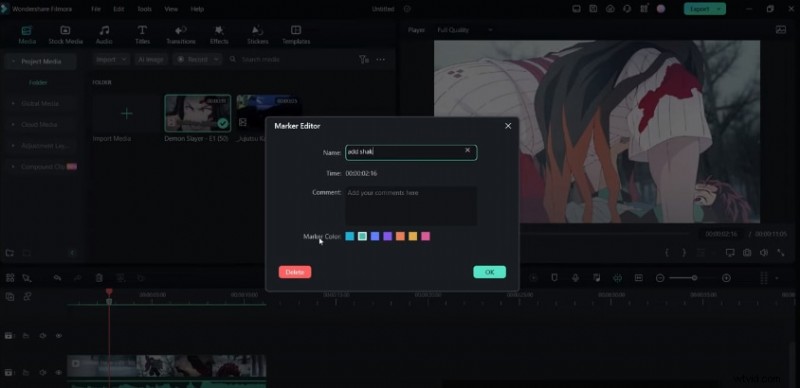
Use Markers
Filmora provides a marker tool to help you organize and manage the editing process. To access the marker editor, press the "M" key. Once open, you can add markers at different positions along the timeline. You can also give them descriptive names, such as "Add Shaker," "Add Exposure," etc.
Step 11
Manage Tracks
Sometimes, you may want to manage various video and audio tracks in your project. You should click the button on the left-hand corner of the timeline. It will allow you to choose where to add new tracks and how many tracks you want to include in your project.

Summary
What you've learned:
- You must know the basics of using any video editing software. Be it splitting clips, adding keyframes, adjusting playback quality, or managing tracks! Knowing keyboard shortcuts also lessens your editing time. Filmora offers everything you need to craft perfect AMVs. You can learn more about these offerings at Filmora Creator Hub.