Over the years, HDR Photography has become synonymous with over-saturated, over-processed, and unrealistic images. Some hear the term HDR and never give it a second thought because of their perception of what it is. Add to that, all the camera dynamic range improvements and many say that HDR has lost its place for good.
So how exactly can HDR photography still be beneficial to you? How can you use it to your advantage?
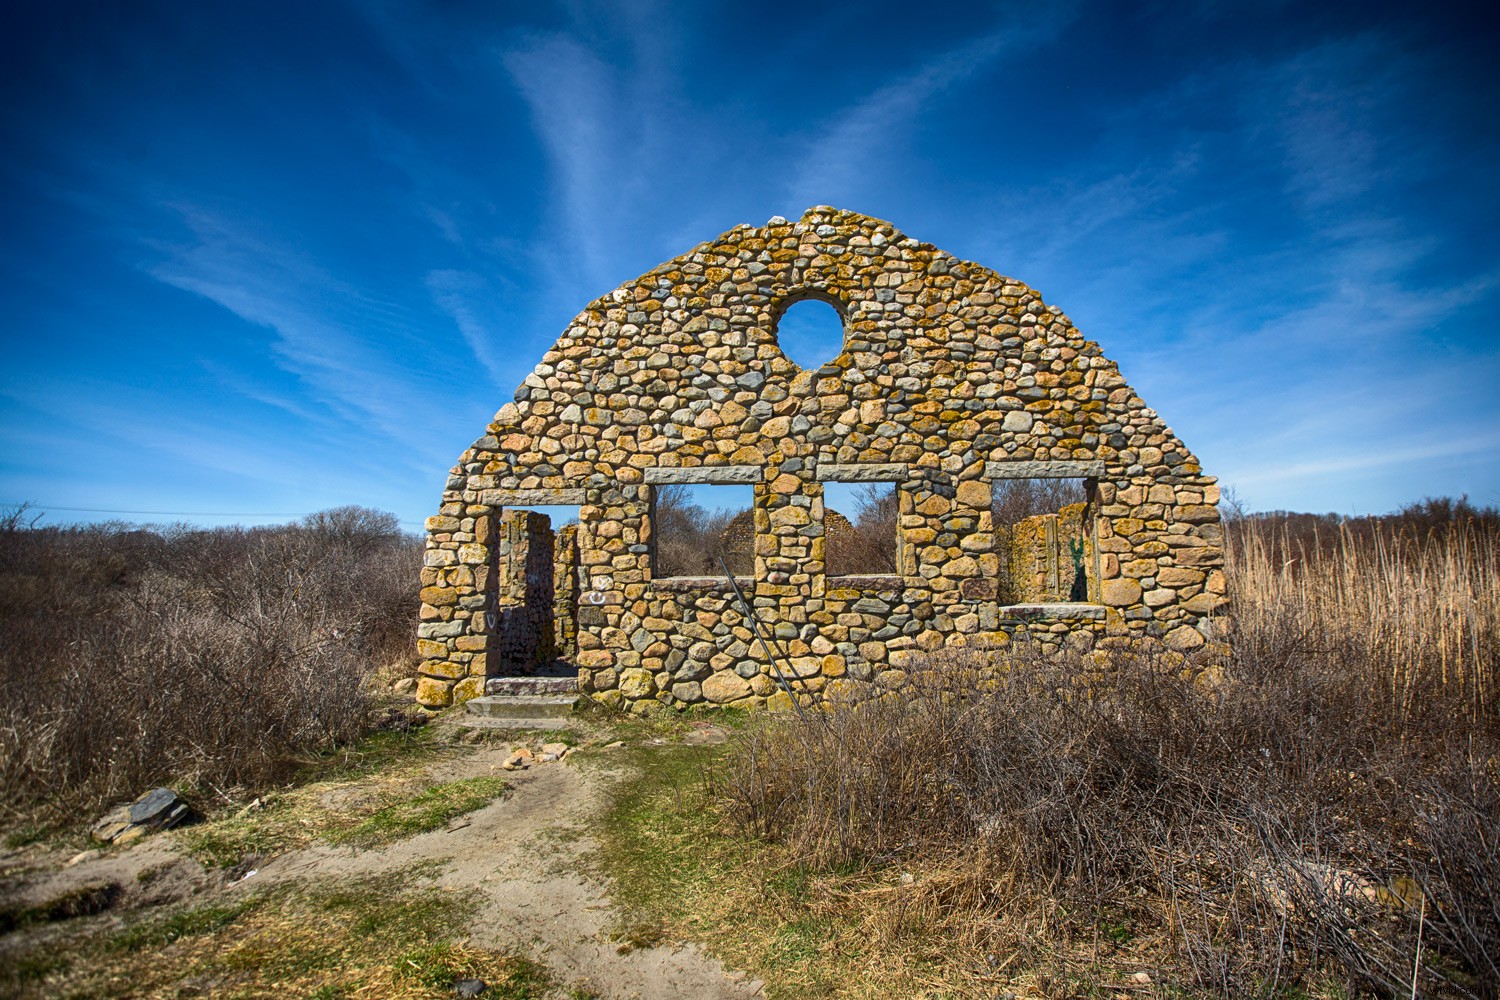
The oversaturated look that has become synonymous with HDR photography.
What exactly is HDR Photography?
HDR or high dynamic range refers to the difference between extremes – the brightest and darkest areas of your image. In reality, your eyes can adjust for shadows and highlights in the same scene, but a camera cannot (again this has come a long way over the years).
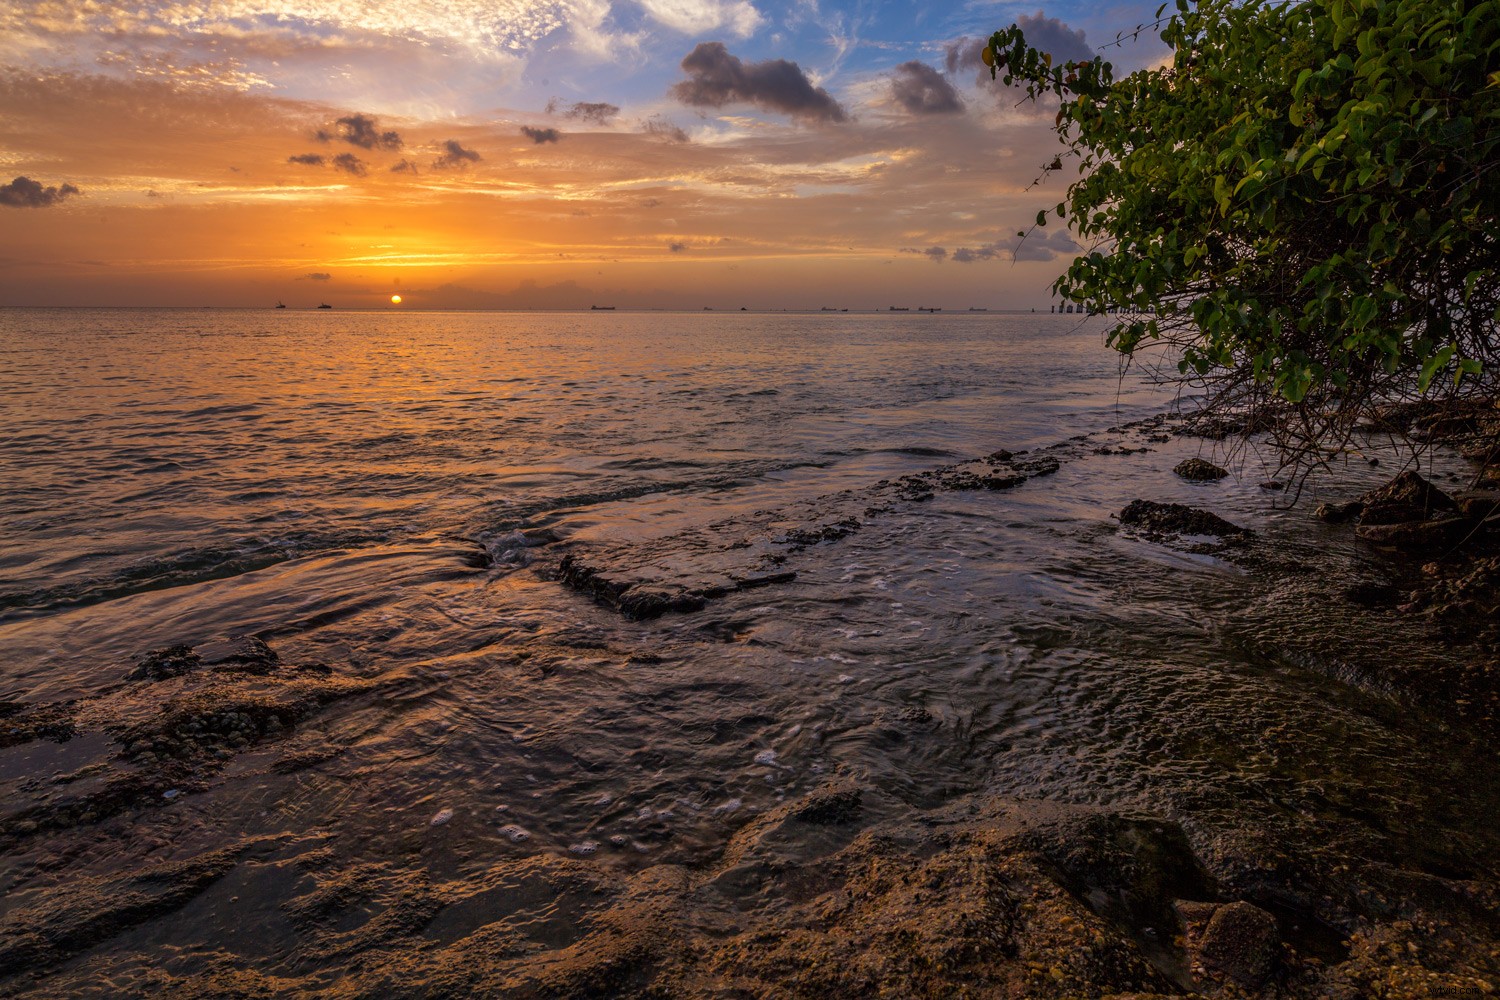
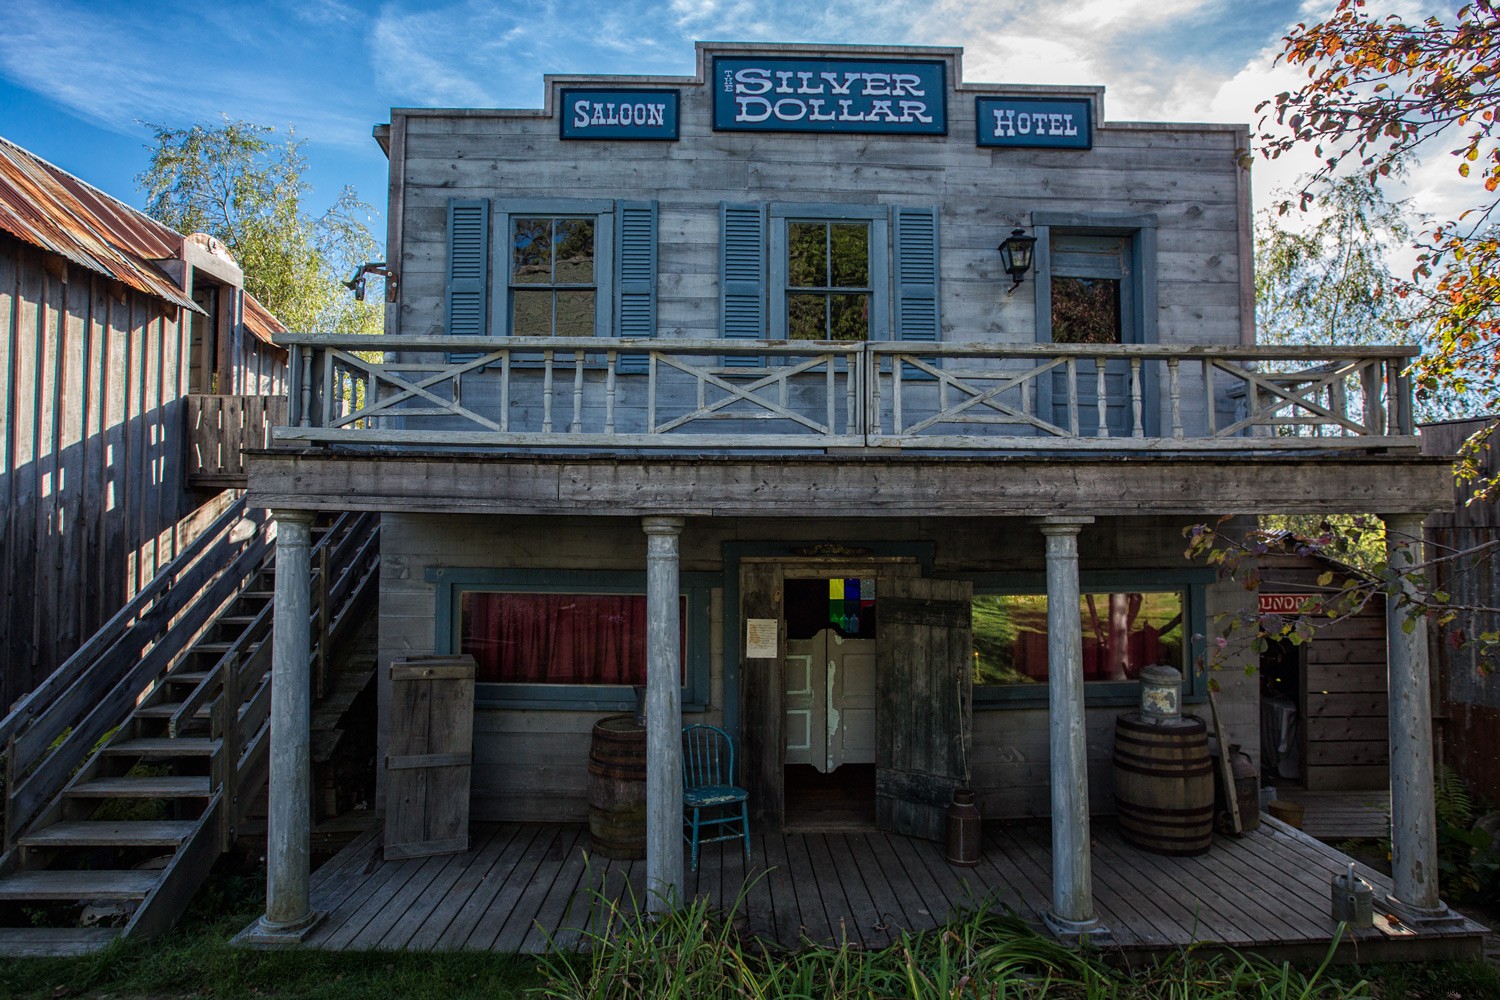
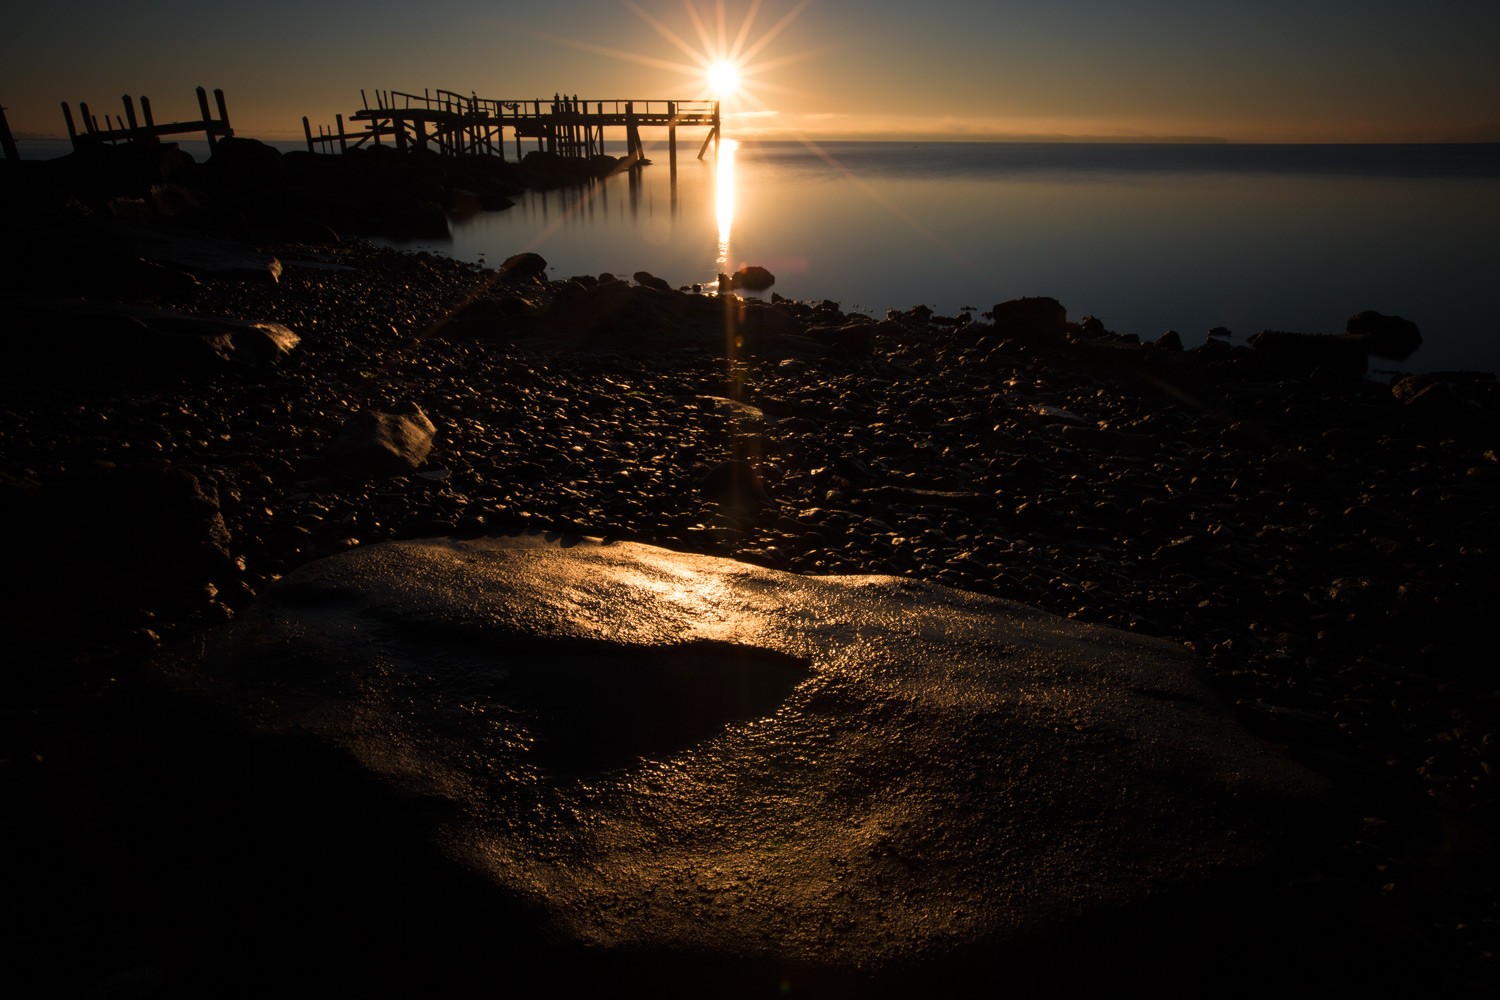
A more realistic looking HDR image.
Have you ever witnessed a scene that took your breath away, but were unable to capture it as is because you had to choose what your camera captured?
Exposing for the highlights left some of your image too dark or exposing for the shadows left your highlights too light. Or maybe you tried for somewhere in between and ended up with both dark shadows and light highlights?
Well when you want to capture the dynamic range of an area, you sometimes need to take more than one photo. To do that, you need to use bracketing, which is taking multiple images of the same scene at different exposures.
Most cameras now come with auto bracketing modes (AEB) , but you always have the choice to manually adjust your exposures between shots.
HDR Photography usually involves several bracketed images with a minimum of three images to capture the dynamic range. One image is exposed for the darker areas in your scene, another for the mid-tones and the third for the highlights. When you merge these images, you create an HDR image which reveals more detail than a single shot.
Fun Fact: Did you know that HDR photography has existed since the days of film?
How does this work to your advantage?
If you are not interested in creating mind-bending images with HDR, what’s the point? Well, the main benefit is capturing/revealing any lost details and doing so in a realistic way.
Think of it as extending the tonal range of what your camera reproduces to mimic what your eyes see, as opposed to the graphic style that HDR has become synonymous with.
Subtle HDR also helps reveal textures in an image.
Steps for a Realistic HDR Photo
Truthfully the steps for making a realistic HDR are not drastically different from one that looks overly processed. The key is to know when to stop processing.
1. Selecting a scene
So what kind of shots are right for HDR photography?
Typically these include scenes that have a lot of contrast, for example, landscape and architectural photography. HDR is not recommended for scenes with a moving subject, or for shooting portraits (as it has a reputation for aging faces).
It is fun to experiment with bending the rules though and seeing the results.
2. Capturing your images
To eliminate or minimize movement between your shots, a tripod is an essential tool. This also ensures that each image in your sequence has the same composition.
An HDR image is usually composed of between three to seven bracketed images. Three exposures are sufficient for a more photo-realistic HDR, at two stops (EV) apart. If done manually, this means that your first shot will be metered for the mid-tones of the image (0EV), followed by dialing down your exposure to -2 for your second shot, and lastly where your meter is at +2 for your third shot.
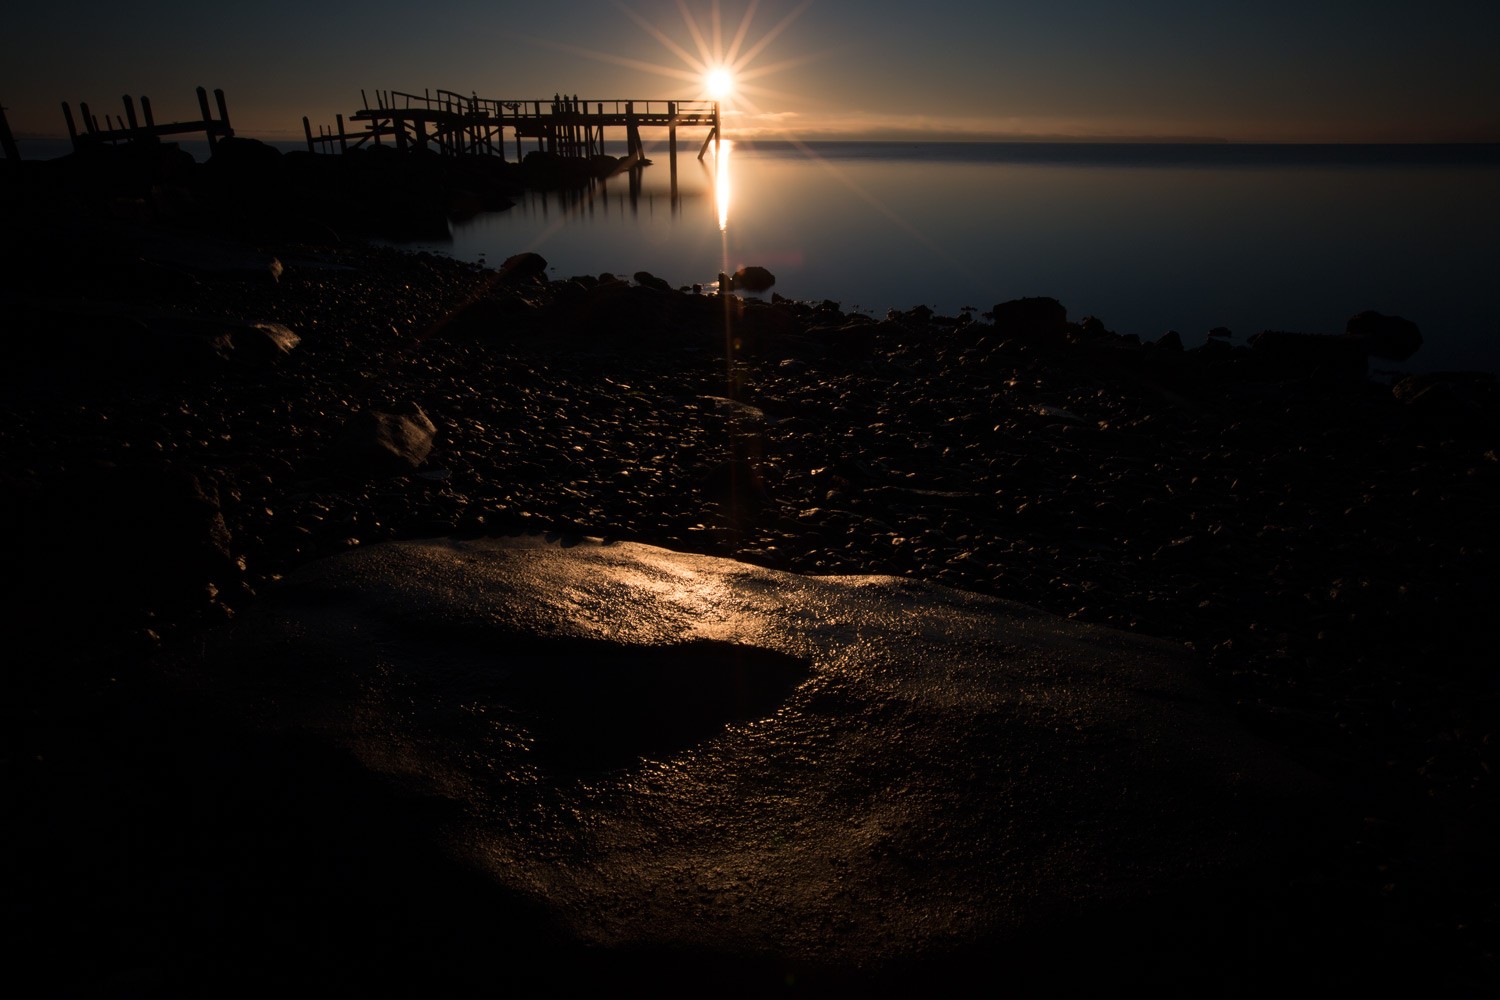
Bracketed image underexposed (exposure -2).
Overexposed (exposure +2).
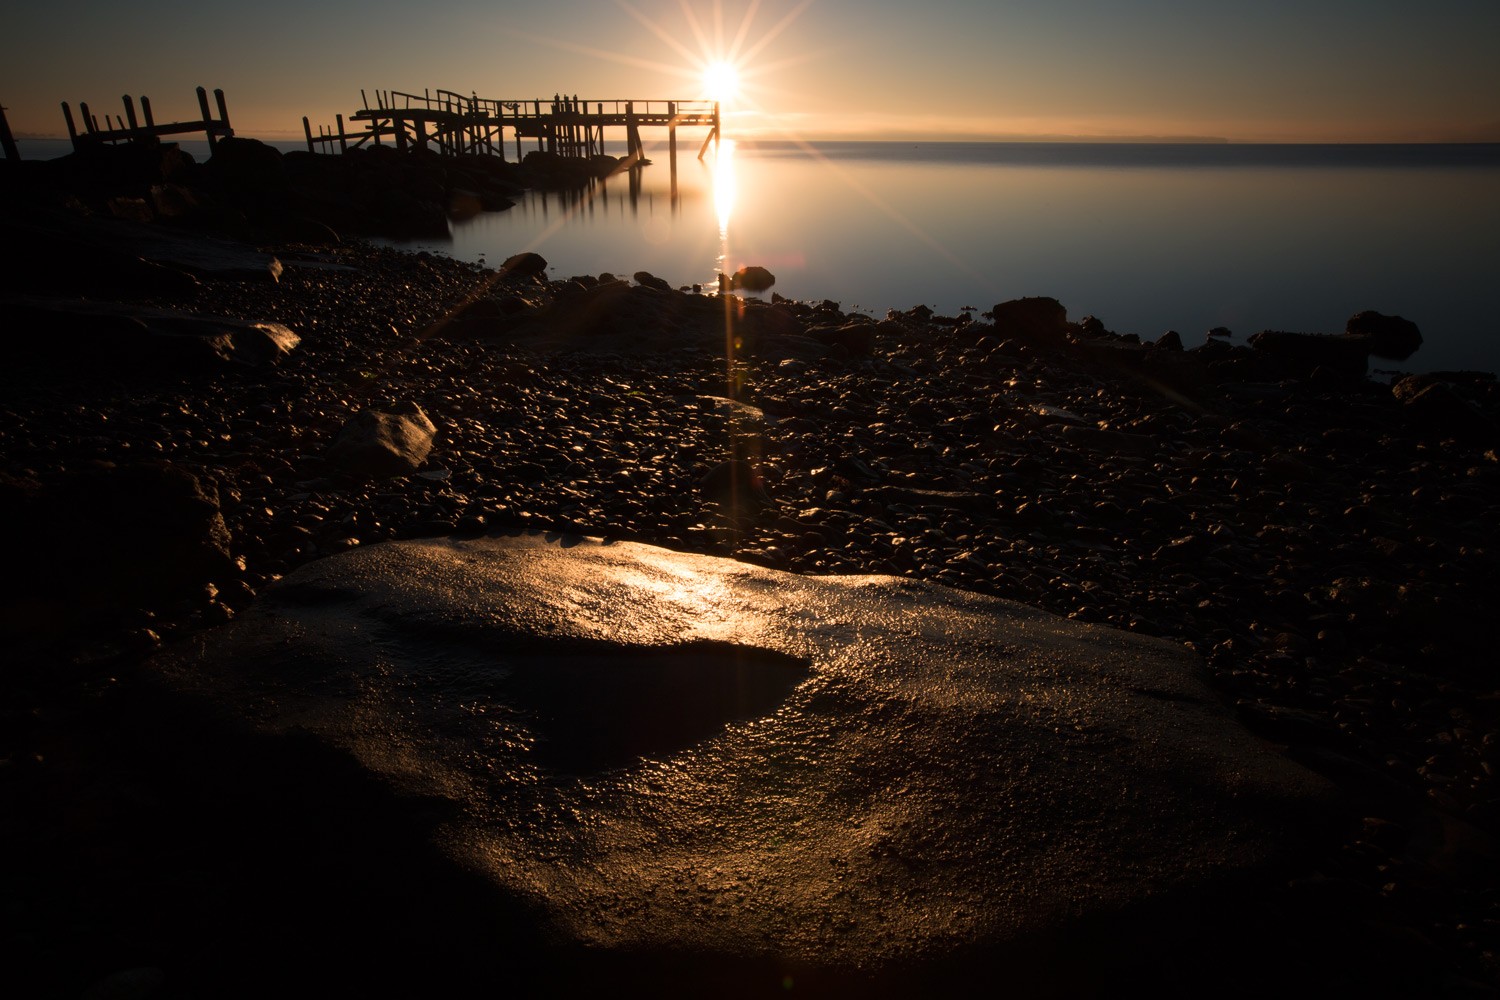
Bracketed image mid-tones (exposure metered at 0).
Use the HDR or Auto Bracketing (AEB) feature of your camera to accomplish this automatically.
Note: If you are shooting into the sun, you may need to do five exposures at one or two stops apart.
3. Processing your images
Processing HDR photography is essentially combining your images and adjusting your tonal mapping for detail. When it comes to processing, you have a choice of software: Photoshop, Photomatix, Lightroom and Aurora HDR to name a few.

Processed bracketed images – reveals more details (warmth boosted).
Again, processing is the place where you can push your HDR too far or end up with a nice photorealistic image.
Usually, HDR software comes with presets that give you a range of looks. If you want your image to be more on the realistic side, you need to take control of the settings. Some of the settings you want to control include; reducing noise, fixing chromatic aberrations and dialing back your tonal adjustments.
Conclusion
The main benefit of HDR photography is recovering detail in your images. Landscape and architectural photographers often use HDR realistically to portray high contrast scenes.
HDR photography is often associated with overcooked images, but when it’s not overdone it can balance out a scene and makes it more appealing to your viewer. Your objective is to post-process just enough to maintain a natural look.