The whip pan is a great way to transition between scenes and draw attention to your subject matter. Here are four ways you can pull it off.
The whip pan is by far my number one transition when it comes to editing video. There are plenty of ways to pull off this transition, from capturing it on set to building it in post. So, let’s take a look at how it’s done.
Capture Practically

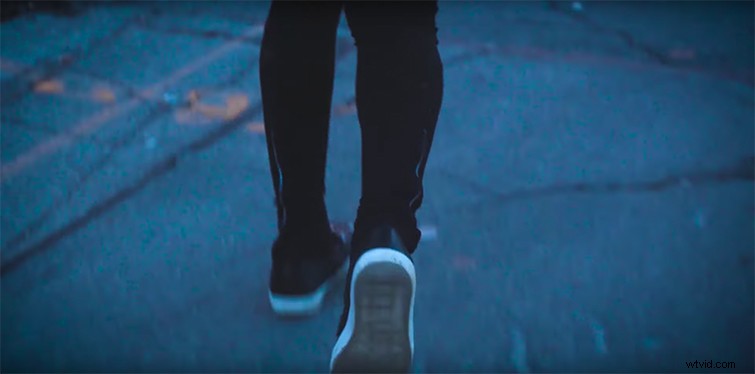
The first method is the most obvious way: capturing it practically. Take your camera, zoom it in, and pan quickly in one direction. This will create a blurry whoosh on screen. From here, you splice a 24-frame selection from the clip and put it in-between two other shots on your edit timeline.
Endings and Beginnings
You can get really creative with whip pans by capturing them at the end of shots and blending them with shots that are just beginning. This can create a seamless edit that blends two shots with one woosh. It’s incredibly effective, and it’s super simple.
Time Ramping
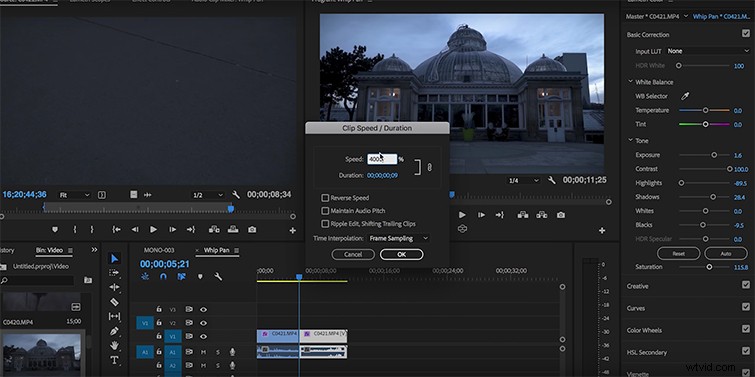
Let’s say you don’t have any whip pans that you captured practically. Fortunately, there’s an effective solution using time ramping. First, find the shot you want to use. After that, speed up the end of the clip by 500-4,000 percent. This will make any subtle camera movement blurry and noticeable. You can even apply frame blending to create motion blur.
Keyframing
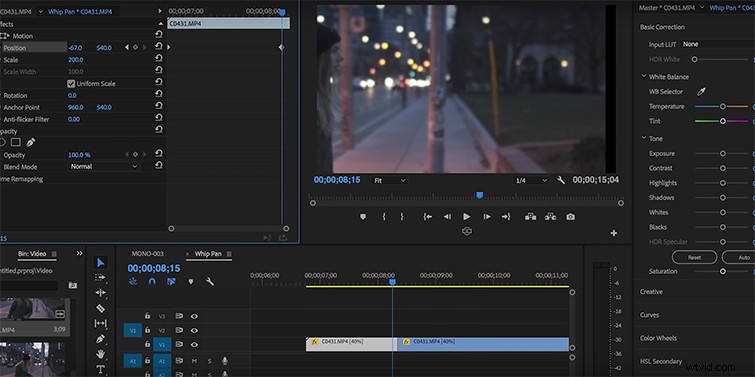
Finally, if your shots don’t speed up well, you can manually recreate the whip pan using keyframing. Simply scale in your footage to 500, then position it to either the far left or far right side of the screen. Now, keyframe it to move from one side of the screen to the other. Now go into your effects panel and apply a directional blur that moves horizontally.
There you have it! Four very effective whip pan transitions you can use in your next edit.