In just four manageable steps, this tutorial will show you how to properly and quickly create the double exposure effect.
Step 1 — A Bright Backdrop
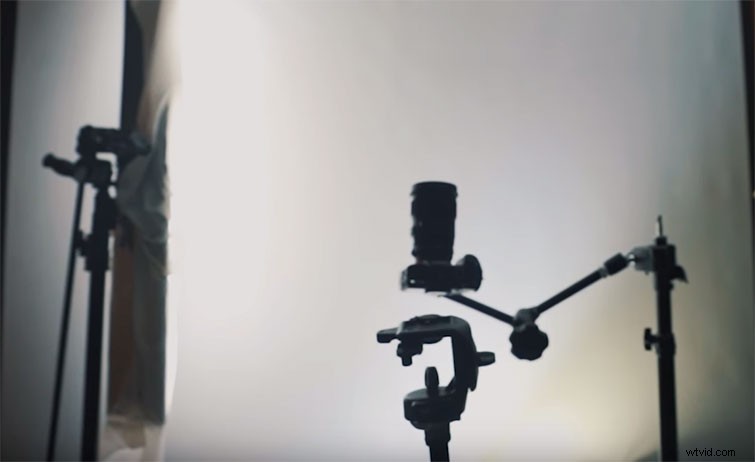
The key to this effect is to have a bright, blown-out background and a dark, silhouetted foreground. To achieve this, I blasted a ton of light at my white background (a.k.a. roll-down projector screen). The main motivation is to eliminate any shadow from your white backdrop. The second part of this process is making sure my subject matter (foreground) is a few feet from the background, to avoid any light spilling.
Tip: the darker your foreground subject matter, the greater the double exposure effect spills through.
Step 2 — Film it
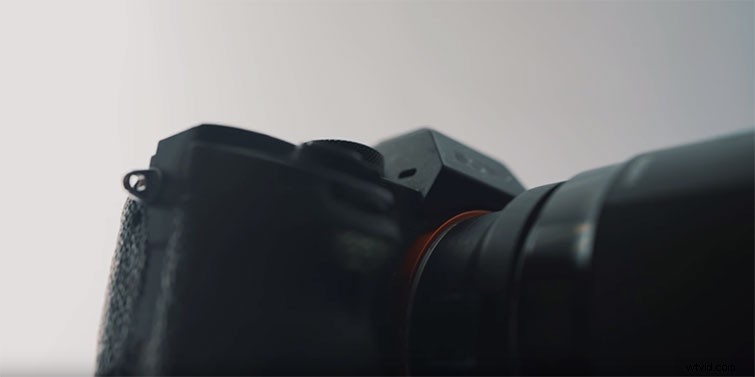
Put your camera on a tripod, making sure a white light thoroughly outlines your shadowy subject. To add a more cinematic vibe, I rotated my subject slightly while filming, creating depth and movement in an otherwise static shot.
Step 3 — Edit it
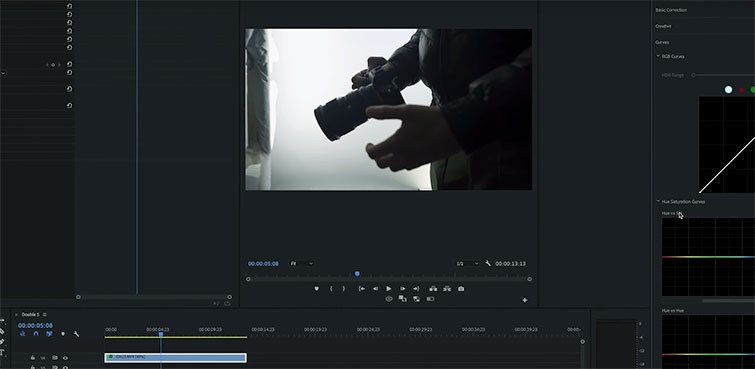
Editing these shots is rather simple. Take the shot, put it in your timeline, then tweak the colors so that the image is contrasty. I put a slight S curve over everything to make sure my shadows were a dark black and my highlights were an overexposed white.
If you’ve filmed on a backdrop that wasn’t appropriately lit, or perhaps it was too small, you can do some simple masking to eliminate any shadow spilling onto your highlighted backdrop. Once you’ve created the mask around your subject, make a new white matte and drop it behind your shot. Then, nest the two together.
Now that the clip is nested, you can do subtle keyframe movements, which will add motion to your shot.
Step 4. Double Exposure-ize
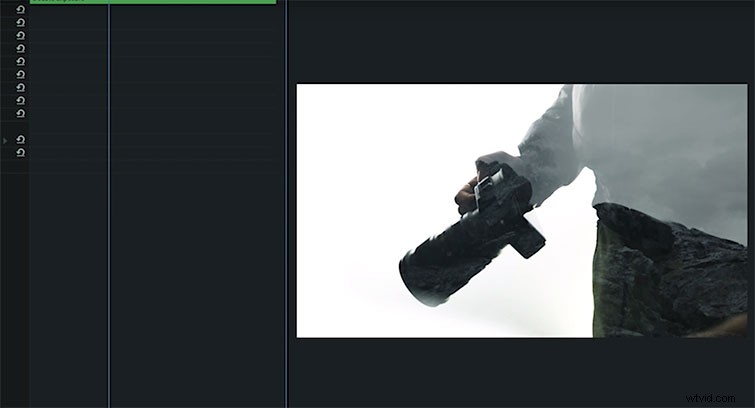
Find the shot you want double exposure’d, and drop it underneath your edited clip. Go into the edited clip and change your blend mode to “screen.”
Interested in the tracks we used to make this video?
- “Never Fading” by Tonemassif
- “Success Story” by Vincent Tone