Solidify your brand’s identity by animating your business’ logo in these two different ways. See the two methods of doing so in After Effects.
Having a good animated logo will help an audience connect more with any brand. Viewers are less likely to remember static images compared to dynamic media. So, there’s no reason why a brand shouldn’t have an animated logo, especially since many motion designers offer good, affordable services.
Motion graphics can open up a whole new world of possibilities for a logo, plus it’s a great way to add a fresh look to an old one. I would consider having an animated logo a necessity for promoting a brand’s identity.
Of course, there are endless ways to animate a logo. However, there’s one important thing to keep in mind when you’re trying to figure out how you should animate your logo. You need to know the brand and what they stand for. For example, you wouldn’t animate a logo for a nightclub the same way you would for a company selling essential oils.
In the video, I animated the same logo in two different ways. I did this because I wanted to show how the animation movements can change how an audience perceives a logo.
The two methods I used in the video are both relatively simple and animators of any skill level can do them. Before you start animating, you need to prep your artwork so it is organized and easy to work with down the line.
Adobe Illustrator
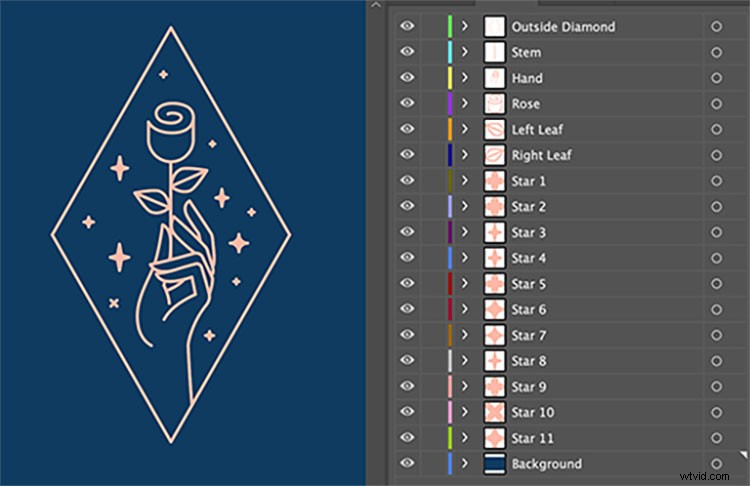
I am not an Illustrator professional by any means. But while we are in here, our ultimate goal is to organize the artwork so that it is easy to work with in After Effects.
Illustrator and After Effects have very different organizational systems. So, what we need to do is make sure all the graphics are on their own layers. The easiest way to do this is just to create a new layer and drag everything you want animated together onto it. For example, on the logo I used, I went ahead and grouped all the assets that made the hand onto one layer. Next I grouped everything that made up one leaf on another layer, and so on for every piece of the vector graphic. This can be a bit tedious. But, trust me—if you just try to throw an unprepared Illustrator file into After Effects you’re going to regret your decision instantly.
If you need a more in-depth look on this topic, check out this article.
Adobe After Effects

Once everything is organized, it is time to import your .ai file. Open up After Effects and go to file, import, file. Next locate your Illustrator file. Once you find it click on it, but don’t hit open yet. When you highlight the file you will see an option at the bottom of the file explorer window that says Import As. Click that drop down menu and change the option from footage to Composition – Retain Layer Sizes.
Now you should see all the layers you organized in Illustrator inside of After Effects, but with a small .ai icon next to them. Next, highlight all the layers, right click, and find the option labeled Create. Hover over it and from there another sub-menu will pop up. From there you will want to click on Create Shape Layers from Vector Files. Now you have successfully converted your Illustrator file into shape layers, which you can animate inside After Effects.
Method #1

My original plan for animating this whole logo was to just add trim paths and boom, all done. But of course, that was not the case. I thought the vector graphic was all strokes, but they were actually all outlined and filled in. So, I couldn’t apply trim paths to it after all.
However, there is an easy work around for this. All you have to do is trace the entire thing layer by layer instead. It looks like this:
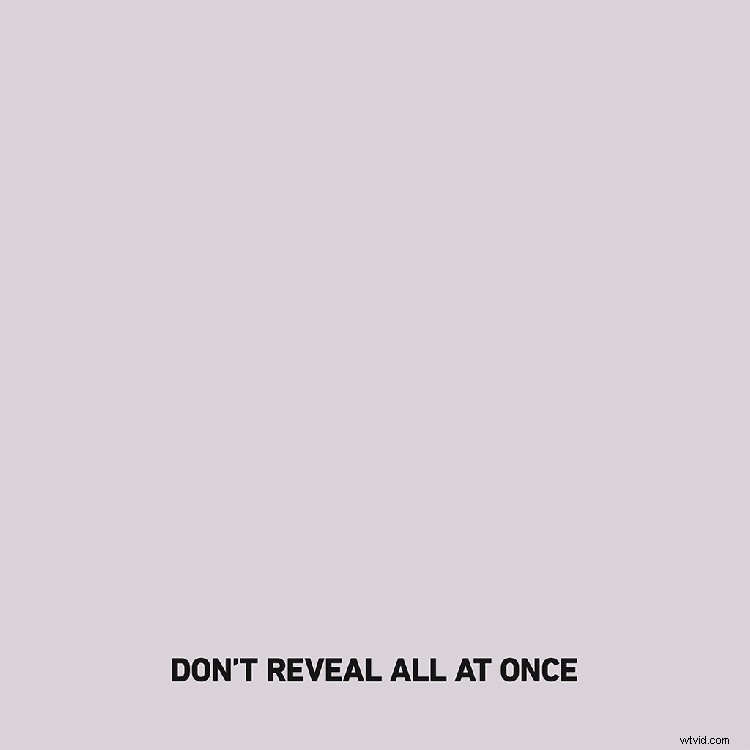
Apply this technique to every layer then boom, you’ll have your first animated logo complete. Make sure you reveal your graphic in an order that seems logical. Revealing the hand last would not make much sense and I guarantee that most people will feel weird while watching the logo animate on screen.
Another thing to keep in mind is to make sure you stagger your key frames. Having certain actions start at different times is a great way to keep your audience engaged. Here is an example of what it would look like if everything revealed at the same time.
Method #2

This one is my absolute favorite because I felt like the motion complimented the graphic very well. The backbone of this animation is the effect called CC Bend It. I set the start and end point of the effect to the bottom and top of the surrounding diamond outline. It’s really important to keep both points in the same location for every layer. If the points are in different spots, the timing will be different when you go to animate CC Bend It. Without correction it will be impossible to match the effect across multiple layers.
Lining up the points is only half of the task. You also need a realistic bounce back after the flower and hand snap onto screen.
The easiest way to do this is to use a bounce expression because it will save you a lot of time. By using an expression you only have to set down two key frames. From there you edit the values inside of the expression until it’s to your liking. Another thing I did to help sell the overall motion was to animate the rotation for the leaves and top part of the flower. This is a really good technique to use if you’re trying to show convincing, natural movement.
Every logo needs its own unique animation. There is no template for how they should look or what process will work best. It sounds scary, but that is actually the fun part. Go out there and attack a logo animation with confidence. Your job as an animator is to give a static graphic life, and it is a lot easier than you think. Just by looking at art work that is already complete, you’ll easily start to see how you can make it move. If you’re just taking your first swing at logo animation, just have fun with it and take it step by step.
Find even more tips on starting and perfecting your video productions with these articles:
- How to Brand Your YouTube Channel with Channel Art
- The 5 Best Mobile Lenses for Under $150
- The 11 Best Filmmaking YouTube Channels to Subscribe to in 2020
- Why You Should Start a YouTube Channel If You’re a Freelancer
- The Best Free Resources for Your Filmmaking Expedition
Cover image via venimo.