Working with the export settings for your social media video projects can be daunting. Here’s what you need to know about exporting from Adobe Premiere Pro and Final Cut Pro X.
Do you need to get your video projects ready for the web? Here are the fundamentals behind exporting for social media using Adobe Premiere Pro and Final Cut Pro X.
1. Mark In and Out
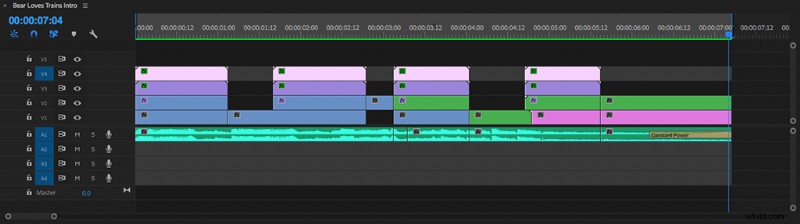
When you export without marking your In and Out points, you risk exporting all the random clips you were “saving for later” at the end of your timeline. You don’t want that.
2. Know Your Containers and Codecs
A container stores data about audio and video information within the digital file. It simply means there is both audio and video information in a single file ready for simultaneous playback. You see the container type in your filename. Common containers include .mov, .mp4, .flv, .avi, and .wmv. There are many more, and you always want to check which container you need for the platform where you’re planning on hosting or sharing your video.

Codec is short for “coder/decorder.” Codecs compress streams of data to reduce the file size. They also decompress for playback and editing. There are two types of codecs: lossless and lossy. Lossless codecs involve no compression whatsoever. They are an exact representation of your timeline settings. Lossless exports are great if you’re editing something like a show intro or an asset that will appear in multiple projects. They are also great for any project that you will screen using a projector. Lossy codecs will prioritize certain pieces of data to make the file size smaller. They can result in loss of quality, but even within the “lossy” space there are some great options.
3. Social Media Settings
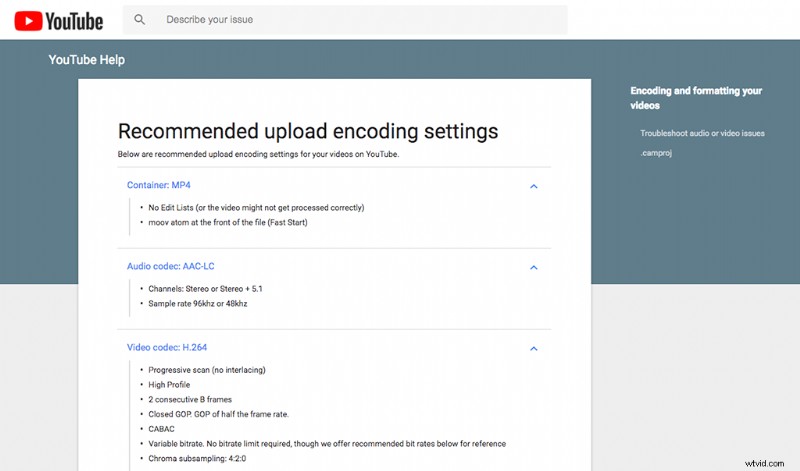
When you’re getting ready to export, I highly recommend taking 30 seconds or so to double-check the current recommendations for your platform. The digital media world is always evolving, and it’s not uncommon for platforms like YouTube, Twitter, and Instagram to change their standards.
4. Exporting from Premiere

CMD+M (Mac) or CTRL+ M (PC) will get you to the Export Menu in Premiere Pro. You can also go to File > Export > Media. Make sure you choose settings appropriate to your intended platform. For example, YouTube recommends the H.264 codec in an .mp4 container. Once you are sure your container, codec, and audio settings are correct, press the Export button.
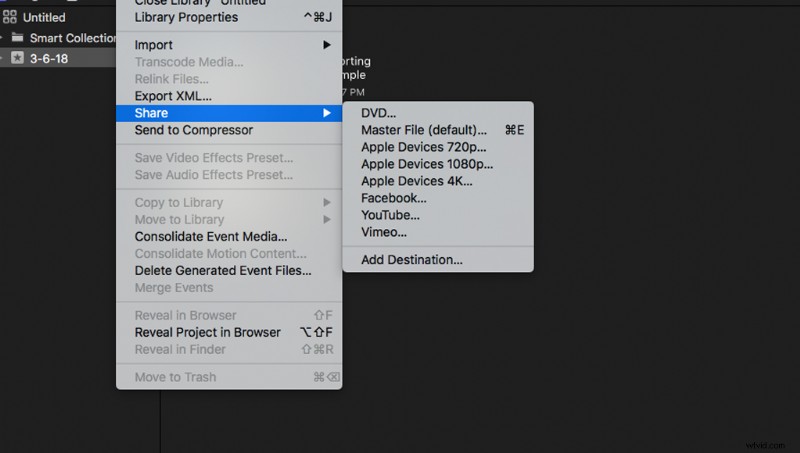
5. Exporting from Final Cut Pro X
CMD+E will get you to the Export window in Final Cut Pro X. You can also go to File > Share > Master File. Using the menu navigation option, you will see presets for various social platforms.
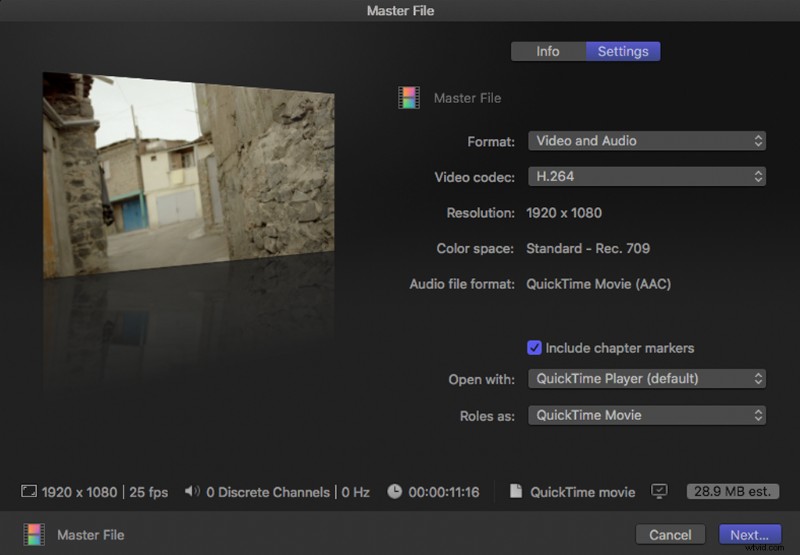
In general, these settings will work pretty well — especially if you find all the options and settings within the export window intimidating. In the Master File Export window, you will see two tabs. The first lets you add metadata to your file. This is particularly useful if you use any sort of storage solution. The next tab is where you toggle your settings. You will see a dropdown for the codec, and the container option in FCP will be under the “Roll As” option. Because Final Cut is a Mac-only software, the container options are more limited.
6. Review Your Export

As many other editors have done, I, too, have forgotten to check my export and paid the price. Computers glitch. They just do. When you have an important video on the line, it is never a waste time to take a moment to review your export. Watch for things like black frames, audio sync problems, and cached render file issues.
Looking for more information on video production? Check out these tutorials.
- How to Bring a Photoshop File into Premiere Pro
- Tutorial: How to Record a Viral Top-Down Cooking Video
- Video Editor Toolkit: 220+ Free Animations, Presets, Overlays, and More
- Video Tutorial: How to Make Effective YouTube Content
- Filmmaking Tip: How to Capture the Perfect Tracking Shot