
Jul 14, 2025 • Proven solutions
Whether you’re preparing a quick social‑media clip or a polished presentation, keeping your iPhone videos concise and properly sized is essential. An efficient editing workflow saves storage space and speeds up sharing. This guide walks you through trimming and resizing videos directly on your iPhone, using built‑in tools, iMovie, and the popular Filmora app.
Part 1: How to Shorten a Video on iPhone
Adjusting the length of a clip right on your device is straightforward when you use the right tools. Below are three reliable methods to trim your video quickly.
1. The Built‑in Video Editor
iOS offers a native trimming feature that lets you remove unwanted portions without altering the original file. The editor provides a clean timeline, frame‑by‑frame precision, and instant playback preview.
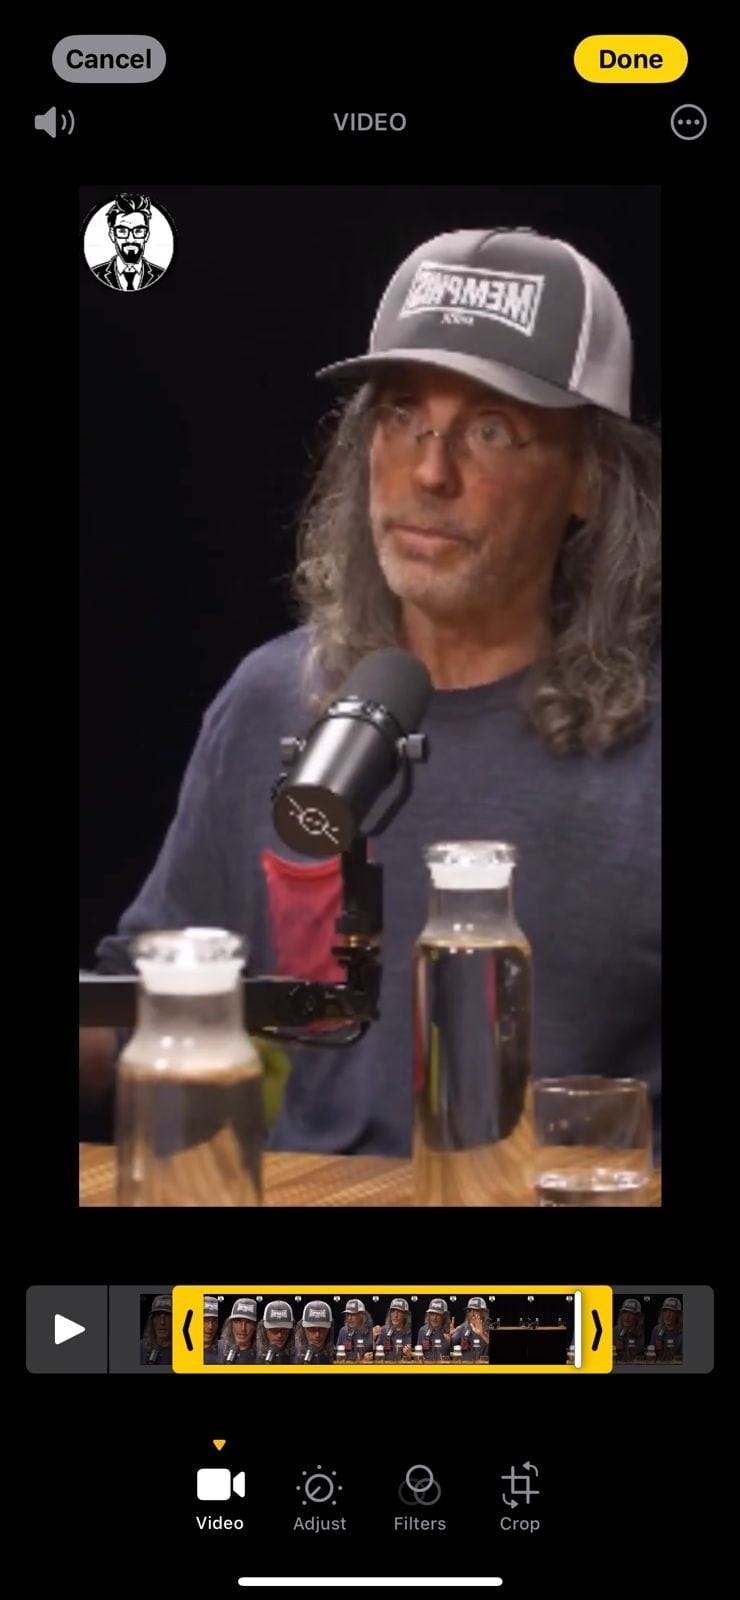
Key Features
- Zoom into the timeline for frame‑level accuracy.
- See changes live as you adjust the sliders.
- Export or share the trimmed clip directly from the editor.
2. iMovie
Apple’s iMovie combines a user‑friendly interface with professional‑grade tools. Its trimming functionality is ideal for both casual home videos and more polished projects.
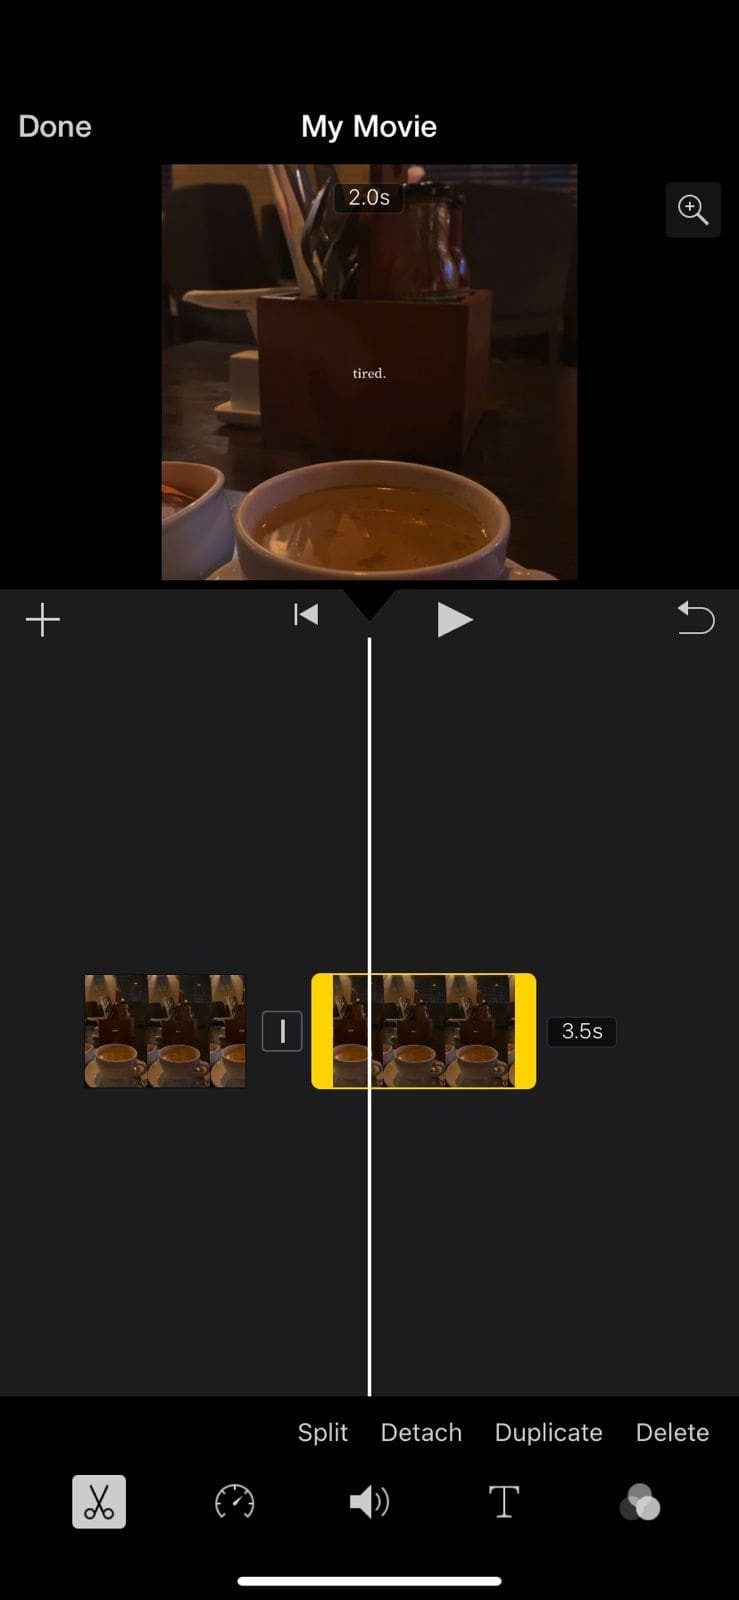
Key Features
- Drag and drop clips onto the timeline; trim by adjusting the ends.
- Split clips into segments to isolate specific parts.
- Add transitions and effects for a polished look.
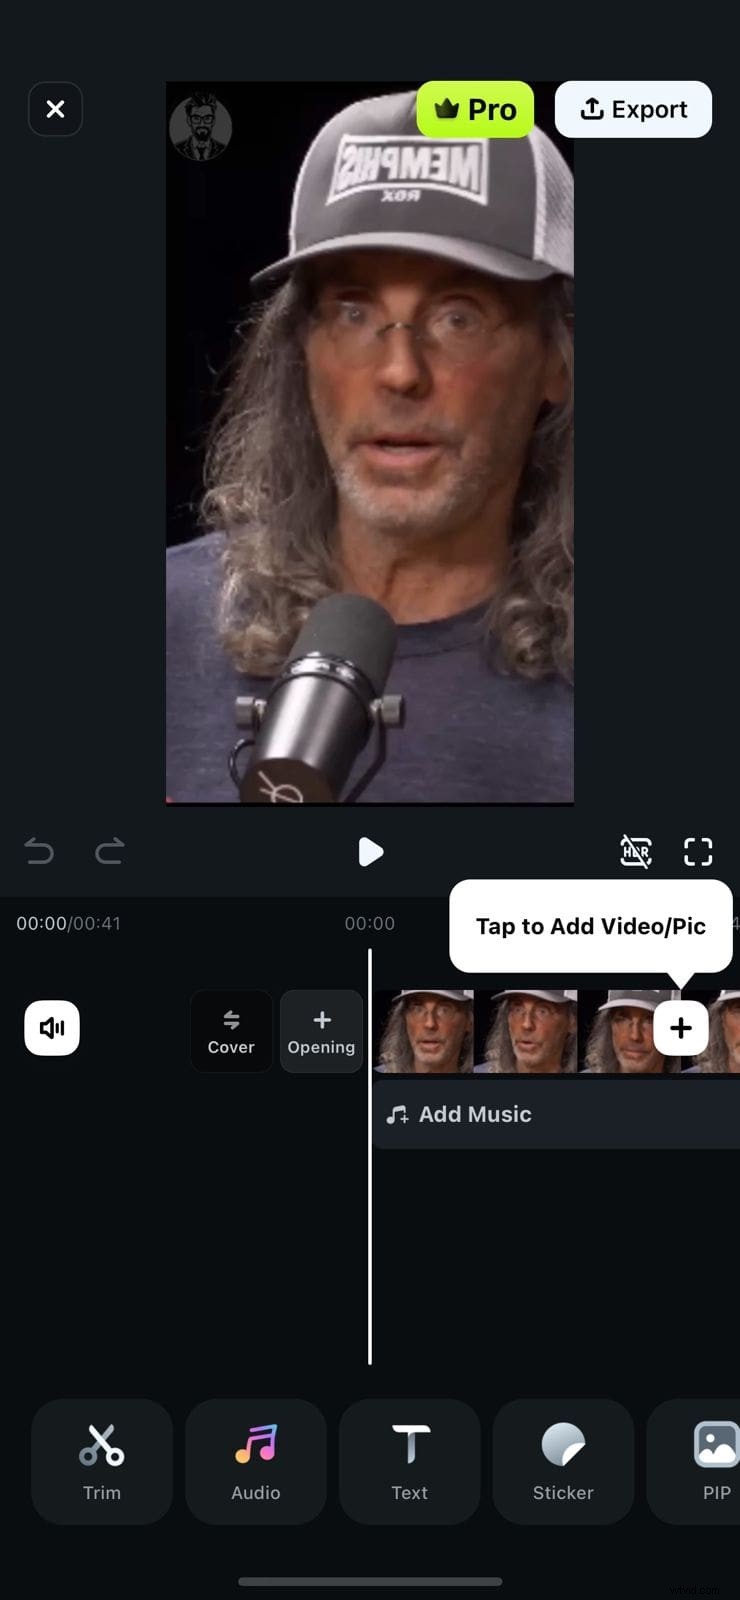
3. Filmora App
Filmora is a third‑party app that offers AI‑powered trimming and a full suite of editing tools. It’s a robust option for users seeking more advanced capabilities.

⭐️⭐️⭐️⭐️⭐️
The Best AI‑powered Video Editing Software and App
Part 2: Resizing Videos On Your Desktop and Mobile With Filmora
After mastering basic trimming, you may want to adjust the video’s aspect ratio or reduce its file size. Filmora provides seamless solutions for both mobile and desktop platforms.
Method 1: Resizing Videos With Filmora App
Filmora’s mobile app lets you choose from a range of aspect ratios and export a resized clip in minutes.
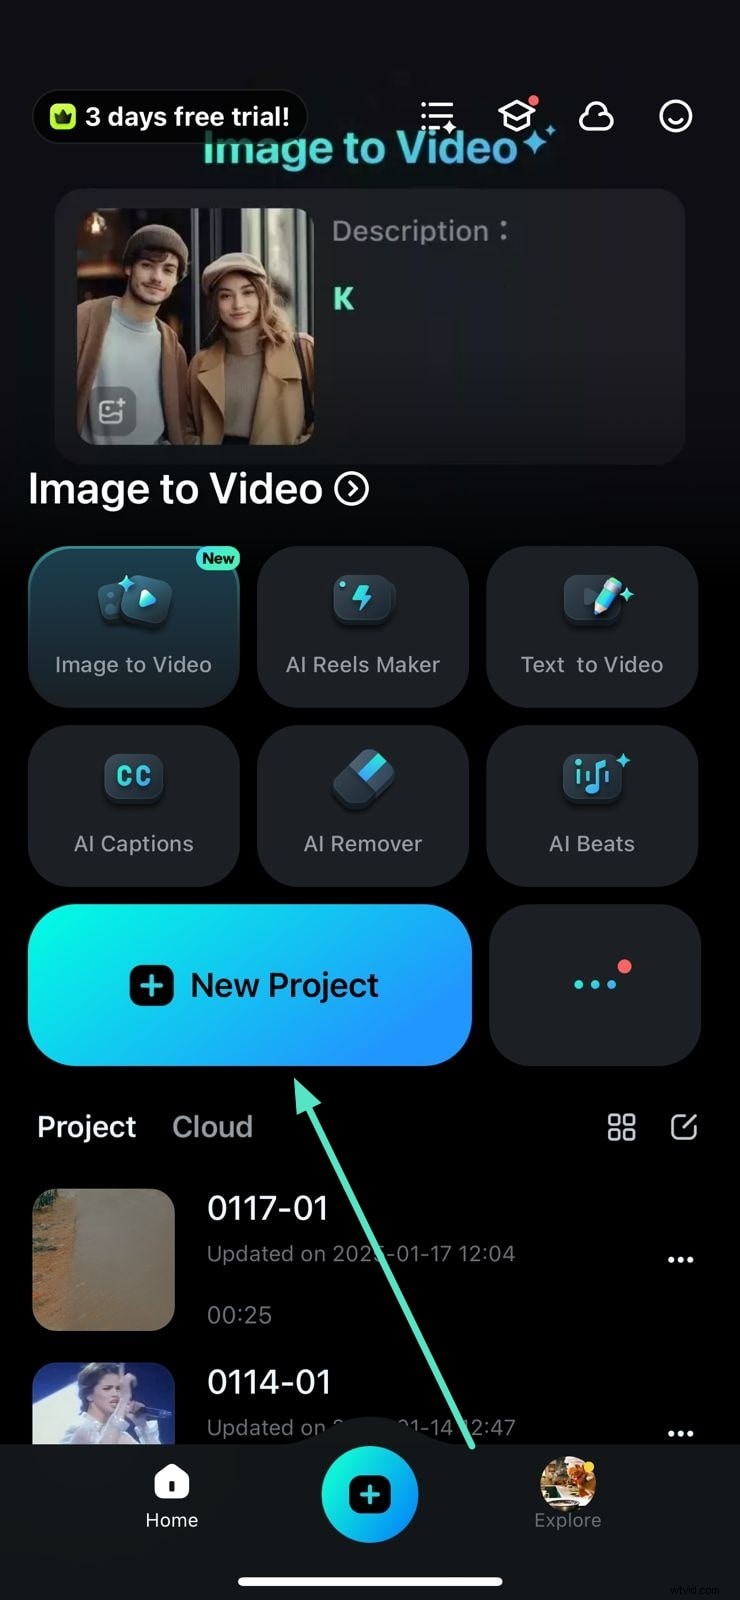
Step 1: Create a New Project
Open Filmora, tap “New Project,” and import your video from your phone’s gallery.
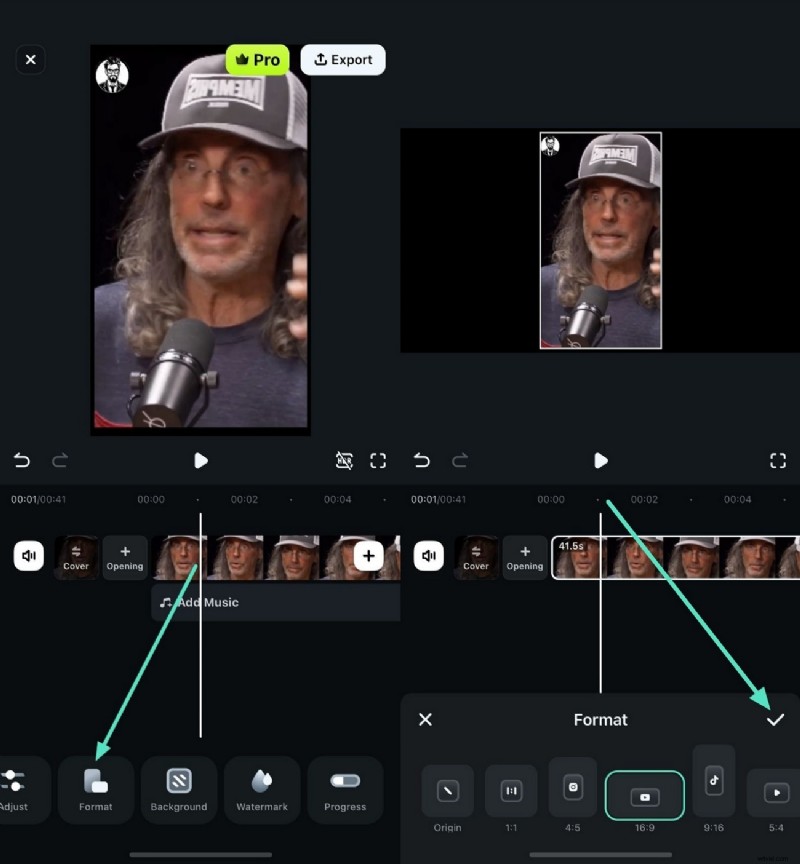
Step 2: Select the Desired Format
Tap the “Format” button at the bottom, choose an aspect ratio, and confirm with the checkmark.
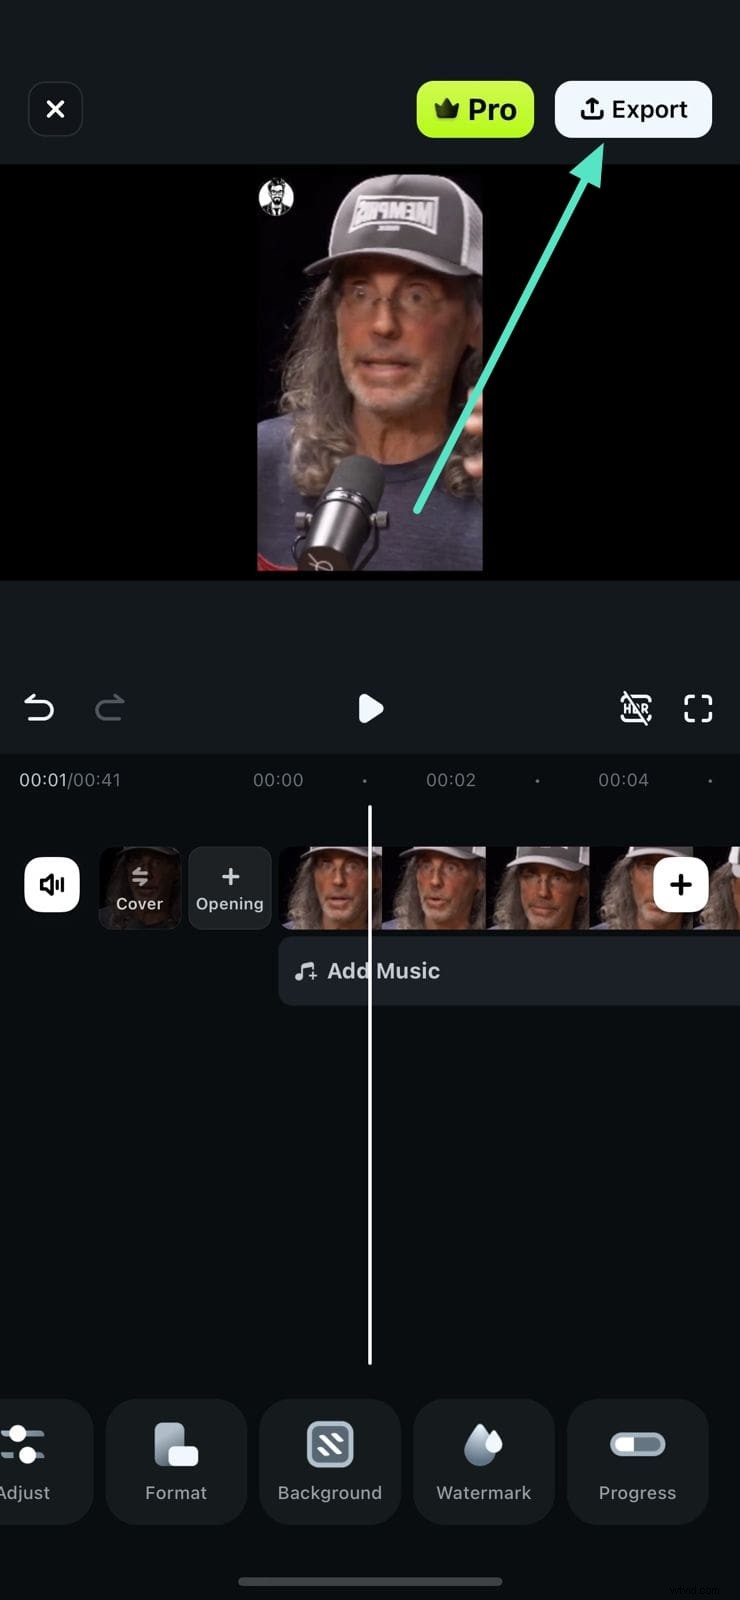
Step 3: Export the Resized Video
After applying the format, preview the clip and tap “Export” to save it to your device.
Method 2: Resizing Videos Using Filmora Desktop
Filmora’s desktop version offers advanced features like Auto Reframe, manual trimming, and tailored compression to maintain quality while reducing file size.
- Auto Reframe keeps key subjects in frame regardless of aspect ratio, using AI detection.
- Manual trimming lets you drag the timeline to cut unwanted sections effortlessly.
- Advanced Compression provides customizable quality settings to balance file size and visual fidelity.
Guide to Resize Video Using Filmora Desktop Version
Step 1: Start a New Project
Launch Filmora, tap “New Project,” and load your video.

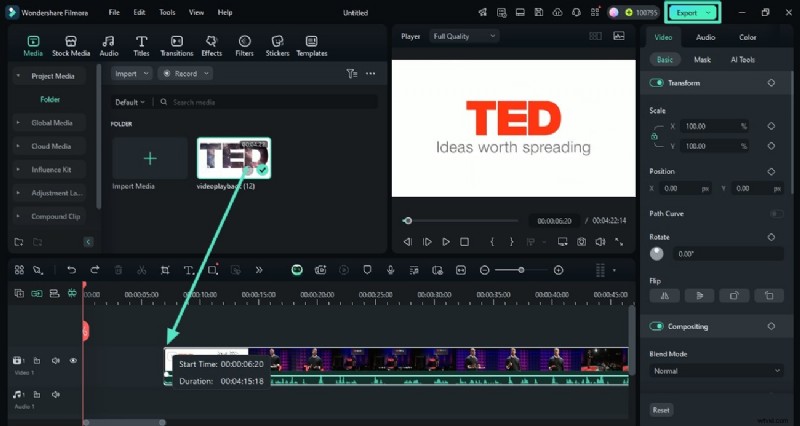
Step 2: Import Video and Trim
Drag the video onto the timeline, trim by moving the playhead to the desired start and end points, then click “Export.”
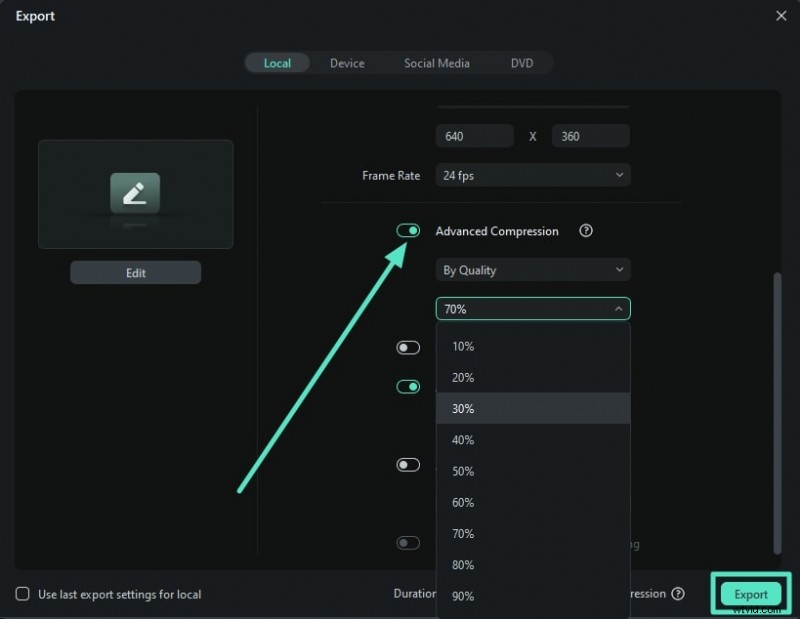
Step 3: Use Advanced Compression
Enable “Advanced Compression” in the export window, select your preferred quality, and export.
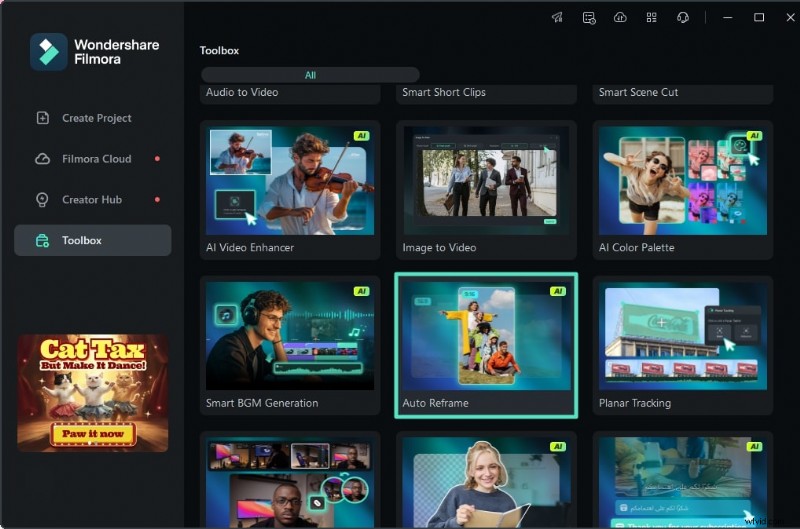
Step 4: Apply Auto Reframe
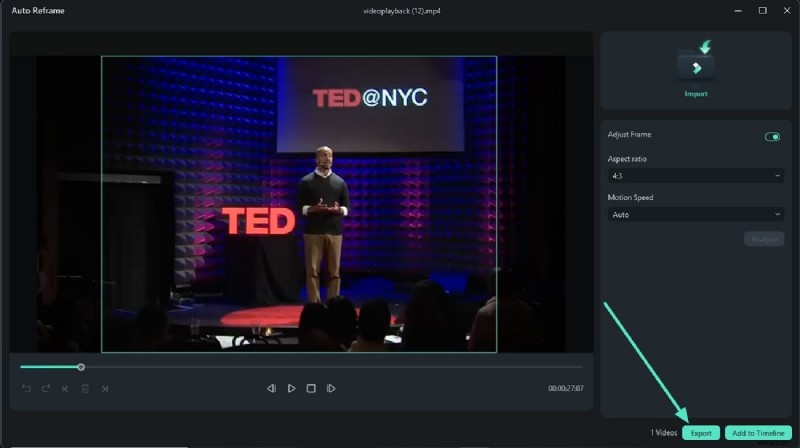
Choose “Auto Reframe” from the homepage, select the aspect ratio and motion speed, then click “Analyze.”
Step 5: Review and Export
After processing, preview the resized video, make any final adjustments, and hit “Export.” You can also add the clip to the timeline for further edits.
⭐️⭐️⭐️⭐️⭐️
The Best AI‑powered Video Editing Software and App
Conclusion
iPhone, iPod, or iPad users can capture stunning 4K, 1080p, or 720p footage, but large files can be cumbersome. By trimming or resizing your videos with iOS’s native editor, iMovie, or Filmora, you can create concise, share‑ready clips that preserve quality while reducing storage demands.
Images sourced from the internet.
Ollie Mattison
Ollie Mattison is a writer and a lover of all things video.
Follow @Ollie Mattison