Elevate your video editing skills with the timeless art of freeze‑frame sequences. By pausing a single frame, you can sharpen focus, emphasize emotion, and give your audience a moment to absorb key details.
In this comprehensive tutorial, we’ll walk you through every step of creating a professional freeze‑frame effect in Wondershare Filmora, from selecting the perfect frame to refining the final edit. Whether you’re a hobbyist or a seasoned content creator, this guide will help you add cinematic polish to your videos.
In this article
- What Is a Freeze Frame?
- Step‑by‑Step Guide to Creating a Freeze‑Frame Sequence
- Tips for Optimizing Your Freeze‑Frame Shots
Part 1. What Is a Freeze Frame?
A freeze frame captures a single frame of video and displays it repeatedly, creating the illusion of a still image. This technique draws viewers’ attention to specific moments, accentuates dramatic beats, or introduces key characters in a memorable way.
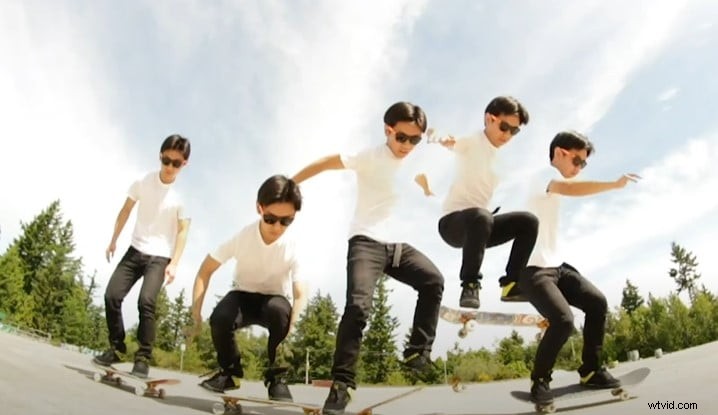
Even in fast‑moving scenes, a freeze frame can spotlight crucial actions, making complex moments easier to digest. Below are a few iconic examples from film history:
Iconic Freeze Frames in Cinema
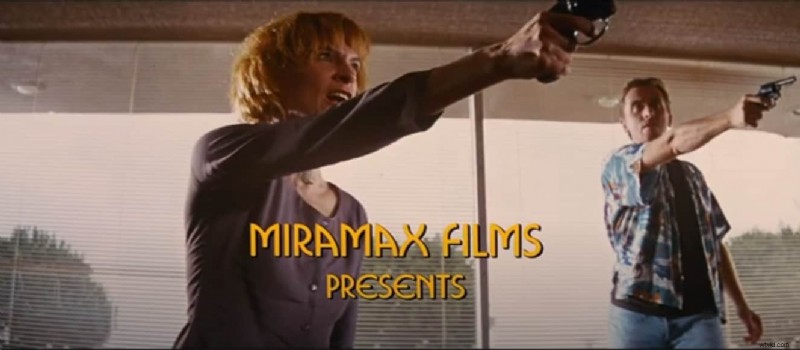
1. Pulp Fiction (1994)
The opening robbery scene uses a freeze frame to pause the action, heightening suspense before revealing the outcome. It’s a textbook example of how a simple pause can create narrative tension.
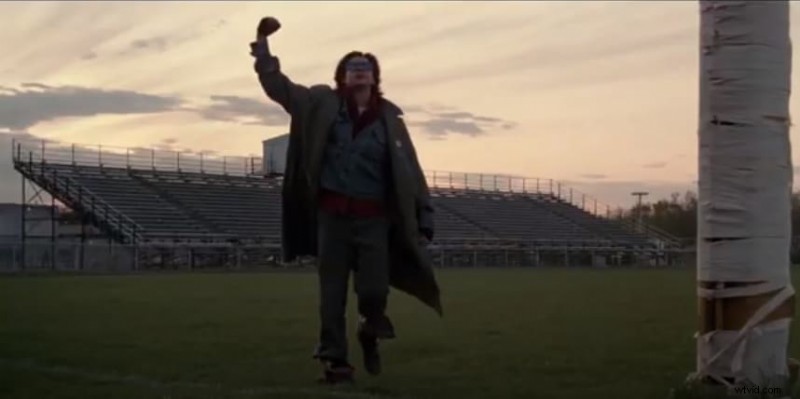
2. The Breakfast Club (1985)
The film’s closing shot freezes the characters on a desolate rooftop, underscoring the story’s themes of isolation and hope.
3. Suicide Squad (2016)
The trailer uses freeze frames to spotlight each character, pairing visual pauses with concise voice‑over descriptions for maximum impact.

These examples demonstrate that, while freeze frames may have a retro feel, they remain a powerful storytelling tool in modern editing.
The Power of Freeze Frames
Beyond nostalgia, freeze frames can:
- Highlight critical details that might otherwise be missed.
- Provide a moment for the audience to absorb emotional beats.
- Serve as a creative cue to transition between scenes.
- Elevate the professionalism of your content.
By mastering this effect, you’ll enhance viewer engagement, boost watch time, and set your videos apart in a crowded market.
Part 2. Step‑by‑Step Guide to Creating a Freeze‑Frame Sequence
Follow these practical steps to add a freeze‑frame effect in Filmora.
Step 1: Download and Install Wondershare Filmora
Filmora is an all‑in‑one video editor that offers robust media tools and an intuitive interface. Download the latest version from the official Wondershare site or upgrade your existing copy.
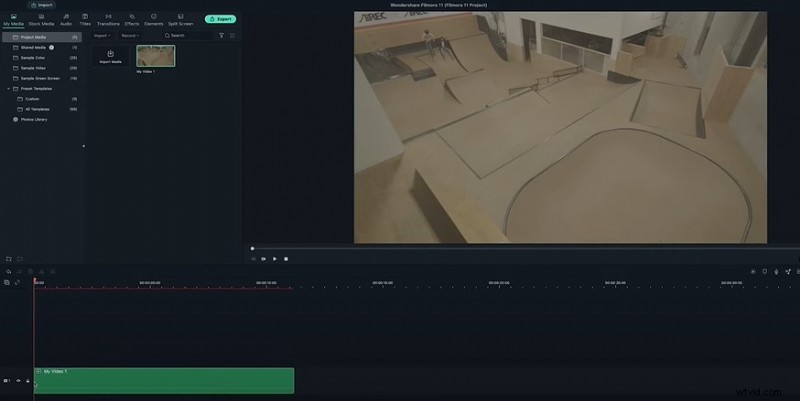
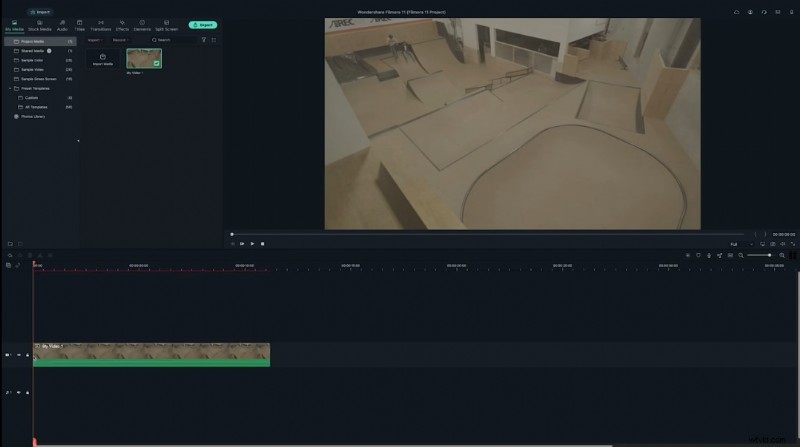
Step 2: Import Your Footage
Launch Filmora and create a new project. Drag your clip into the media library, then place it on the first video track in the timeline.

Step 3: Apply Color Correction (Optional)
Before extracting frames, color‑correct your clip to ensure consistency. Adjust brightness, contrast, and saturation so that the extracted frames match the rest of your footage.
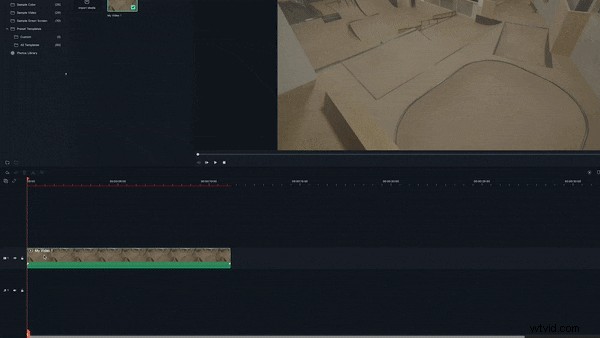
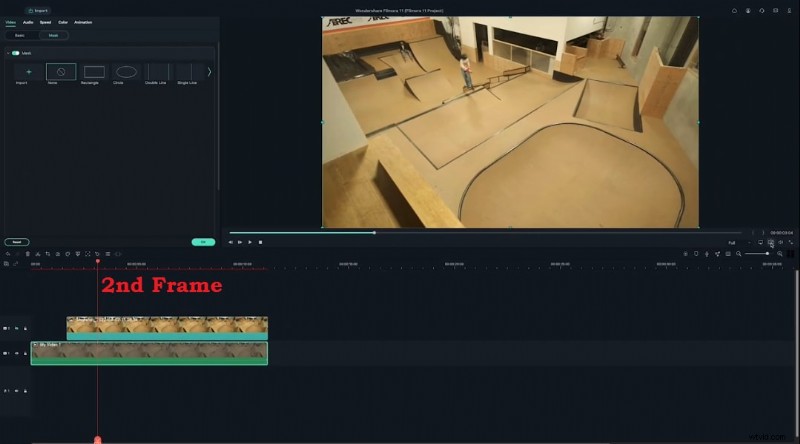
Step 4: Locate Your First Action Frame
Scrub through the timeline to find the moment you want to freeze. For example, the first frame might capture a pivotal expression or action.
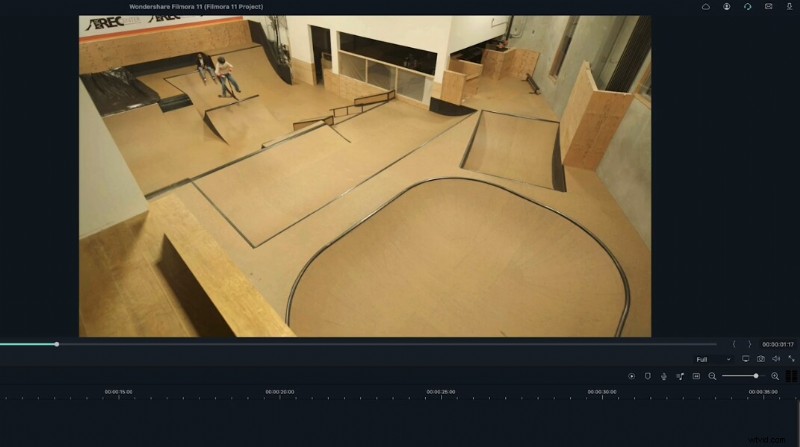
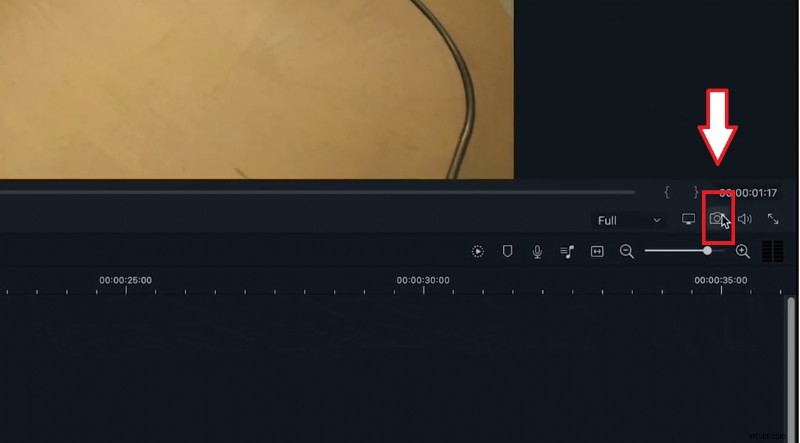
Step 5: Capture a Screenshot of the Frame
Click the camera icon below the preview window to capture the current frame. The screenshot will appear in the media tab and can be reused on a separate track.
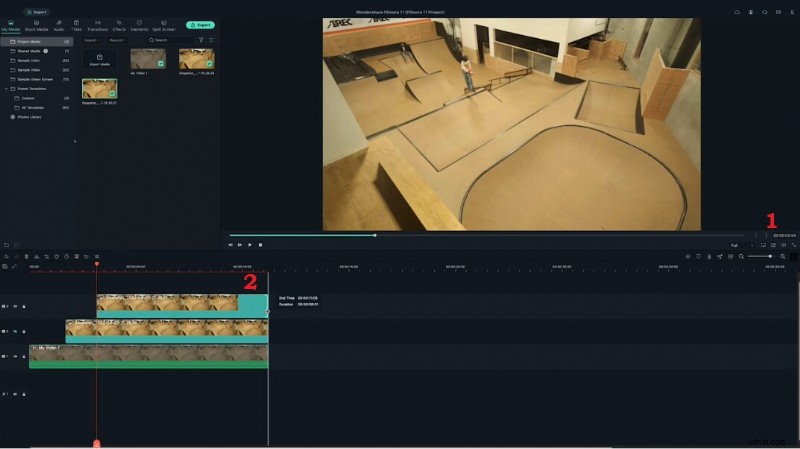
Step 6: Add the Screenshot to the Timeline
Drag the screenshot onto video track 2, aligning it with the playhead. Extend its duration to match the length of the original clip or the desired pause.
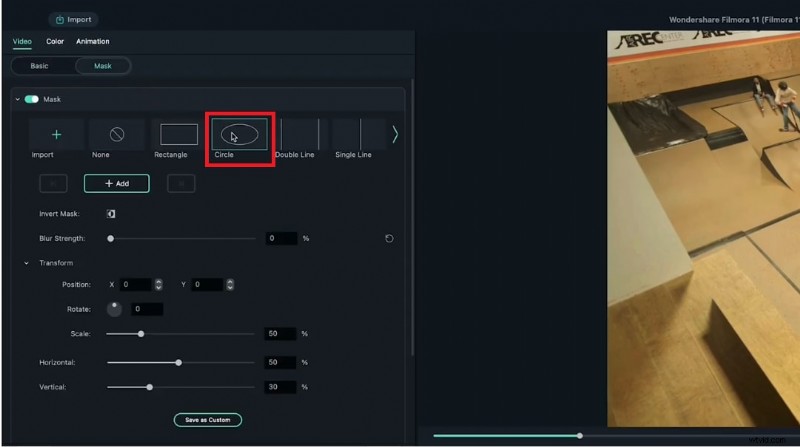
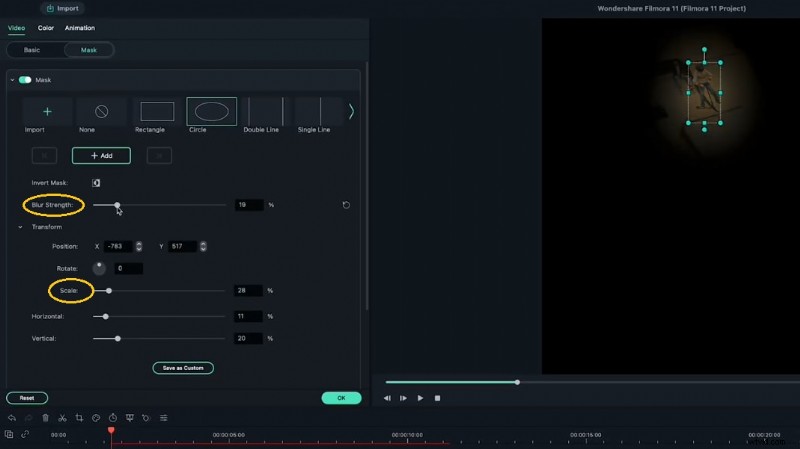
Step 7: Mask the Screenshot
Double‑click the screenshot to open the Video menu, then select Mask. Choose a shape (e.g., circle) that isolates your subject. Adjust the mask to cover only the area you want to freeze.
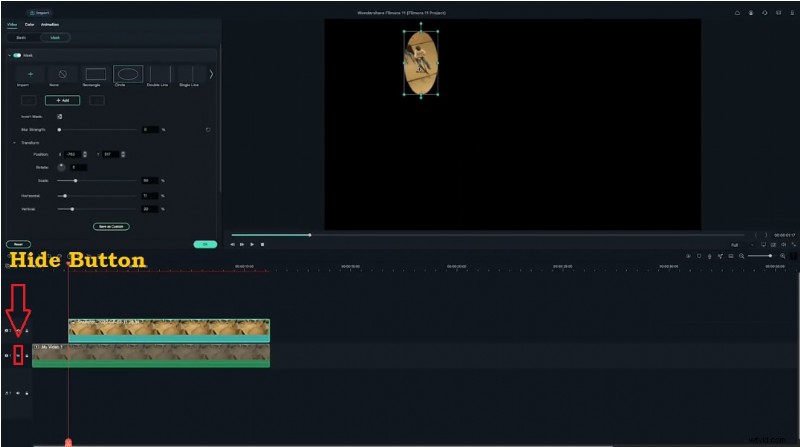
For precision, hide the main video layer while editing the mask. After positioning, add a subtle blur to soften edges without obscuring details.

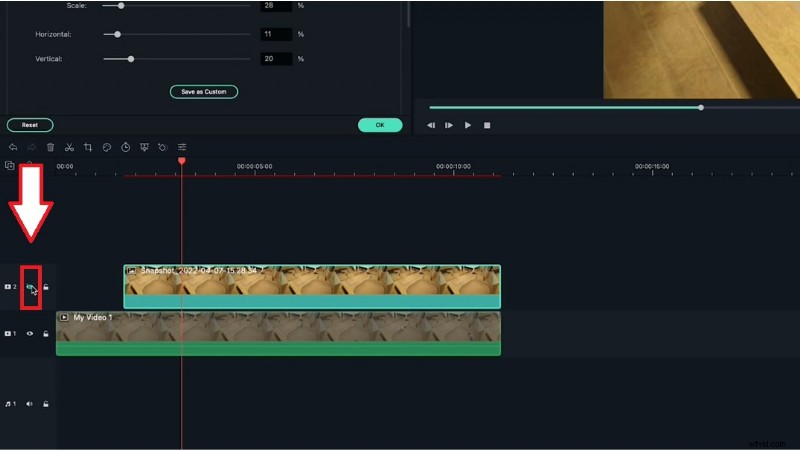
Step 8: Hide the Initial Screenshot (Optional)
If you’re adding multiple freeze frames, remove the first screenshot so it doesn’t overlap subsequent frames.
Step 9: Repeat for Additional Frames
Find the next key frame, capture a screenshot, add it to the timeline, and mask it. Continue this process until you have a series of freeze frames that enhance your narrative.
- Click the camera icon.
- Drag the screenshot onto the timeline at the new playhead position.
- Extend the clip duration.
- Double‑click to mask and fine‑tune.
- Preview to ensure smooth transitions.
With these steps, you’ll have a polished freeze‑frame sequence that adds depth and drama to your videos.
Part 3. Tips for Optimizing Your Freeze‑Frame Shots
Once you’ve mastered the technical steps, consider these best practices to maximize impact.
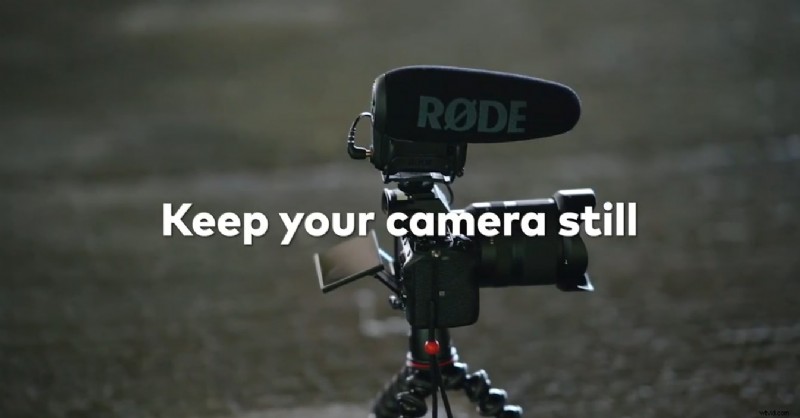
Tip 1: Start with a Steady Shot
Use a tripod or a stable surface to eliminate camera shake. A steady frame ensures that the freeze‑frame looks crisp and professional.
- Reduces visual noise in the frozen image.
- Makes masking easier and more precise.
- Conveys professionalism to your audience.
Tip 2: Avoid Repeated Crossing of the Same Spot
Design your shots so the subject moves through the frame only once. Repeated crossings can cause misalignment between frames and complicate the masking process.
- Maintains a clean visual flow.
- Ensures consistent framing across freeze frames.
- Simplifies editing and reduces artifacts.
Final Words
Freeze‑frame sequences are a subtle yet powerful tool that can transform ordinary footage into a compelling narrative. By following this step‑by‑step guide in Filmora, you’ll be able to create polished, cinematic pauses that capture your audience’s attention and elevate your content’s quality.