Elevate Your Slides with Curved Text
Adding curved text to your Google Slides presentation can transform a plain deck into a visually compelling narrative. By guiding the viewer’s eye along a curved path, you create a natural flow that enhances readability and captures attention.
Why Curve Text?
Curved typography offers several benefits:
- Creates a dynamic, engaging visual hierarchy.
- Highlights key messages and directs focus.
- Adds a professional, polished look to any presentation.
Below is a quick example of how curved text can add flair to a slide.
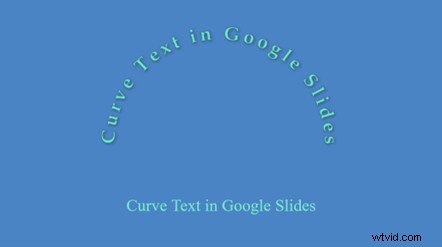
Curved text not only attracts viewers longer but also supports clearer communication of complex ideas.
Methods to Curve Text in Google Slides
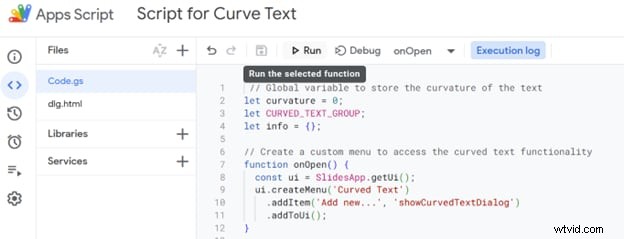
1. Using Google Apps Script
Apps Script lets you extend Google Slides’ native capabilities. By adding a custom script, you can insert text along a curve without leaving the platform.
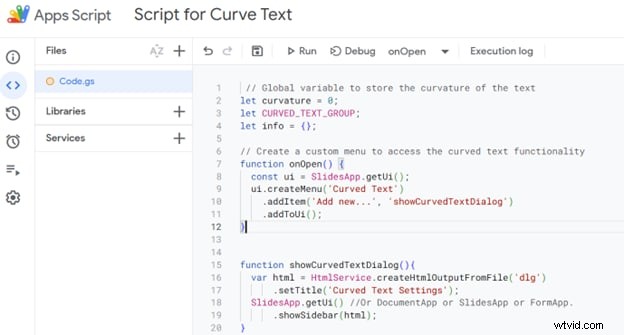
Step 1: Download the Apps Script ZIP from PsdDude and unzip it. Open Code.gs to view the script.
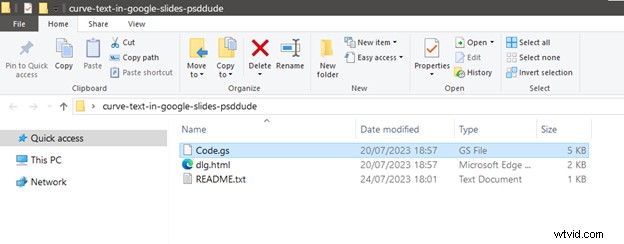
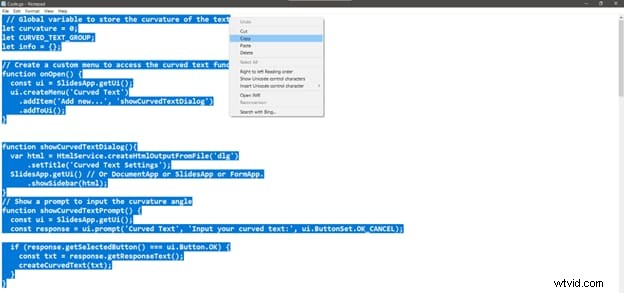
Step 2: Copy all code from Code.gs.
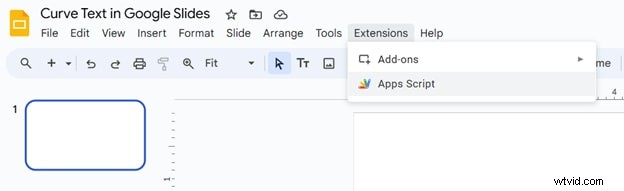
Step 3: In Google Slides, go to Extensions > Apps Script to open a new script project.
Step 4: Paste the copied code into the script editor’s Code.gs file.
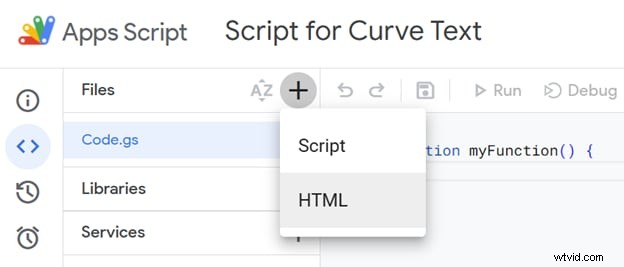
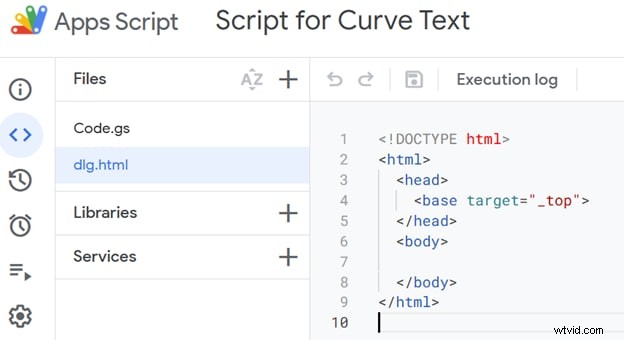
Step 5: Add a new HTML file named dlg.html (+ > HTML), then paste the contents from the downloaded dlg.html.
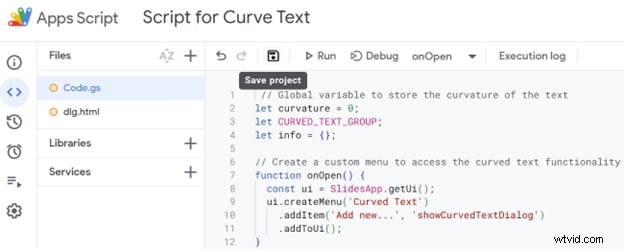
Step 6: Save the project (floppy‑disk icon) and run the script. Grant the required permissions when prompted.
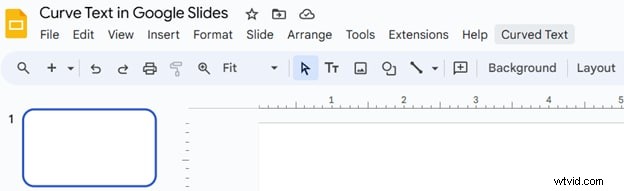
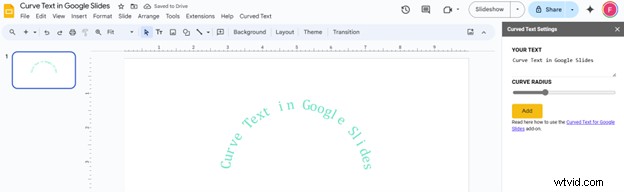
Step 7: Once authorized, a new Curved Text button appears in the toolbar. Click it to open the dialog.
Step 8: Enter your desired text, set the curve radius, then click Add. You can then adjust font, size, color, etc., directly within Slides.
Repeat these steps for each presentation or duplicate the project to reuse the script.
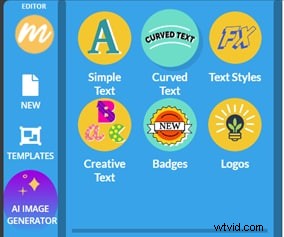
2. Using MockoFUN
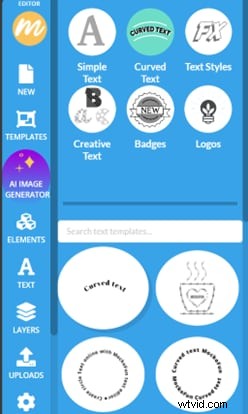
MockoFUN offers an intuitive online editor with pre‑set curve shapes like circles, hearts, and stars.
Step 1: Sign up for a free MockoFUN account.

Step 2: Click Text on the left toolbar, then choose Curved Text.

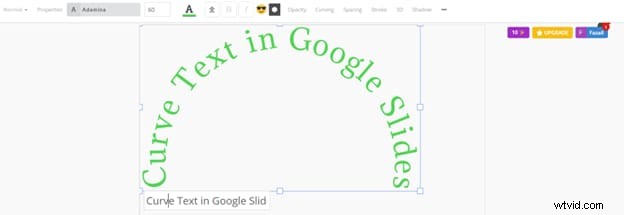
Step 3: Select a curve style, enter your text, and customize font, color, shadow, and alignment.
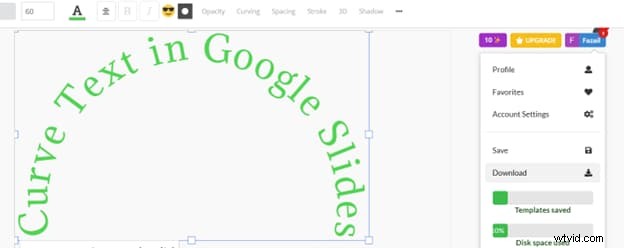
Step 4: Download the image to your computer.
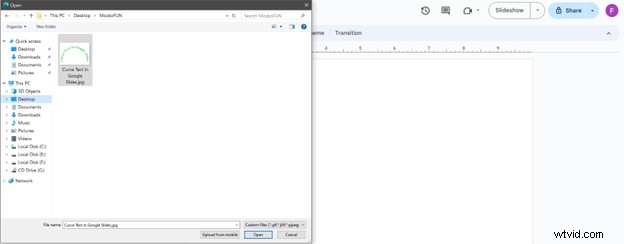
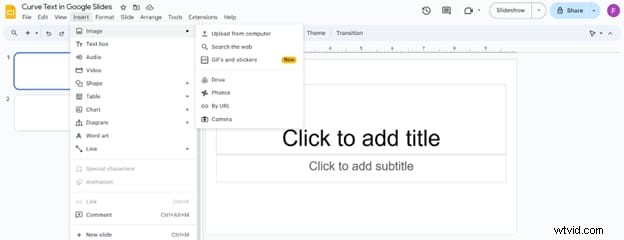
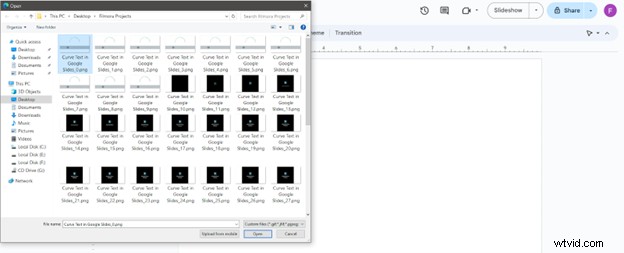
Step 5: In Slides, insert the image via Insert > Image > Upload from computer.

You can then format or animate the image as needed.
3. Using Canva
Canva’s free version supports curved text via its “Effects” panel.
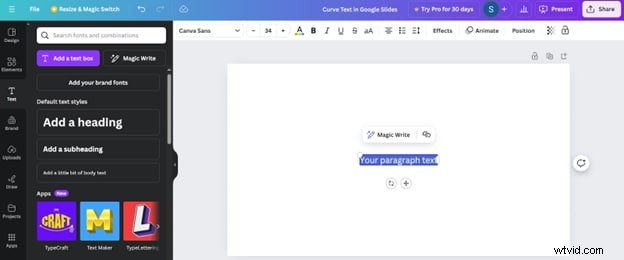
Step 1: Open Canva and create a new design.

Step 2: Add a text box from the left toolbar.
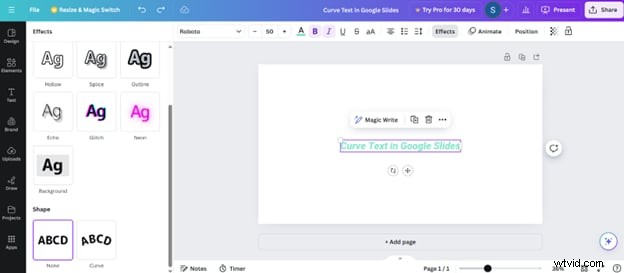
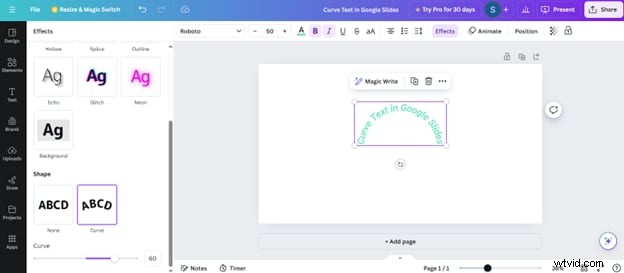
Step 3: With the text selected, click Effects and choose Curve. Adjust the slider to set the angle.
Download the design as a PNG.
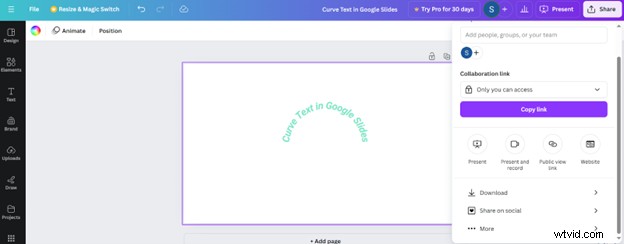
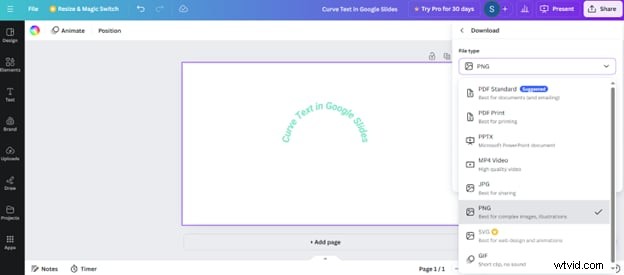
Insert the PNG into Slides and adjust as desired.
4. Using Wondershare Filmora
Filmora offers advanced text effects, including curved text, 3D overlays, and animation presets. The workflow involves exporting the curved text as an image and then importing it into Slides.
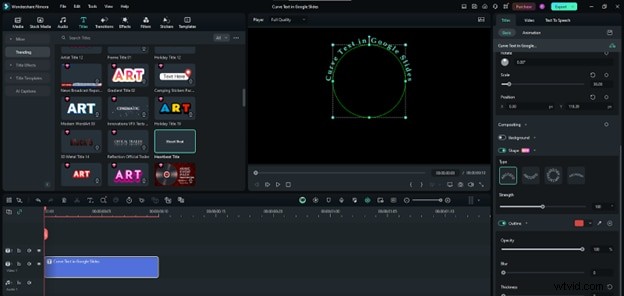
Key Features:
- Built‑in animations: fade, slide, typewriter, etc.
- Customizable font, size, color, shadow, outline, and mask.
- Curve options: upper/lower semicircle, full circle, adjustable strength and anchor points.
Step 1: Start a new Filmora project and add a title from the Titles tab.
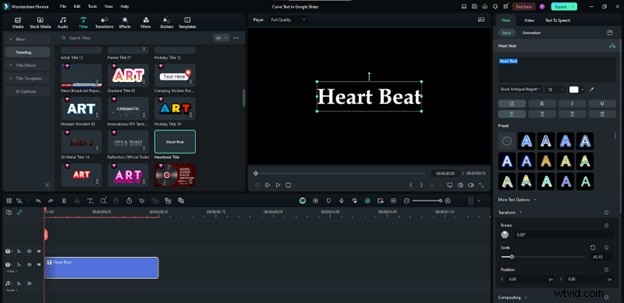
Step 2: Enter your text. In the Basic section, toggle Shape and select a curved style. Adjust Strength to set the curvature.
Export the title as a PNG Image Sequence.
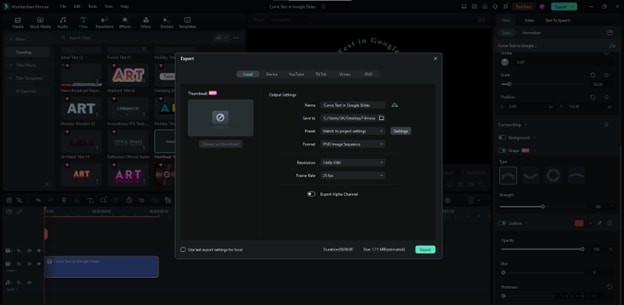
Step 3: Back in Slides, insert the exported PNG via Insert > Image > Upload from computer.
Format or animate the image to match your slide design.
Conclusion
While Google Slides lacks a native curved text tool, the methods above provide flexible solutions—from lightweight Apps Script to full‑featured design platforms like MockoFUN, Canva, and Filmora. Choose the approach that best fits your workflow and creative needs to elevate your presentations.
Start experimenting today: Get Filmora free for Windows 7+ (64‑bit) or Mac (10.14+).