Adding a Picture‑in‑Picture (PiP) layer turns a single clip into a dynamic, multi‑layered story. Whether you’re editing on a Mac, iPhone, or iPad, iMovie’s built‑in PiP tools let you layer video or images with ease. This guide walks you through every step—from importing media to exporting a polished final product—and also highlights Filmora as a faster alternative for power users.
In this article
- PiP Editing Options in iMovie
- Creating PiP on Mac
- Creating PiP on iPhone/iPad
- Filmora: A More Versatile Alternative
- Conclusion
Part 1: PiP Editing Options in iMovie
iMovie offers a handful of intuitive controls to fine‑tune your PiP clip:
- Reposition – Drag the overlay to any spot on the frame.
- Resize – Pinch with two fingers to enlarge or shrink the overlay.
- Add Borders – Choose thickness, color, and style to make the overlay stand out.
- Add Shadow – Apply a subtle drop shadow for depth and professionalism.
- Apply Changes – Once satisfied, click the Apply button to lock in your edits.
Part 2: How to Make PiP in iMovie on Mac
Step 1 – Start a New Project
Open iMovie, click Create New next to the search bar, and select Movie.
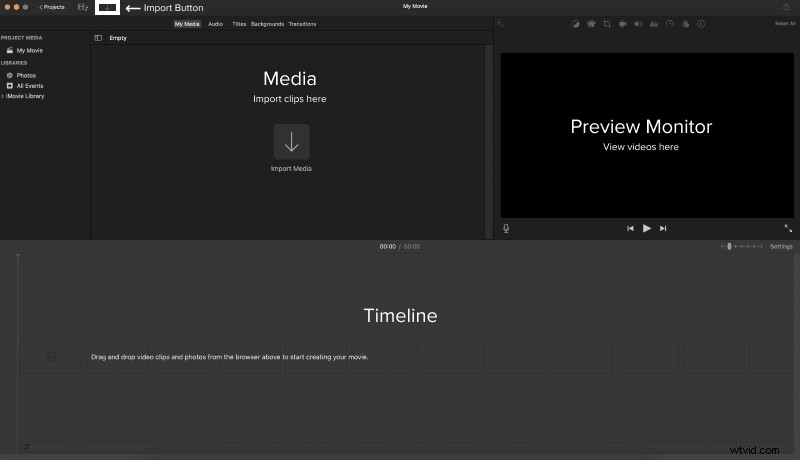
Step 2 – Import Your Media
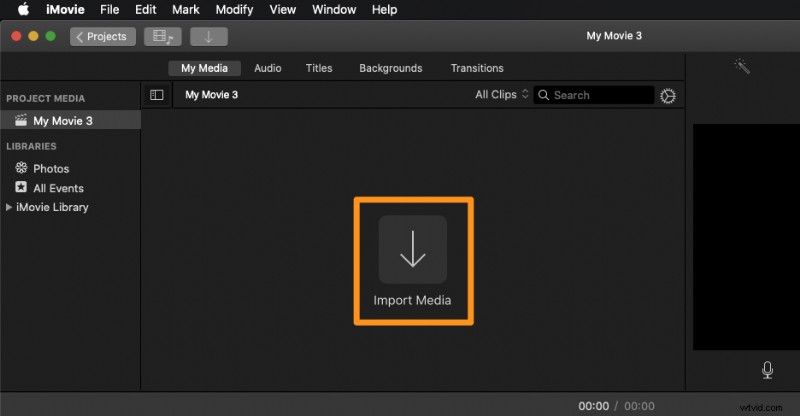
Choose Import Media from the pull‑down menu, then browse your computer to add the clips or images you want.
Step 3 – Add the Main Video to the Timeline
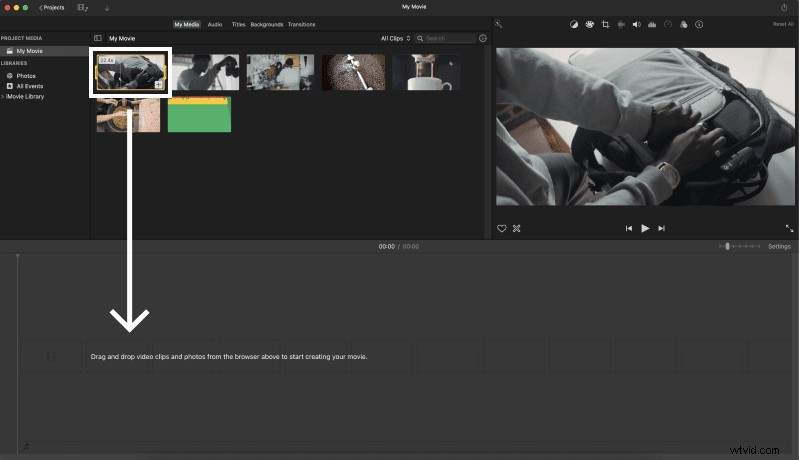
Drag the primary clip into the timeline to serve as the background for your PiP effect.
Step 4 – Enable Advanced Tools
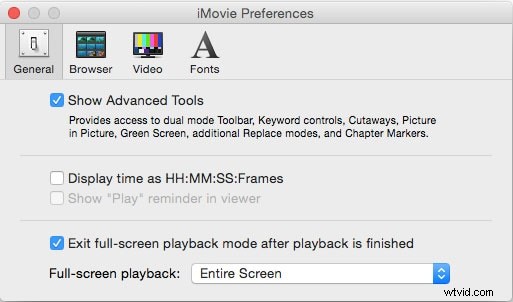
In the title bar, select Preferences and check Show Advanced Tools to reveal PiP options.
Step 5 – Add the PiP Clip
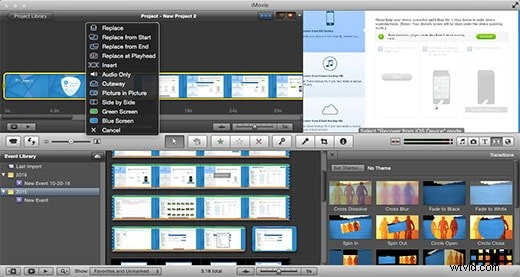
Drag your overlay clip into the Project Library. From the menu that appears, choose Picture‑in‑Picture.
Step 6 – Fine‑Tune the Overlay
In the Preview window, adjust the overlay’s size and position to achieve the desired look.
Step 7 – Apply and Export
Click Apply to save your changes. Then, go to File → Export to render the finished PiP video.
Part 3: How to Make PiP in iMovie on iPhone/iPad
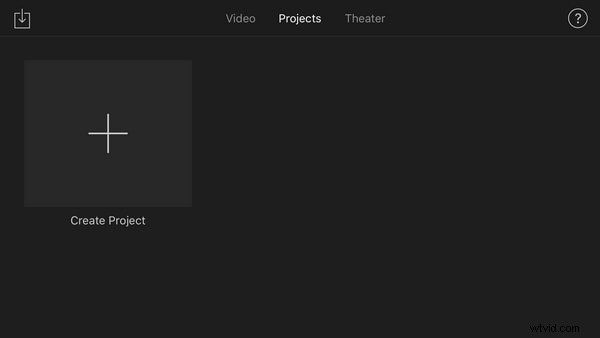
Step 1 – Launch iMovie
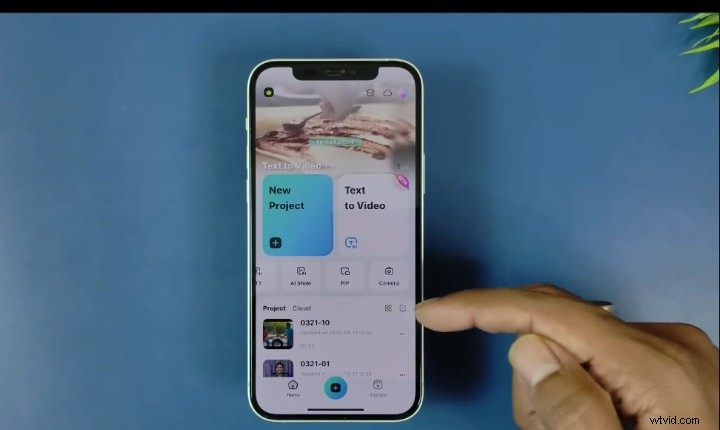
Open the app and tap Create Project to start a new edit.
Step 2 – Import Your Media
Tap the + icon, select your main clip, and place it on the timeline as the background.
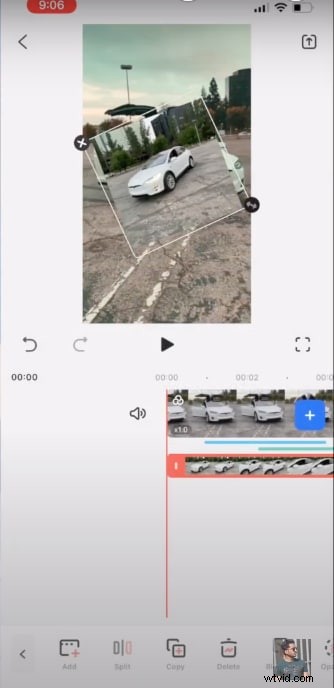
Step 3 – Add the PiP Clip

Choose a second clip or image, drag it above the main clip to create an overlay track.
Step 4 – Enable PiP Mode
Tap the overlay clip, then the More (three dots) button. Select Picture in Picture from the overlay options.
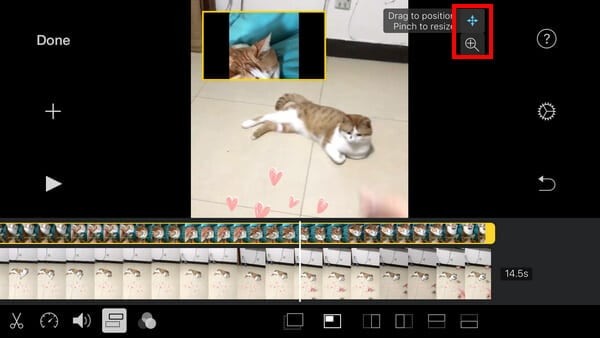
Step 5 – Adjust the Overlay
Move the overlay by dragging it. Resize with a pinch gesture or use the side buttons for precise control. Add borders or shadows through the overlay settings to enhance visual appeal.
Step 6 – Export Your PiP Video
Tap Done, then Share to export and share your finished PiP video.
Part 4: Filmora – A More Advanced PiP Alternative
For users seeking faster workflows, more layers, and advanced effects, Filmora offers a richer set of tools than iMovie. Key advantages include:
- Multiple video tracks for complex overlays.
- Advanced color correction (wheel, channel‑specific, white‑balance).
- Customizable titles, animations, and nested timelines.
- Built‑in stabilization, AI‑powered content tools, and a vast asset library.
- Cross‑platform support (Mac, Windows, iOS, Android).
Creating PiP in Filmora on Mac
Step 1 – Import Your Videos
Open Filmora, start a new project, and import the two clips you want to combine.
Step 2 – Add to Timeline
Place the main clip on Track 1 and the overlay on Track 2 above it.
Step 3 – Reposition & Resize
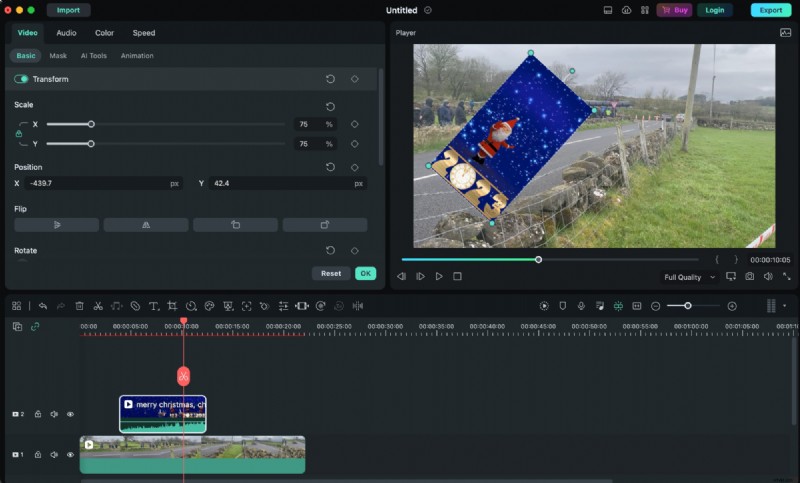
Double‑click the overlay on the timeline, then drag or resize it in the preview window.
Step 4 – Customize Overlay

Use the Transform panel to rotate, mirror, or zoom. In Compositing, adjust blend mode and alpha. Add a drop shadow with adjustable distance, blur, opacity, and direction.
Step 5 – Optional Green Screen
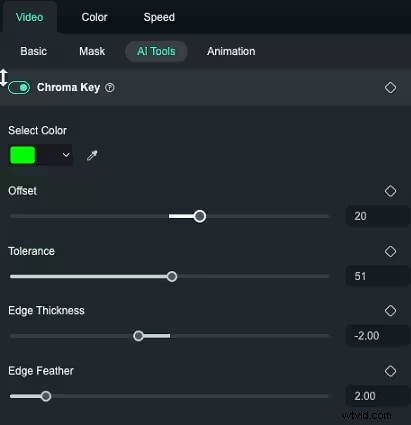
For green‑background overlays, enable Green Screen and tweak tolerance and edge settings until the background is removed.
Step 6 – Optional Motion Tracking
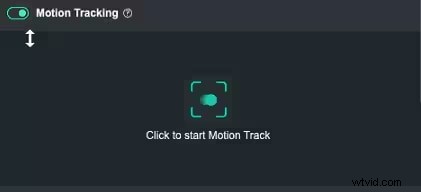
Activate Motion Tracking from AI Tools to have the overlay follow a moving object in the main clip.
Step 7 – Optional Lens Correction
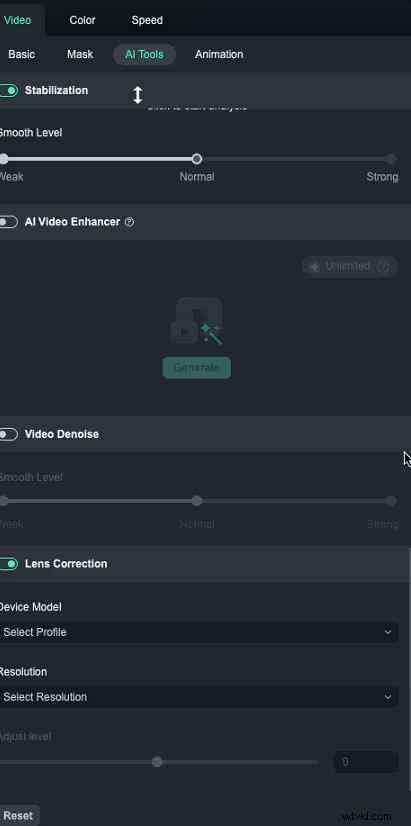
Use Camera Profile to correct distortion from wide‑angle or action footage.
Step 8 – Preview & Export
Review the final edit, then export in your preferred format.
Editing Vertical Videos on Filmora Mobile
Step 1 – Download the App
Install Filmora from the App Store.
Step 2 – Import Your Video
Open the app, create a new project, and import the video from your gallery.
Step 3 – Add Overlays
Use the PiP option to overlay a secondary clip. Adjust opacity to keep the background visible.
Step 4 – Export & Share
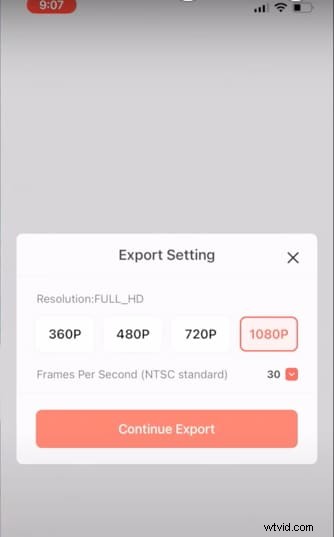
Export at your desired resolution and frame rate, then share directly to Instagram, TikTok, or other platforms.
Conclusion
Whether you choose iMovie’s straightforward PiP tools or Filmora’s advanced features, adding an overlay layer enriches your storytelling and delivers a professional finish. Start experimenting today and elevate your videos with minimal effort.