
PowerPoint remains the most popular presentation tool worldwide, and mastering its video editing features can elevate your slides from good to unforgettable. This guide walks you through every step to trim videos—whether they’re hosted on YouTube, stored locally on Windows or macOS, or edited with a professional alternative like Wondershare Filmora.
Table of Contents
- Trim a YouTube Video in PowerPoint
- Trim a Local Video on Windows
- Trim a Local Video on macOS
- Trim Videos in Filmora: A Professional Alternative
- Conclusion and Best‑Practice Recommendations
Trim a YouTube Video in PowerPoint
PowerPoint allows you to embed YouTube videos directly. To focus on the most relevant portion, follow these steps:
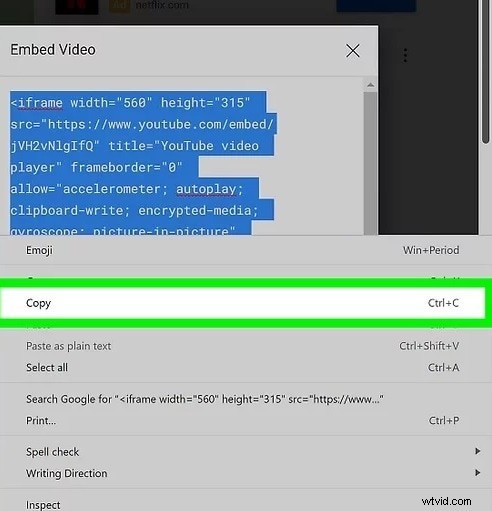
- Open the desired YouTube video and click Share.
- Select Embed from the options.
- Copy the entire embed code shown.
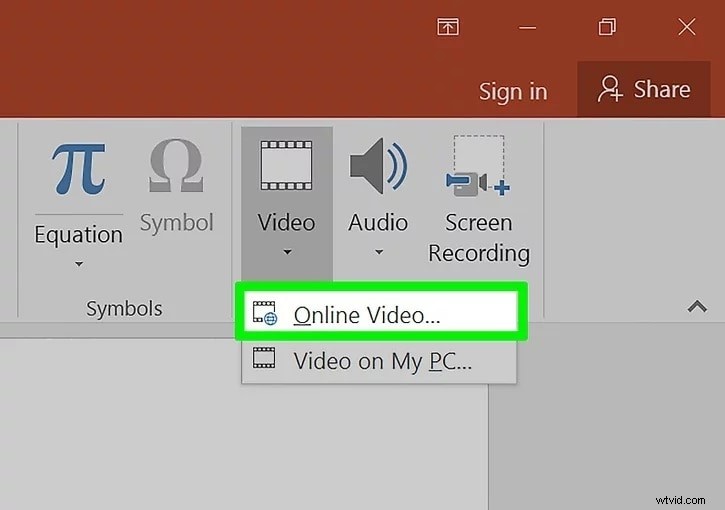
- Open PowerPoint and go to Insert → Video → Online Video.
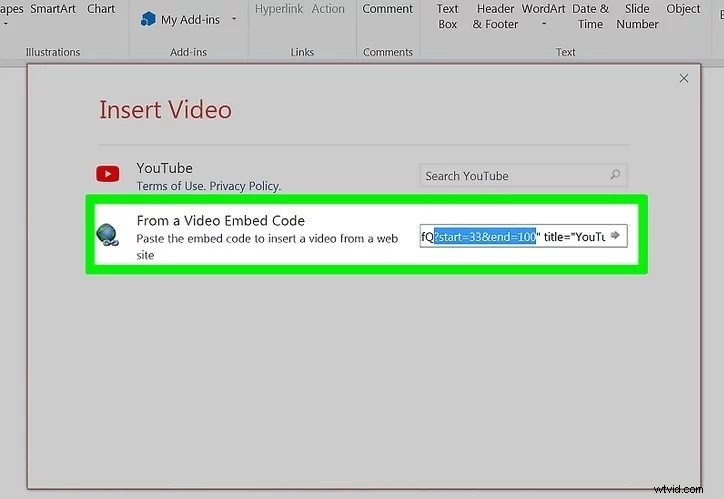
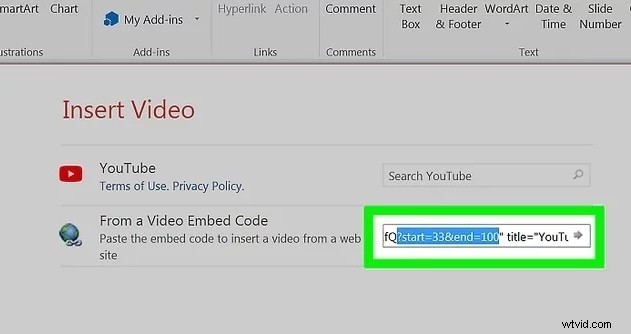
- Paste the embed code into the "From a Video Embed Code" field.
- Add the desired start and end timestamps by inserting
start=__andend=__into the URL. - Press Enter and preview the clip to confirm the trim.


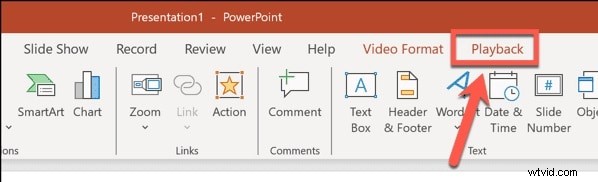
Trim a Local Video on Windows
- Insert the video by selecting Insert → Video → Video on My PC and choosing your file.
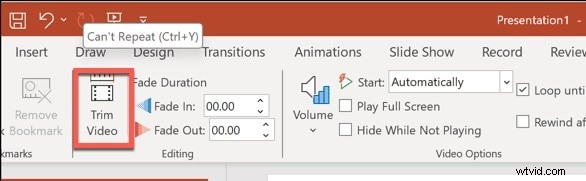
- Click the video to activate the Playback tab on the ribbon.
- Choose Trim Video from the toolbar.
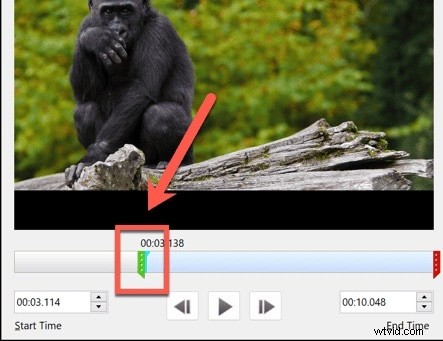
- Drag the handles on the timeline to set the start and end points.
- Press OK to apply the trim, then play the clip to verify the result.

Trim a Local Video on macOS
- Insert the video into your slide and click to select it.
- Navigate to the Playback tab at the top of the window.
- Click Trim Video and adjust the sliders to isolate the desired segment.
- Confirm the trim by clicking OK.


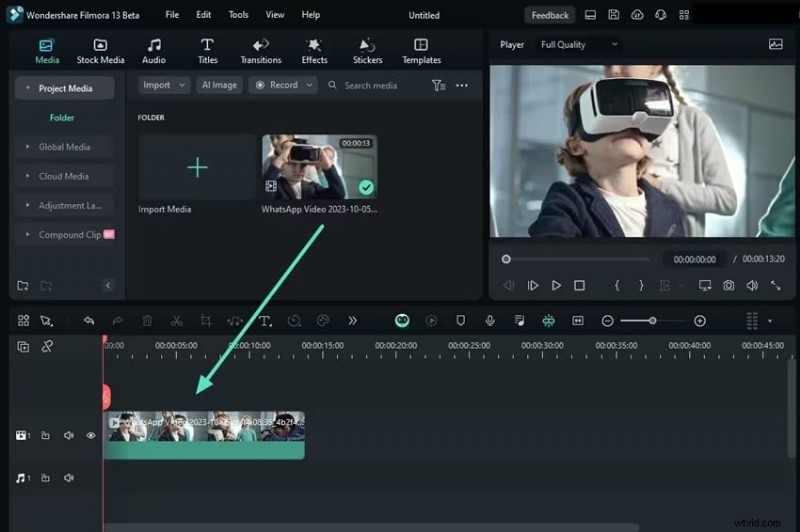
Trim Videos in Filmora: A Professional Alternative
While PowerPoint’s built‑in trim feature is handy for quick edits, it lacks the precision and non‑destructive workflow needed for polished presentations. Wondershare Filmora delivers frame‑accurate editing, AI‑powered tools, and a host of creative effects—all without compromising the original video quality.
- Smart Short Clips – Auto‑generate short segments from longer footage.
- Quick Split Mode – Effortlessly split recordings at frame‑level precision.
- Automatic Scene Detection – Let the software identify scene boundaries and trim accordingly.
- Advanced stabilization, audio enhancement, and AI‑assisted asset recommendations.
To trim a clip in Filmora, follow this simple workflow:
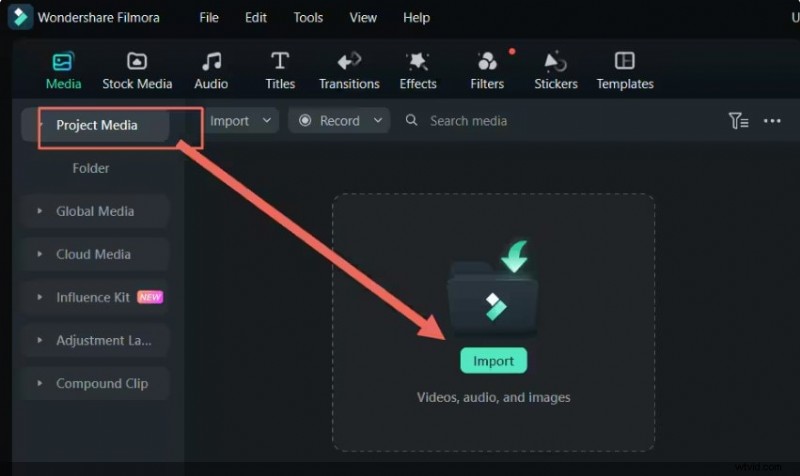
- Open Filmora and start a new project.
- Import your video via drag‑and‑drop or the Import button.
- Drag the video onto the timeline.
- Hover over the clip’s edge, click and drag to set your trim boundaries.
- Release the mouse button to cut; preview the result in the playback window.


Conclusion
Effectively trimming videos ensures your PowerPoint presentations stay focused and engaging. For quick, straightforward edits, PowerPoint’s trim tool is sufficient. If you need professional, non‑destructive editing with AI assistance, Filmora is the ideal companion. By mastering these tools, you’ll elevate the quality of every slide you deliver.
