Color grading, once a meticulous and time‑consuming process, has become effortless thanks to Lookup Tables (LUTs). A LUT is a mathematical map that remaps an image’s color values, enabling editors to apply sophisticated tonal adjustments instantly.
In this comprehensive guide, we’ll explore the role of LUTs in photography and videography, demonstrate how to apply them using popular tools, and highlight five must‑try photo LUTs that deliver striking results.
What Are Photo LUTs?
A LUT is essentially a preset that transforms the color palette of an image or video. By loading a LUT into an editing program, you can instantly shift skin tones, enhance contrast, or create a cinematic look—saving hours of manual tweaking.
Benefits of Using LUTs
- Speed & Efficiency – Apply complex color changes with a single click.
- Consistency – Maintain a uniform look across multiple shots or scenes.
- Creative Flexibility – Experiment with diverse aesthetics without re‑editing.
- Professional Results – Achieve studio‑grade color grading on a budget.
Using LUTs in Photography – Adobe Photoshop Tutorial
- Open Photoshop and load the image you wish to edit.
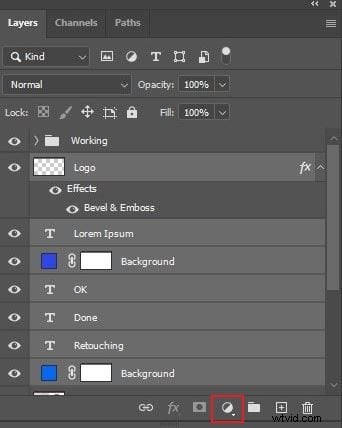
- Navigate to the Layers panel and click the New Adjustment Layer icon. Select Color Lookup.
- In the Properties panel, choose 3DLUT File and click Load 3D LUT. Browse your local folder and select the desired LUT.
- The adjustment will apply immediately. Adjust the opacity or blend mode if you need a subtler effect.
- Save or export the edited image.
Using LUTs in Videography – Wondershare Filmora
Filmora supports both built‑in and custom LUTs, making it a powerful yet user‑friendly platform for video color grading.
Key Features
- 3D LUT Support – Import external LUTs or use Filmora’s preset library.
- Intuitive Editing – Drag‑and‑drop timeline, trimming, and effects.
- Creative Asset Library – Stock footage, audio, overlays, and filters.
- Custom Templates – Ready‑made, editable templates for quick projects.
- AI‑Powered Tools – AI Copywriting, Text‑to‑Speech, Smart Cut‑Out, Voice Enhancer, and more.
- Export Flexibility – MP4, WMV, AVI, MOV, MKV, WEBM, GIF, MP3, and additional formats.
Step‑by‑Step Guide
- Download and install Filmora from the official website.
- Launch the program and create a new project or open an existing one.
- Import media via the Import button in the Media tab, then drag clips to the timeline.
- Arrange and trim clips, adjust audio, and apply basic effects as needed.
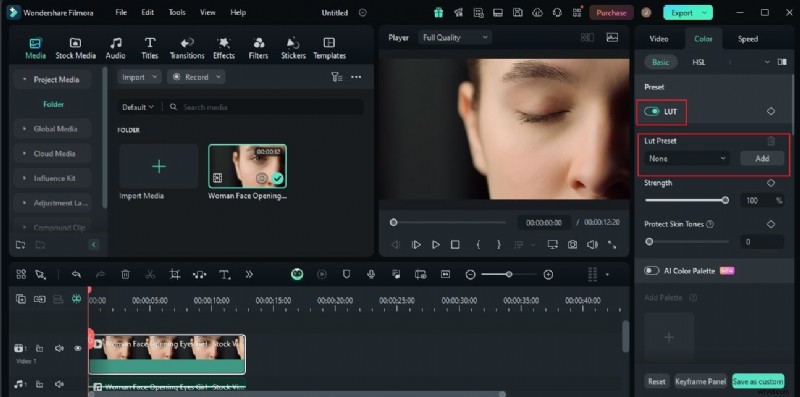
- Select a clip on the timeline. Open the Color panel on the right.
- Toggle the LUT switch. Choose from Filmora’s presets or click Add to import a custom LUT.
- Adjust Strength and Protect Skin Tones sliders to fine‑tune the look.
- Preview the result. If satisfied, click Export to render the video.
Top 5 Photo LUTs to Try
Below are five popular LUTs—free and versatile—that can elevate your photos and videos.
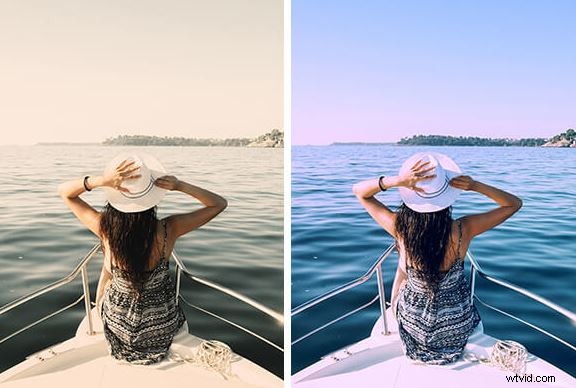
Wildlife
Introduces a cool blue tone and reduced temperature, ideal for nature shots.
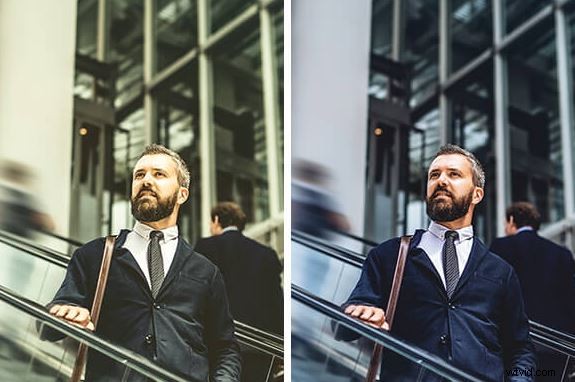
Deep Shadow
Amplifies shadows, contrast, and highlights with a subtle reddish rim.
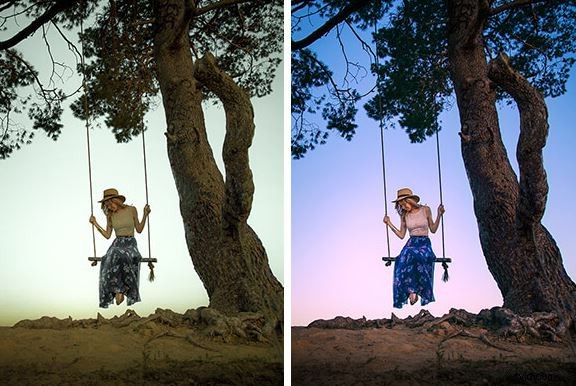
Frost Tint
Similar to Wildlife but with higher exposure and brightness, perfect for crisp, airy scenes.
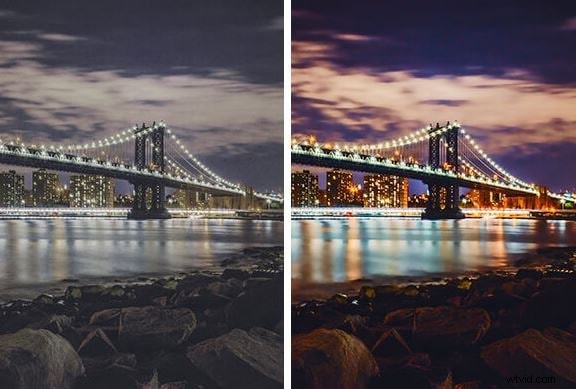
Cityscape
High‑contrast, vibrant look that highlights detail and depth—great for urban photography.
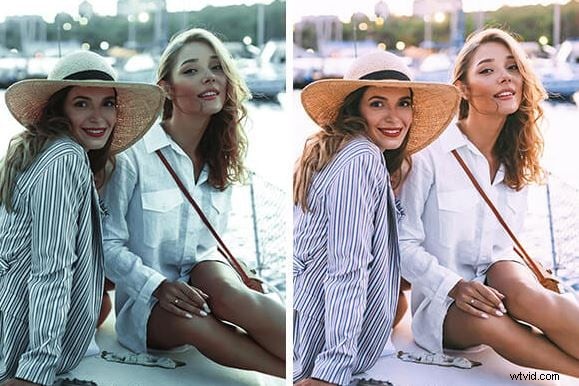
Vibrance
Boosts saturation and vibrancy, ideal for colorful scenes like sunsets or nightlife.
Conclusion
LUTs have become indispensable in modern image and video production, offering a quick path to professional color grading. Whether you’re a photographer looking to add depth to your stills or a video editor aiming for a polished cinematic look, the right LUT can make all the difference.
Experiment with free LUT packs available online, and for video work, give Filmora a try—its robust LUT functionality and AI tools make high‑quality editing accessible to everyone.
Ready to elevate your visuals? Dive in, apply a LUT, and watch your creative workflow transform.