Jumping into video editing can feel daunting. With a crowded interface, a maze of timelines, and the constant question, “Will my video look good?” you need a clear, practical roadmap.
In this guide we break down the most effective video‑editing techniques into six distinct phases—planning, shooting, editing, visual polish, audio refinement, and final touches—plus a bonus section focused on YouTube and social‑media success. Each step is explained with actionable advice, smart shortcuts, and recommendations for Filmora’s AI‑powered tools that make the process faster and more intuitive.

Part 1: Prepare Before You Edit
Great videos start long before a clip lands on the timeline. Laying the groundwork saves time and reduces headaches during the editing phase.
1. Outline Your Story
Sketch a simple three‑act structure—intro, body, conclusion—before you hit record. Write key moments or record a quick voice‑over of the narrative. If you need more structure, Filmora’s AI Storyboard Generator turns your notes into a ready‑to‑edit script.


2. Capture Clear Audio & Proper Lighting
Audio and lighting are the backbone of any polished video. Use an external mic whenever possible and test your lighting to avoid harsh shadows or over‑exposure. Filmora’s Auto Lighting Correction and AI Audio Denoise tools clean up imperfections if your setup isn’t perfect.


3. Shoot for Post‑Editing Ease
Film a mix of wide, medium, and close‑up shots. Keep each clip between five and ten seconds and leave extra space in the frame; this gives you flexibility to crop or zoom without losing resolution.

4. Organize Footage and Rename Files
Rename clips immediately after shooting and store them in clearly labeled folders. A tidy library speeds up import and reduces the risk of losing footage.

5. Backup Your Work
Protect hours of footage by backing up to a flash drive, external hard disk, or cloud storage. Filmora Cloud keeps projects safe and lets you resume editing on any device.


Part 2: Edit Your Clips
With a solid library of footage, it’s time to assemble the story. These techniques turn raw clips into a coherent, engaging narrative.
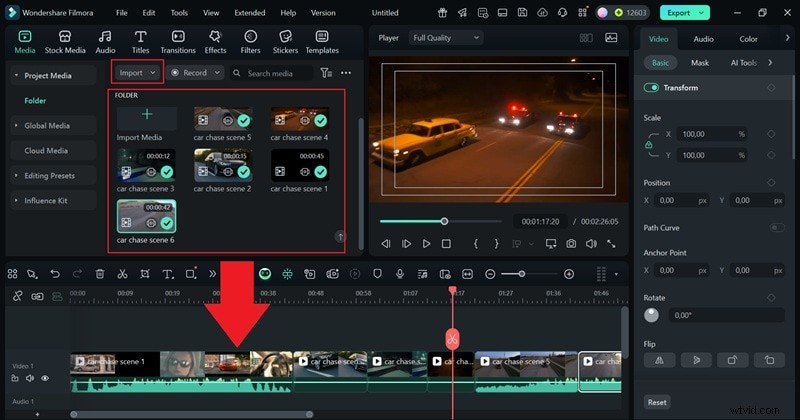
1. Sequence Your Clips First
Place clips in the desired order before adding effects or transitions. A well‑organized timeline prevents wasted effort and keeps the flow natural.
2. Trim Unnecessary Space
Eliminate pauses, filler words, and “um” sounds to maintain momentum. Filmora’s Smart Scene Cut automatically detects key moments, reducing manual trimming.
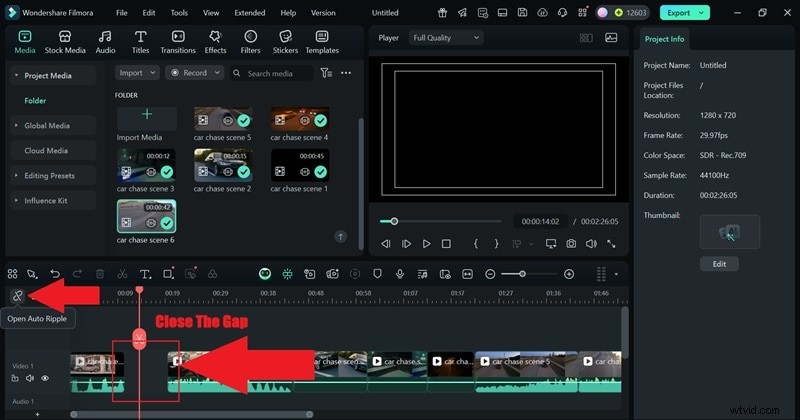
3. Use Auto Ripple
Auto Ripple closes gaps instantly after a cut, keeping the timeline tidy and saving time.
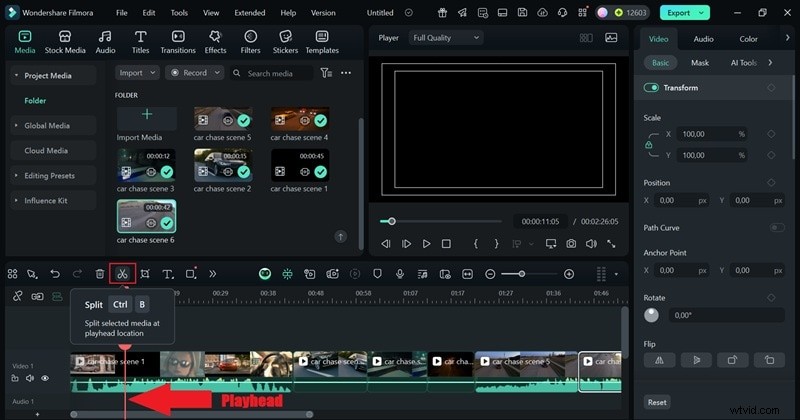
4. Cut on Action
Switch clips right as movement occurs. Zoom into the timeline for frame‑accurate cuts that feel seamless.

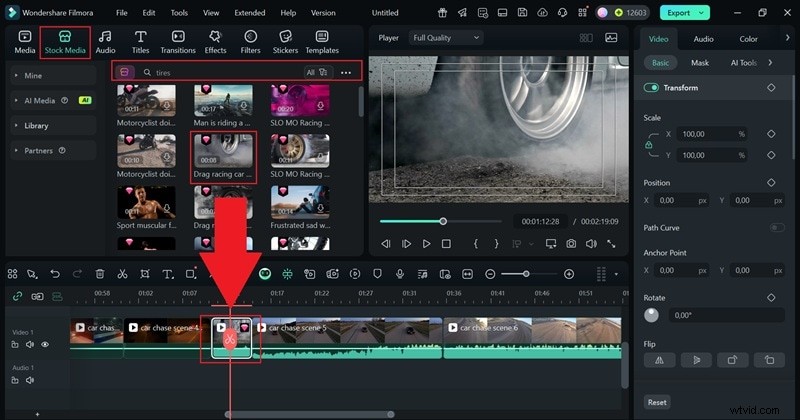
5. Balance Jump Cuts With B‑Roll
Insert B‑roll to soften abrupt jump cuts. Filmora’s stock library provides quick access to complementary footage.
Part 3: Polish Visuals
Enhance the look of your video with color, exposure, and creative effects.
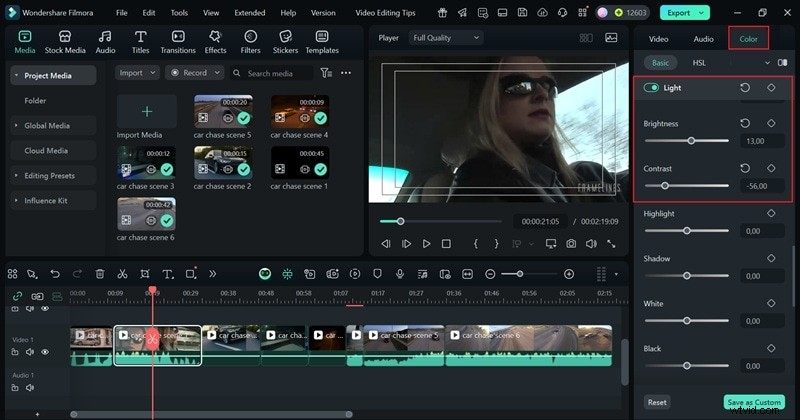
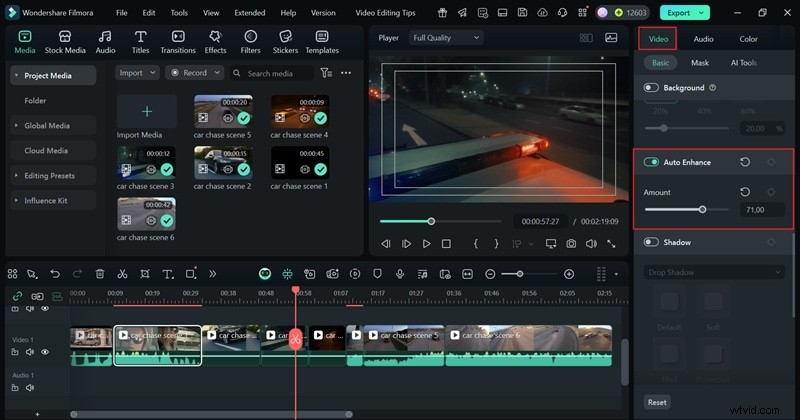
1. Adjust Exposure and Brightness
Use the Color panel’s Light sliders or the auto‑enhance preset to balance darkness and brightness.
2. Correct White Balance
Auto White Balance Correction restores neutral tones and prevents unwanted blue or yellow casts.

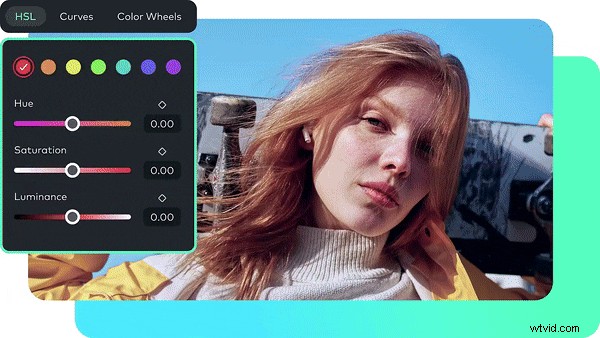
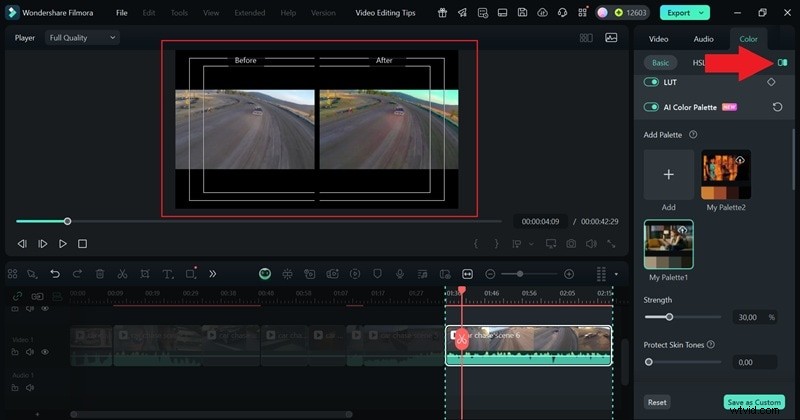
3. Apply Subtle Color Grading
Use LUTs, HSL, Curves, or Color Wheels to set a mood. The AI Color Palette can sample hues from a reference image for consistency.
4. Control Saturation
Moderate saturation to avoid unrealistic color. Compare before‑and‑after previews in Filmora’s side‑by‑side mode.
5. Add Mood Filters
Filter packs provide quick style changes—warm, cool, cinematic—without deep color work.

Part 4: Refine Audio
Clean, balanced audio elevates the viewer experience. Filmora’s AI features streamline this process.
1. Sync Music to Beat
Auto Beat Sync aligns cuts to music, creating a rhythmic flow.

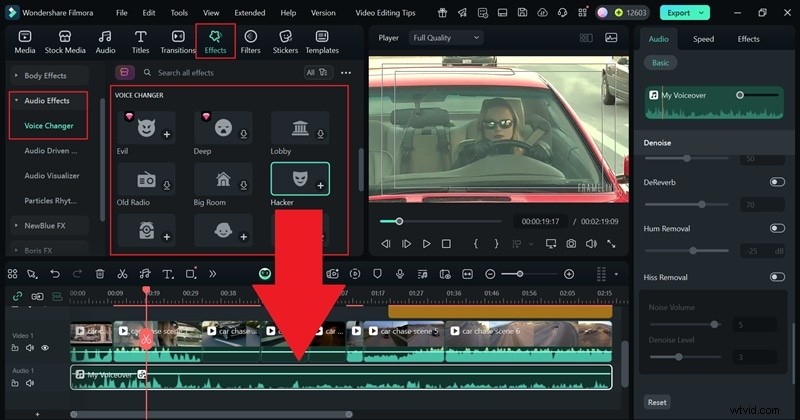
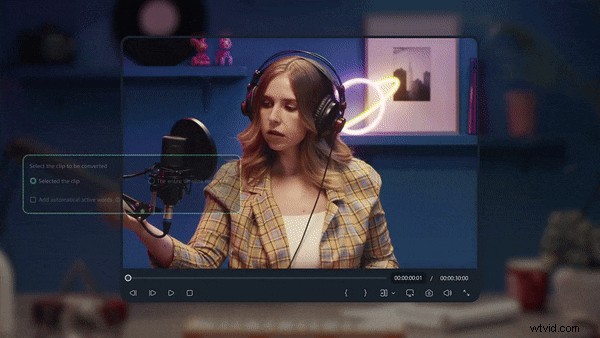
2. Experiment with Voiceovers
Use the AI Voice Changer to add character—robot, child, minion—by dragging the effect onto your voiceover clip.
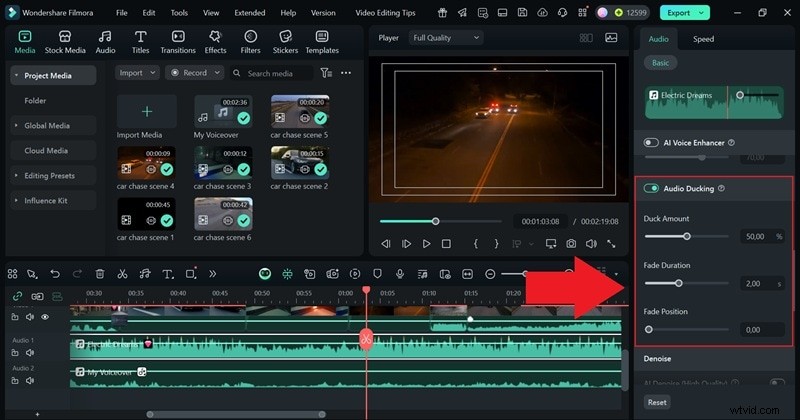
3. Balance Music and Voice
AI Audio Ducking lowers background music when dialogue starts, keeping speech clear.
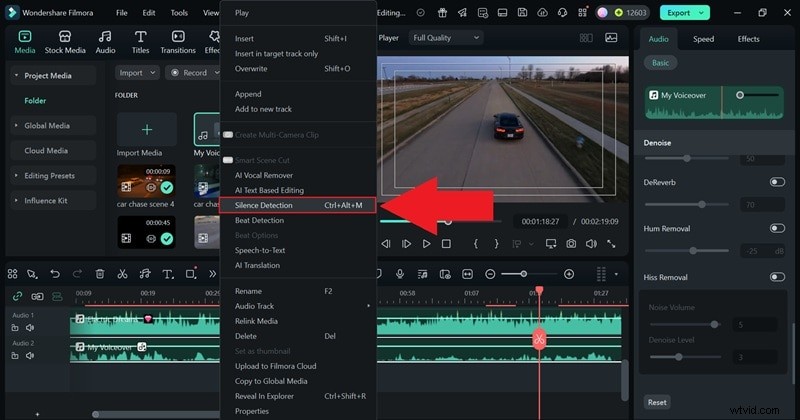
4. Remove Silence Automatically
Filmora’s Silence Detection trims dead air in seconds, tightening the audio track.
5. Match Audio Length to Video
AI Audio Stretch resizes music to fit the video length, eliminating awkward pauses.
Part 5: Add Style & Creativity
Creative touches set your video apart. These techniques keep viewers engaged and reinforce your brand.
1. Mix Wide, Medium & Close‑Up Shots
Variety keeps the narrative dynamic—use wide shots for context, medium for action, close‑ups for emotion.

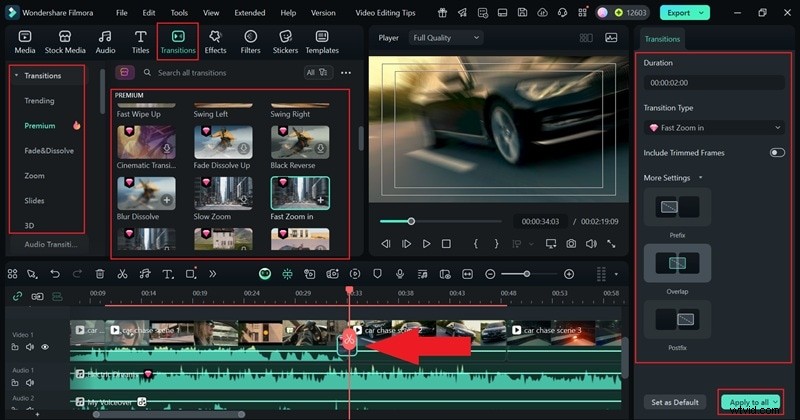
2. Apply Transitions Wisely
Choose transitions that match the mood and keep the story flowing. Filmora’s clean library allows “Apply to All” for consistent style.
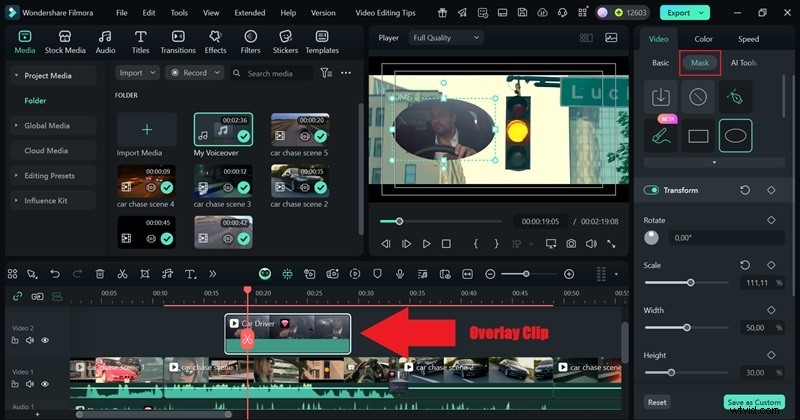
3. Overlay Multiple Clips (Picture‑in‑Picture)
Layer clips for depth. Adjust size, blend, and mask to fit the composition.
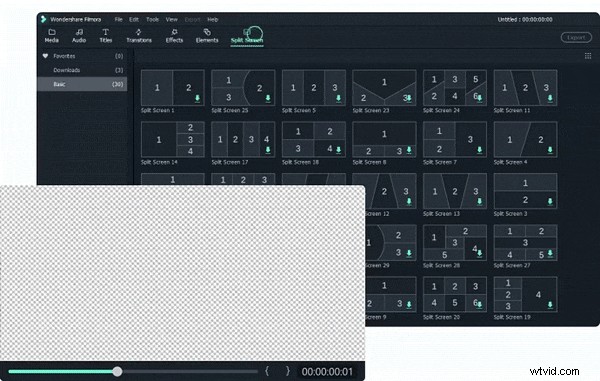
4. Split Screen for Parallel Storytelling
Use split‑screen templates to show simultaneous actions—ideal for action sequences or reaction videos.
5. Add Green‑Screen Effects
Chroma Key removes the original background, letting you replace it with any scene.


6. Use Motion Graphics
Stickers, overlays, and animated titles add flair. Filmora’s templates make professional graphics easy to customize.


7. Speed Ramping
Slow down or speed up specific sections for dramatic emphasis. Filmora offers preset ramps and custom curves.


8. Slow Motion
Extend moments to build tension. Use speed ramping’s “Customize” option to control timing curves.

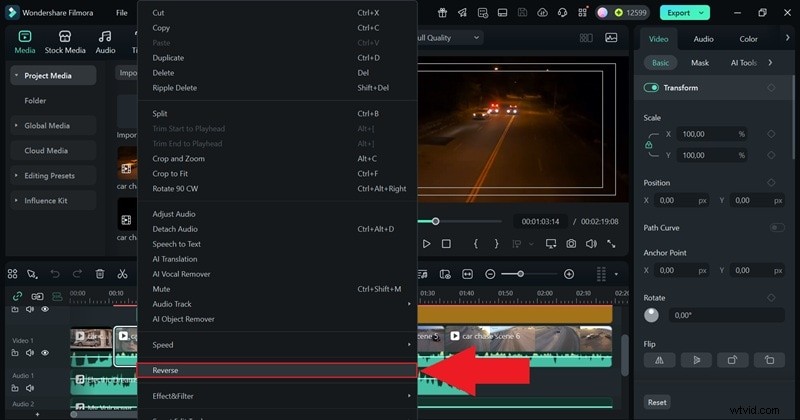
9. Reverse Clips
Play clips backwards for humor or dramatic twist. Filmora applies the effect in a single click.
10. Add Captions
Captions boost accessibility and retain viewers on silent platforms. AI Auto Caption generates subtitles instantly.
Part 6: Final Checks Before Publishing
Before exporting, perform a final audit to ensure polish and performance.
1. Watch the Entire Video
Play through the full clip in full‑screen preview, correcting typos, uneven cuts, or awkward pauses.

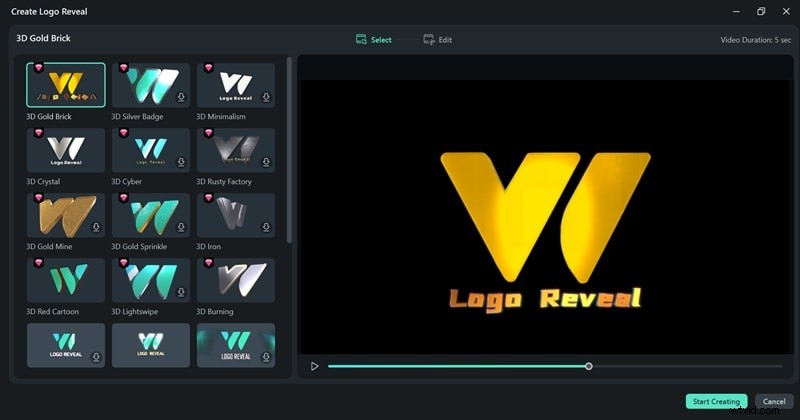
2. Add Logo or Watermark
Protect your brand with a logo reveal or watermark. Filmora’s “Logo Reveal” template is ideal for intros.
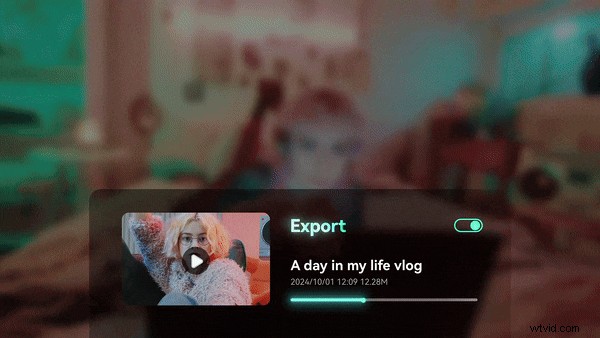
3. Manage File Size
Use Filmora’s built‑in compression or the Video Compressor to reduce file size by up to 90% while maintaining quality.

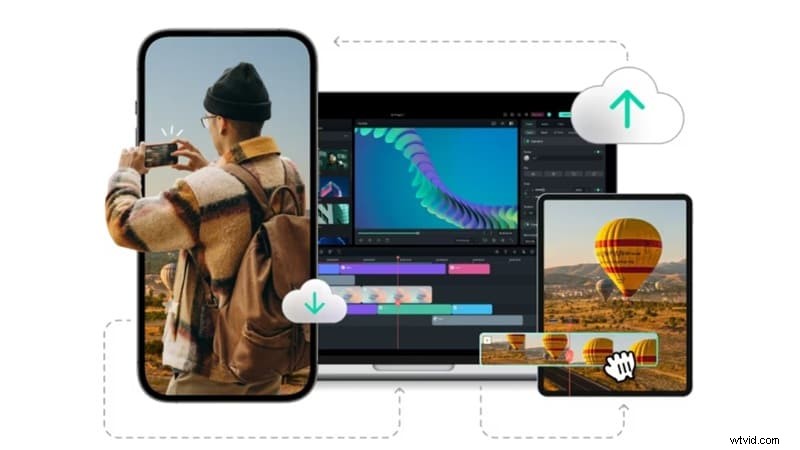
4. Test on Multiple Devices
Preview on desktop, tablet, and mobile to catch any formatting or brightness issues. Filmora Cloud lets you view the project across devices.
5. Export with Optimal Settings
Choose platform presets (YouTube, Instagram, TikTok) to match resolution and format automatically.

Bonus: Optimizing for YouTube & Social Media
Final touches tailored to the platforms that drive engagement.
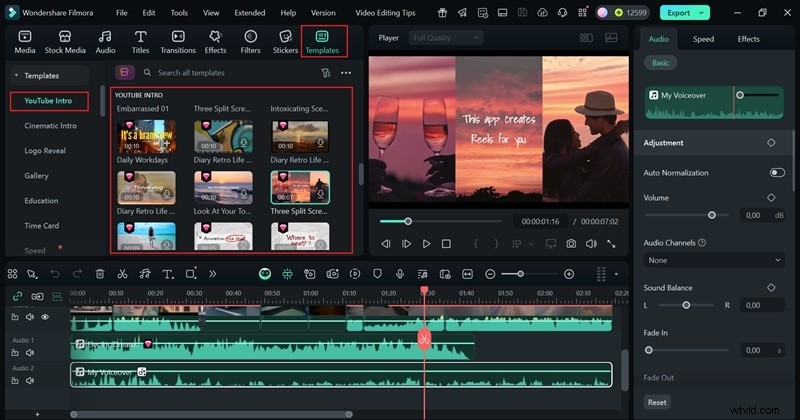
1. Hook Viewers in the First 10 Seconds
Start with a strong visual or narrative hook. Filmora’s YouTube Intro templates help you set the tone instantly.
2. Create Click‑Worthy Thumbnails
Use bold imagery, clear text, and a consistent style. AI Thumbnail Creator offers customizable templates that match your brand.
3. Write Optimized Descriptions
Descriptions drive search visibility. Filmora’s AI Copywriting tools generate SEO‑friendly titles and descriptions.

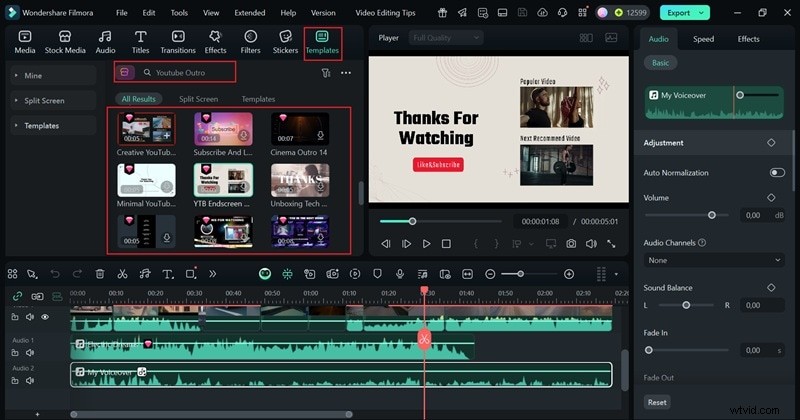
4. Add Outros for Continued Engagement
End screens encourage viewers to explore more content. Filmora’s outro templates let you insert calls‑to‑action easily.
5. Schedule Your Post
Consistency drives retention. Filmora’s Social Content Planner schedules uploads at peak times.

Conclusion
Mastering these 40 video‑editing tips transforms the learning curve from intimidating to enjoyable. By following this structured workflow, you’ll produce polished, engaging videos that resonate with your audience.
Filmora’s all‑in‑one platform accelerates every step—from AI‑assisted planning to creative polish—making it an ideal companion for beginners eager to grow their editing skills.
FAQs About Video Editing Tips and Tricks
-
1. How to choose the best platform for video editing?
Match the software to your skill level and content type. For beginners, Filmora offers a balanced mix of ease and power.
-
2. What is the easiest video editing software for beginners?
Filmora, iMovie, and Media.io stand out for their drag‑and‑drop interface and ready‑made templates.
-
3. Can AI tools really speed up video creation for beginners?
Absolutely. From auto subtitles to AI audio cleanup and smart scene cuts, AI reduces time while preserving quality.
-
4. How do I keep my editing style consistent across multiple videos?
Use the same filters, fonts, and transitions. Presets or custom templates in Filmora maintain a recognizable style.
-
5. What should I avoid in video editing?
Overuse of flashy transitions, extreme saturation, or overpowering music can distract viewers. Aim for balance and clarity.
-
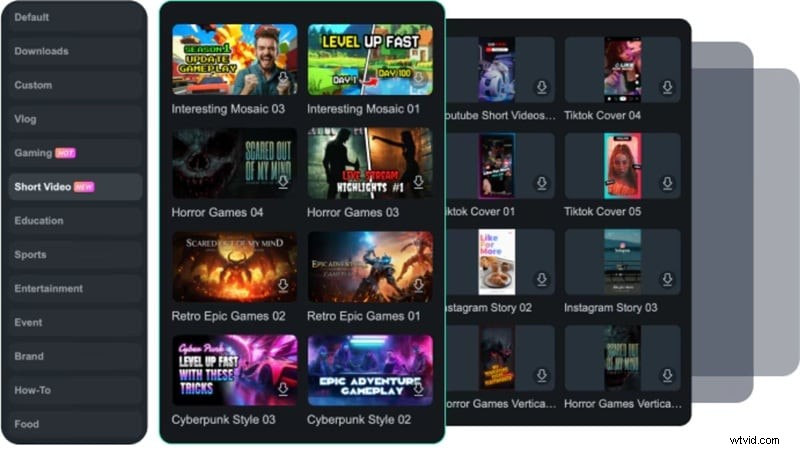
6. What are the most trending video editing techniques in 2025?
Short‑form content on TikTok, YouTube Shorts, and Instagram Reels dominates. Filmora’s AI Smart Short Clips and text‑to‑video features keep creators ahead of the curve.