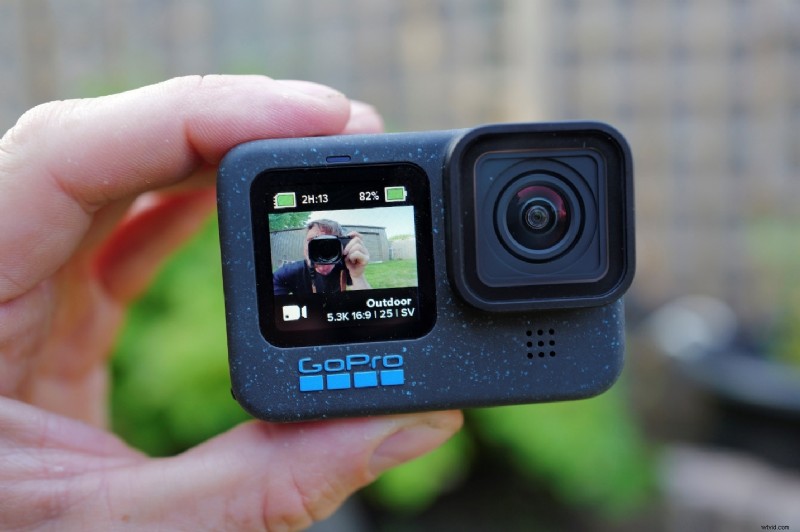
GoPro cameras capture the most exhilarating moments—action shots, sweeping landscapes, and candid adventures. Yet raw footage can feel raw: shaky, flat, or disjointed. This guide walks you through every step—from transferring files to polishing with industry‑grade tools—so you can transform raw clips into captivating stories.
1. Understanding GoPro Footage
GoPro videos have distinct characteristics that influence editing choices. Mastering these quirks unlocks the full potential of your footage.
- HDR (High Dynamic Range) – GoPros record a broad light spectrum. Proper color grading brings out vibrant highlights and deep shadows.
- High Frame Rates (e.g., 120 fps) – Enables smooth slow‑motion. Use speed ramps to emphasize motion without losing clarity.
- Wide‑Angle Lenses – Great for expansive scenes but can distort edges. Lens‑correction tools correct barrel distortion for a polished look.
- 360° Footage – Offers immersive interactivity. Dedicated workflows let you stitch, stabilize, and publish interactive panoramas.
Recognizing these attributes allows you to tailor edits that amplify the story behind each frame.
2. Pre‑Editing – Organize Before You Cut
Efficient organization saves time, protects data, and sets the stage for smooth editing.
2.1 Transfer Footage to Your Editing Device
- Wireless (GoPro Quik app) – Ideal for on‑the‑go edits. Connect via Wi‑Fi or Bluetooth and import directly to your phone’s gallery. Note: large 4K files can be slow and consume memory.
- Wired (SD card or USB‑C) – Fastest, most reliable. Use a high‑speed card reader or connect the GoPro via USB‑C for quick transfers, especially for 4K or 5K projects.
- GoPro Webcam Desktop Utility – Enables live streaming and direct media import to PC.
2.2 File Management Essentials
- Create a dedicated project folder with subfolders: Raw, Audio, Photos, Exports.
- Rename clips to descriptive titles (e.g., Beach_Sunset_01.mp4) to ease retrieval.
- Back up originals to an external drive or cloud before editing.
- Allocate sufficient storage—GoPro 4K or slow‑motion files are large.
- Curate a Best Shots folder to streamline your timeline.
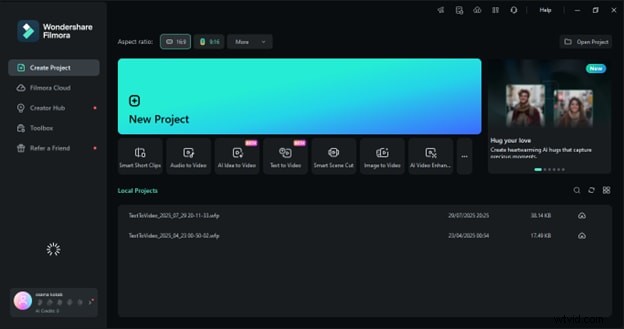
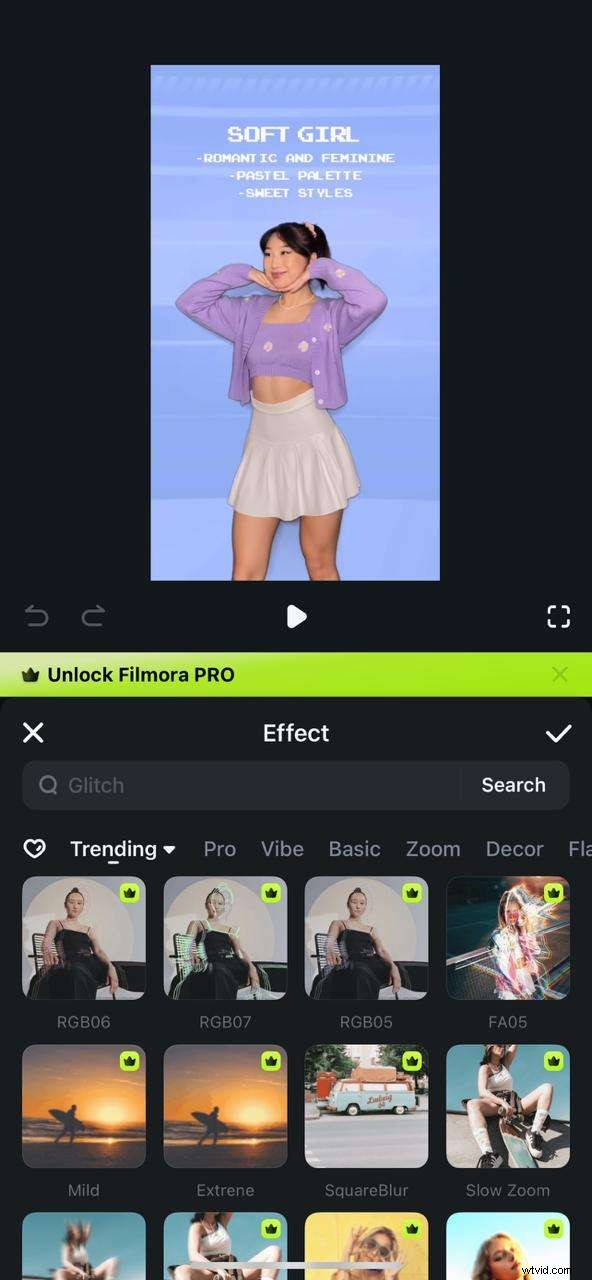
3. Editing with GoPro Quik
Quik offers a lightweight, mobile‑first workflow for quick, social‑ready videos. It’s perfect for creators who need fast, polished cuts.
3.1 Quick Setup
- Download Quik from the App Store or Google Play.
- Log in with your GoPro account. The first month of premium features is free.
- Enable HyperSmooth in your GoPro settings for in‑camera stabilization.
3.2 Import and Create a Project
Turn on your GoPro, connect via Wi‑Fi/Bluetooth, and tap the GoPro icon in Quik to select clips. After import, open the Media tab, tap +, and name your project. Quik auto‑generates a basic montage.

3.3 Editing Basics
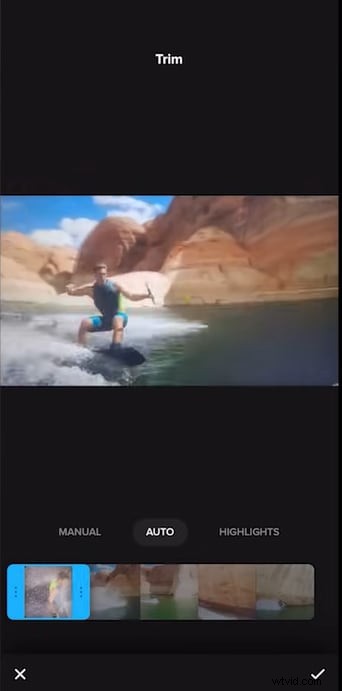
- Trim & Arrange – Cut unwanted portions and reorder clips to build a cohesive narrative.
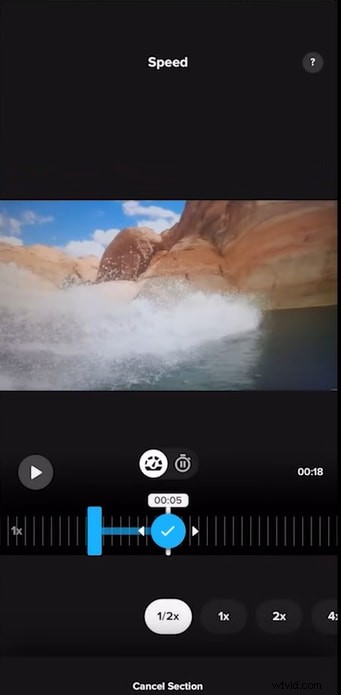
- Speed Ramps – Slow down action or speed up filler segments to create dynamic pacing.
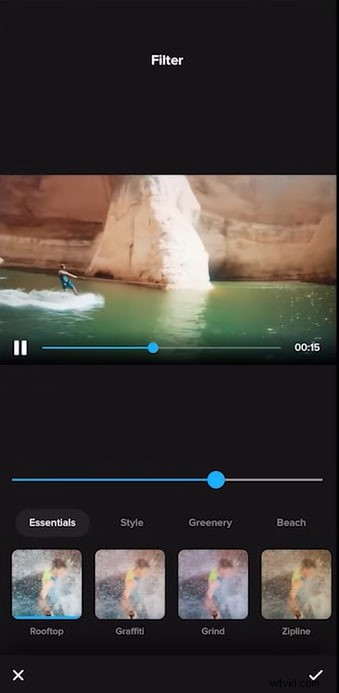
- Filters & Color – Choose a filter, then fine‑tune exposure, contrast, and vibrance for consistency.
- Reframe – Crop or rotate to correct wide‑angle distortion.
- Aspect Ratio & Length – Export 16:9 for YouTube, 9:16 for TikTok, or 1:1 for Instagram.


3.4 Finalize and Share
Export to your device or share directly to Instagram, YouTube, or Facebook.

4. Editing with Wondershare Filmora
For creators who want deeper control, Filmora delivers a desktop environment with powerful AI and traditional editing tools.
4.1 Why Filmora Beats Quik for Advanced Editing
- Full desktop workspace allows zoomed timelines, multi‑track editing, and complex color grading.
- AI features: auto‑enhance, smart clip trimming, background removal, and AI voice isolation.
- Support for 4K/5K, multi‑camera editing, and extensive creative assets (over 2 M titles, effects, music).
4.2 Key Filmora Features for GoPro Footage
- Multi‑Camera Sync
- Planar Tracking & Smart Masking
- AI Portrait Cutout
- Advanced Audio Tools (vocal remover, noise reduction)
- Auto Reframe for cross‑platform publishing
- Advanced Color Grading & LUTs


4.3 Desktop Workflow – Windows & macOS
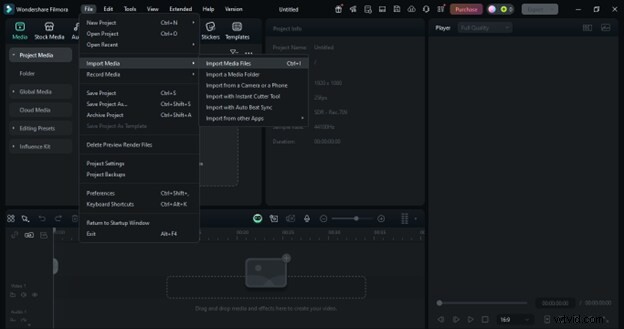
- Create a New Project – Launch Filmora, click New Project.
- Import Media – Drag files or use File > Import Media.
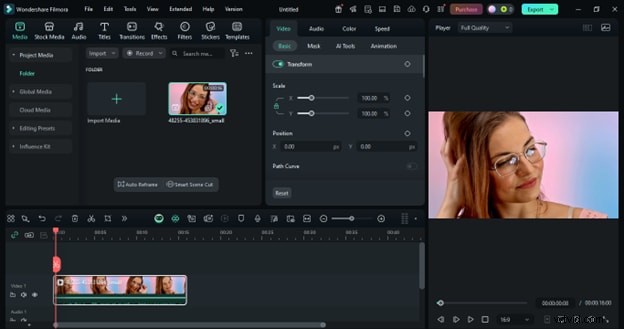
- Organize – Create folders in the Media tab for Raw, B‑roll, Audio.
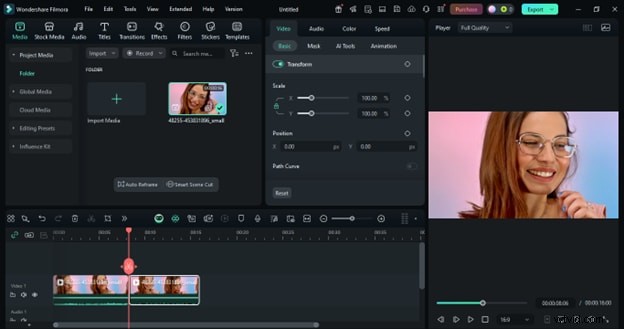
- Trim & Split – Use the trim, split, and cut tools to refine clips.
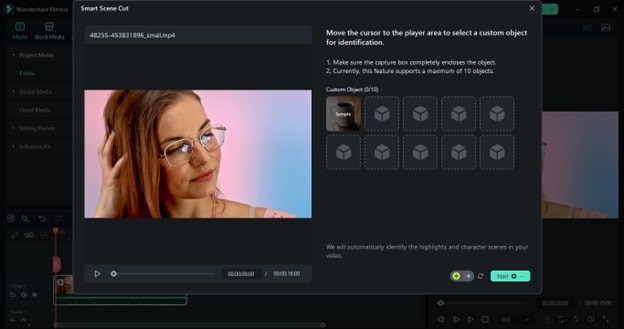
- Smart Scene Detection – Let Filmora auto‑segment long takes.
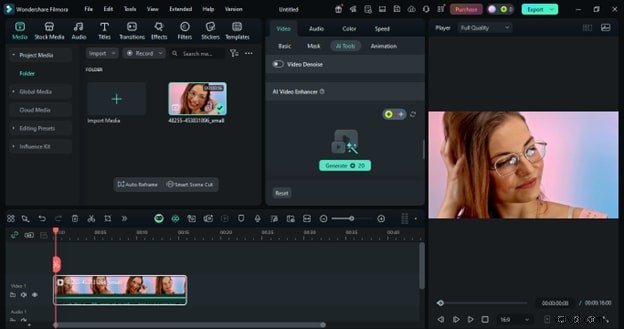
- AI Video Enhancer – Enhance resolution, reduce noise, and sharpen images.
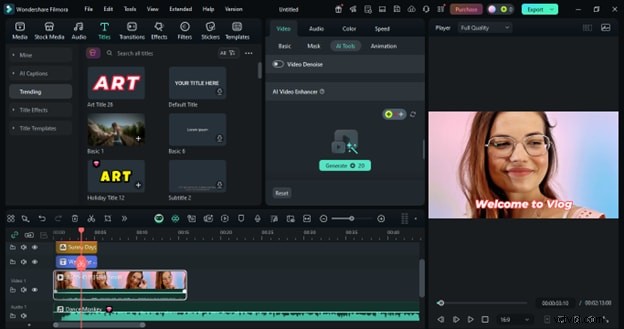
- Creative Add‑Ons – Drag titles, transitions, filters, and overlays onto the timeline.
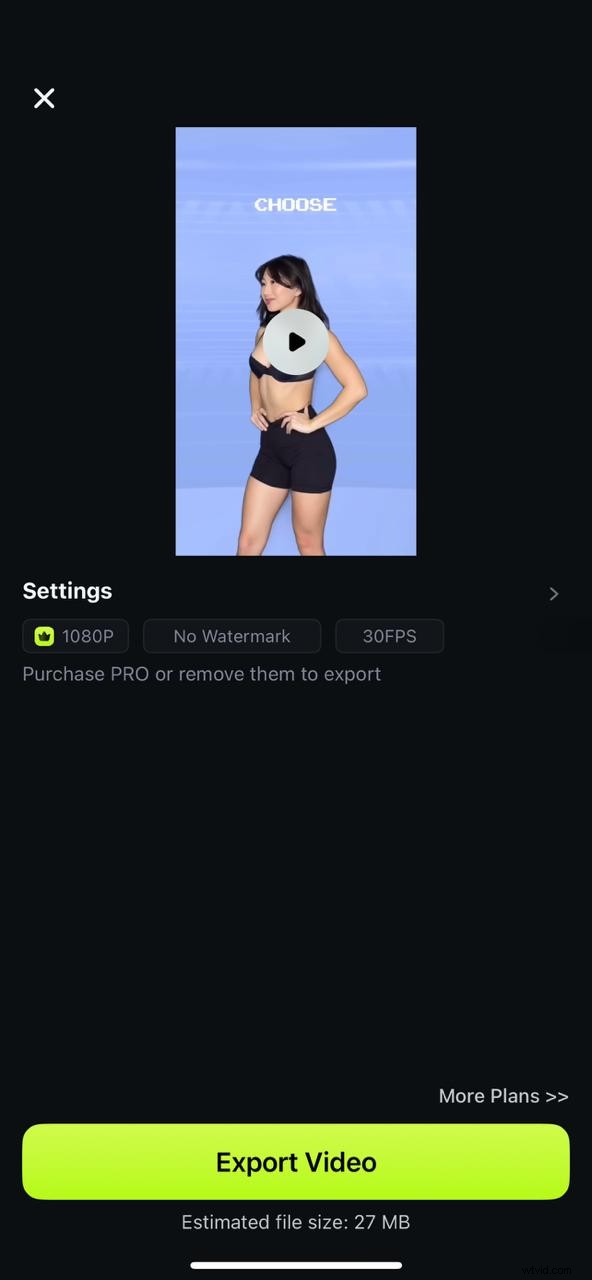
- Export – Choose format, resolution, and upload directly to social platforms.

4.4 Mobile Workflow – iPhone & Android
- New Project – Open Filmora Mobile, tap +, select GoPro clip.
- Effects & Filters – Use the Effects, Filters, and Text tabs to enhance visuals.
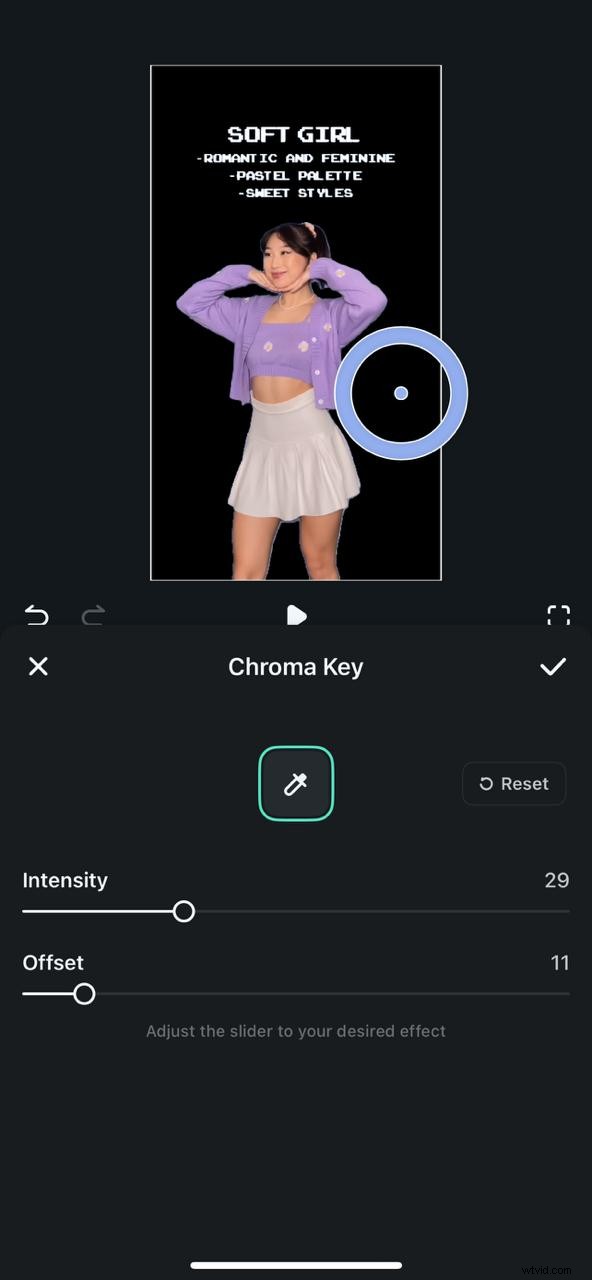
- Background Removal – Smart Cutout > Chroma Key for green‑screen effects.
- Export – Choose quality, then export to device or share.
5. Comparative Analysis: Quik vs. Filmora
| Feature | GoPro Quik | Wondershare Filmora |
|---|---|---|
| Primary Use Case | Fast mobile edits, social‑ready videos | Desktop editing, advanced control |
| Learning Curve | Very low – beginner friendly | Moderate – deeper toolset |
| AI Tools | Auto‑edit, beat sync | Auto‑enhance, smart trimming, background removal, voice isolation |
| Editing Depth | Trim, split, basic filters, transitions | Multi‑track, keyframing, layer effects, multicam, lens correction |
| Color Grading | Presets, limited manual control | Full control: LUTs, manual sliders, color matching |
| Audio Control | Music add, overall volume | Multi‑track, noise reduction, vocal enhancement, ducking |
| Creative Assets | Built‑in themes, filters, royalty‑free music | 2M+ titles, effects, music, plugins |
| Cross‑Platform Sync | Primarily mobile | PC, Mac, mobile (partial) |
| Format Support | Optimized for GoPro formats, limited export | Wide range, 4K export, customizable settings |
| Ideal User | Quick social edits from phone | Vloggers, semi‑pros, creators wanting full control |
6. Pro Tips to Elevate Your GoPro Videos
- Use High Frame Rate Slow‑Motion – Capture 60–240 fps, then slow down to highlight micro‑action.
- Enable HyperSmooth & Post‑Stabilization – Combine in‑camera stabilization with Quik or Filmora’s tools for silky smooth footage.
- Apply LUTs or Custom Presets – Add cinematic color grading that matches the scene’s mood.
- Mix FOV Shots – Pair wide and narrow FOVs to create depth and focus.
- Experiment with Mounts & Angles – Move beyond helmet‑mount to board, chest, or creative rigs for unique perspectives.
- Keep Clips Short & Engaging – Trim to highlight reels; use quick cuts and dynamic transitions to maintain viewer interest.
7. Troubleshooting Common Issues
- Import Failures – Ensure your editor supports HEVC (H.265). Update software or install codec packs if needed.
- Choppy Playback – Use proxy or optimized media in Filmora for high‑res, high‑fps footage.
- Large File Sizes – Export to MP4 (H.264) or use Quik’s compression. Store on external SSDs or cloud to free space.
Conclusion
Filming with a GoPro is only half the story; the editing process transforms moments into engaging narratives. This guide covered file transfer, organization, Quik’s rapid mobile workflow, Filmora’s robust desktop and mobile editing, advanced AI features, and expert styling techniques. Whether you’re a beginner or a seasoned editor, these strategies will help you produce professional‑grade GoPro videos that shine across any platform.