Your video projects will look better using DaVinci Resolve's text effects and animations. You’re at the right place if you've been wondering how to add effects to text in DaVinci Resolve. This article will guide you through the basics to more advanced.
Text effects come in many different forms. They can make your videos more visually appealing or send important messages. DaVinci Resolve provides powerful tools for this. After reading this tutorial, you can add expressive animations and effects to your text.
Let's explore the exciting world of DaVinci Resolve's text effects. To make the content stand out, you'll learn how to apply these effects and when to use them.
In this article
-
- Method 1: Use the Effects Library
- Method 2: Create Advanced Effects in Fusion
- Method 3: Use Keyframes to Animate Text in DaVinci Resolve
- Step-by-Step Guide for the Methods Above To Create Tex Effects
- Keyboard Shortcuts
-
- Using the Correct Text Type
- Effects Library Limitations
- Inspector Panel Settings
- Check for Software Updates
-
- Features Related to Text Effects in Filmora
- Steps to Add Text Effects Using Presets in Filmora
Part 1. How Do You Add Text Effects in DaVinci Resolve?
DaVinci Resolve combines professional non-linear video editing with the world's most powerful color correction tool. It allows the addition of captivating text effects to any video project.
This software offers a wide range of tools for color correction, visual effects, and video editing. It's ideal for both beginners and experts. Whether looking for detailed animated graphics or straightforward text overlays, DaVinci Resolve is for you.
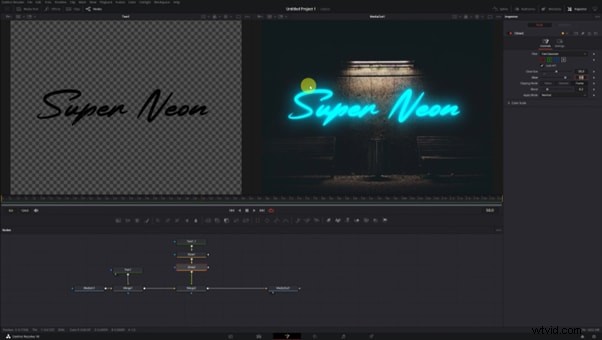
Method 1: Use the Effects Library
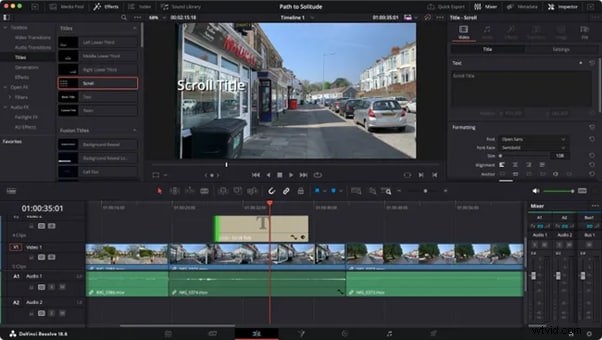
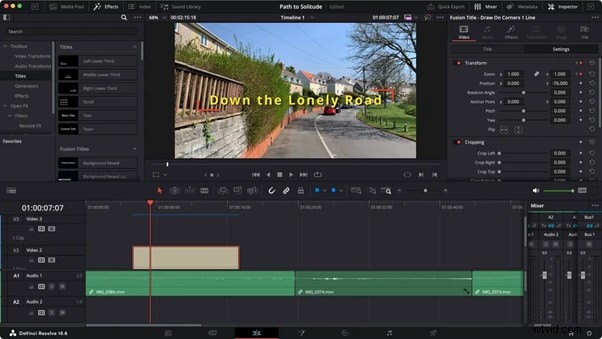
The Effects Library in DaVinci Resolve is your go-to for quick text effects. Text+ provides extensive styling and animation settings. It’s available directly from the Edit page.
Method 2: Create Advanced Effects in Fusion
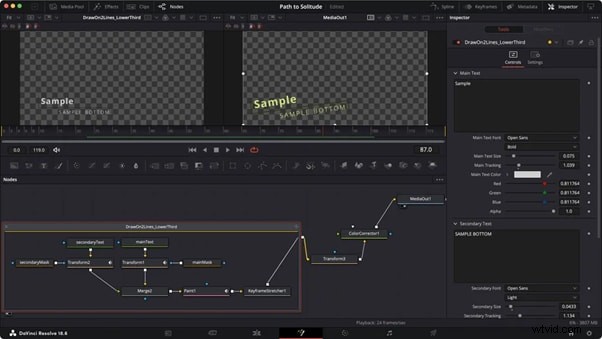
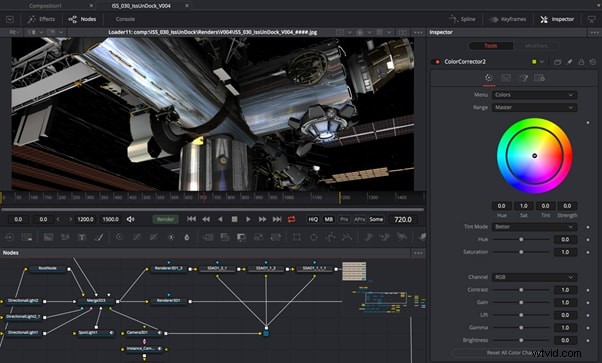
For more complex animations, consider using the Fusion page, where you can create intricate animations and effects using nodes. Fusion's node-based interface offers endless possibilities.
Method 3: Use Keyframes to Animate Text in DaVinci Resolve
Animating text with keyframes lets you control motion and timing precisely. Add keyframes to properties like position and opacity.

Step-by-Step Guide for the Methods Above To Create Tex Effects
Step 1. Adding Basic Text
Open the Edit Page: Launch DaVinci Resolve and navigate to the Edit page, where most editing features are located.

Step 2. Choose the method
Decide which method you want to use based on the complexity of the effect. Each method offers different levels of customization and complexity. Here's a breakdown to help you decide:
- Use the Effects Library
- In the upper left corner, click on the Effects Library. This will open a panel containing various effects, transitions, and titles.
- In the Effects Library, scroll down to the Titles section. Here, you will find options like Text or Text+.
- Using Fusion for Advanced Effects
- Select the text layer and right-click to choose New Fusion Clip.
- Switch to the Fusion tab, where you can use nodes to create intricate animations and effects.
- Add a Text+ node for advanced text editing options, including tracking and line spacing.
- Use Keyframes to Animate Text
- Set the First Keyframe: In the Inspector, locate the properties you want to animate (e.g., Position, Zoom, Rotation). Click the diamond icon next to the property to set the first keyframe at the current position of the playhead.
- Move the Playhead: Drag the playhead to a point further along the timeline where you want the animation to end.
- Adjust the Property: Change the property value (e.g., move the text, change the scale) to set the new position for the next keyframe. A new keyframe will automatically be created.
Step 3. Fine-Tune the Animation
The Fusion effect provides different settings to tweak to get the desired look.
Step 4. Preview and refine
Play back the timeline to see how the text animates according to the keyframes you've set. Always preview your animation and make adjustments as needed.
Step 5. Export Your Video
Once you are satisfied with the text effects, navigate to the Deliver page to export your project in the desired format.
Keyboard Shortcuts
- Ctrl + T: Add a new text clip
- Shift + Space: Open the toolbox in Fusion
- F2: Rename the selected node in Fusion
Next, explore the different text effects you can create in DaVinci Resolve.
Part 2. Types of Text Effects You Can Make in DaVinci Resolve
With DaVinci Resolve, you can make various text effects that give any video a polished appearance. Selecting a perfect impact for your project might be made easier if you grasp these effects.
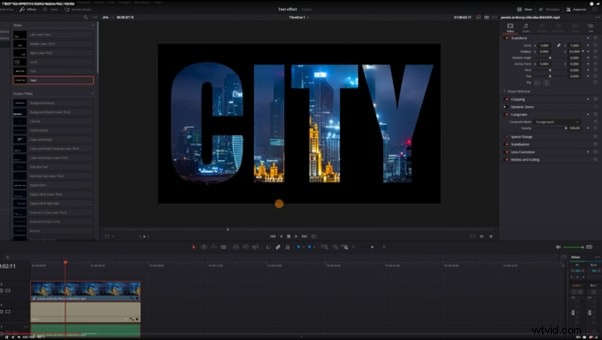
- Video within Text
This effect puts video clips inside the text, creating a dynamic visual. It’s great for titles in music videos or promotional clips.
- Animated Text: Animate your text to move across the screen or change in size. This keeps your audience engaged and emphasizes key points.
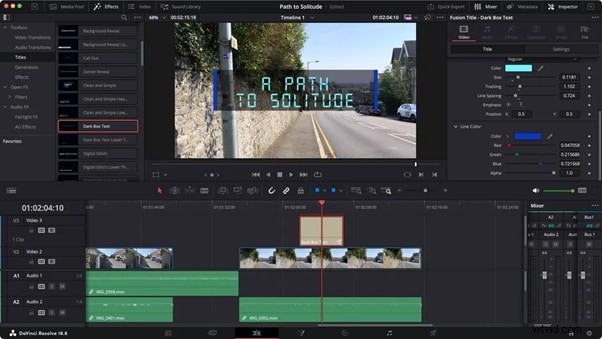
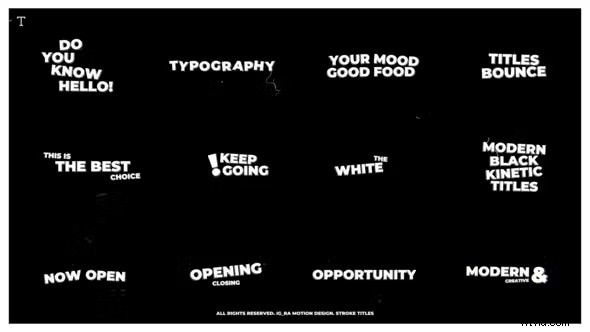
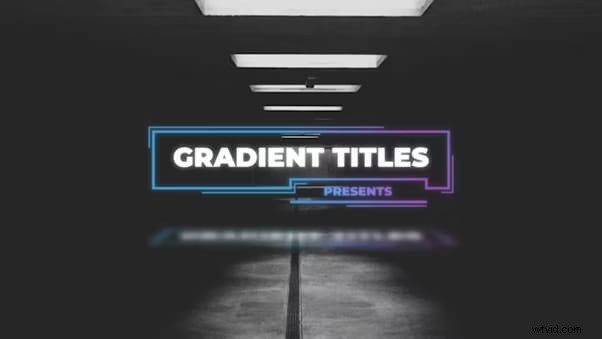
- Stroke Titles: Create titles with a stroke effect for a bold, modern look. This works well in tech or sports-related videos.
- Gradient Titles: Use gradients to color your text for a fresh, contemporary feel. Gradients can be subtle or vibrant.
- Text Box Animations: Animate the entry and exit of text boxes in your scenes. This effect adds elegance and style.

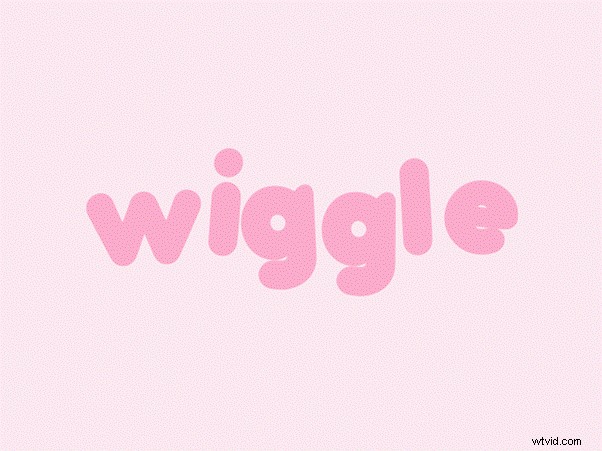
- Wiggle Text Effect: This makes your text wiggle or shake. It’s often used in horror movie trailers or to create a sense of unease.
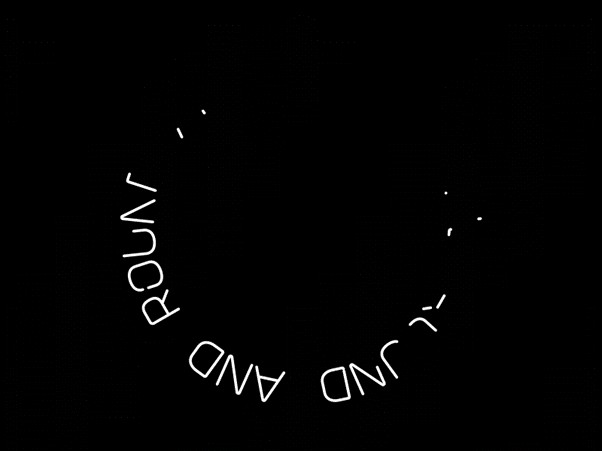
- Circular Text: Arrange your text in a circular pattern. This is perfect for logos or as a stylistic choice in creative videos.
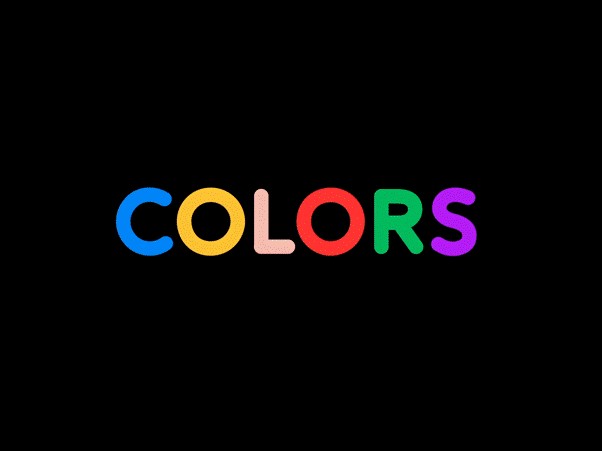
- Multi-color Text: Change text colors over time or dynamically. This adds life and vibrancy to your messages.
- Text Behind Effect: Create an illusion of depth by having text move behind objects on the screen.

- Digital Glitch Effect: Give your text a glitchy, corrupted look. This is popular in sci-fi or action-themed content.

- Custom Expressions: Utilize Fusion's custom expressions for dynamic effects, like adjusting numbers or dates automatically.
- Drop Shadow and Background Effects: Add shadows and backgrounds to make your text stand out. This adds depth and makes your text easier to read.

- Keyframe Animations: Use keyframes to animate your text’s position, rotation, and scale. This allows you to control how your text moves entirely.
- Motion Graphics: Combine text with other elements to create complex motion graphics. Fusion’s tools make this easy and effective.

These effects can be combined and customized to fit your creative vision. DaVinci Resolve’s tools are designed to be flexible and powerful, allowing for high-quality text effects.
Now, let's address some common issues users face when adding text effects in DaVinci Resolve.
Part 3. Why Can't I Add Effects to Text in DaVinci Resolve
You may occasionally run into problems when attempting to apply effects to text in DaVinci Resolve. Being aware of these problems will help in your resolution.
Using the Correct Text Type
Basic Text vs. Text+: DaVinci Resolve offers different types of text options, including Basic Text and Text+. Basic Text may not accept certain effects, while Text+ is designed for more advanced text effects and animations. If you want to apply effects, ensure you are using Text+.
Effects Library Limitations
Drag and Drop Issues: When trying to add effects from the Effects Library, ensure you are dragging the effect onto the correct layer. Effects can be applied to video clips but may not work directly on Basic Text layers. If you are using Text+, ensure you have selected the text layer properly.
Inspector Panel Settings
OpenFX Tab: After applying an effect to a Text+ layer, the OpenFX tab should appear in the Inspector panel. If it doesn’t, it may indicate that the effect is not compatible with the text layer you are using. Make sure you are in the correct context (Text+ layer) when checking for effects.
Check for Software Updates
Update DaVinci Resolve: Sometimes, issues can arise from using an outdated version of the software. Ensure that you have the latest version of DaVinci Resolve installed, as updates often include bug fixes and new features. Check if you’re using the latest version of DaVinci Resolve and ensure that your hardware meets the requirements. Sometimes, simply updating your software or drivers can resolve issues.
Next, we will explore an alternative tool for those who prefer a more straightforward interface for adding text effects.
Part 4. Text Effects Presets in Wondershare Filmora
Wondershare Filmora provides a user-friendly interface that makes text effect addition easier. Beginners and those who want a more straightforward user interface will find it excellent.
Extensive Text Presets in Filmora to Enhance Your Video Content
Filmora offers various text presets, including titles, lower-thirds, and openers, which can be easily customized and added to videos for professional-looking text overlays and engaging visual effects.


Filmora's interface is designed to be quickly understood. The software offers numerous text presets that are simple to use and modify. Filmora offers text-enhancing tools for projects, YouTube videos, or instructional content creation.
With features like AI text editing, Filmora stays at the cutting edge of video editing technology. The software updates regularly, providing users with new tools and features.
Features Related to Text Effects in Filmora
- Extensive library of text animations and presets.
- Easy-to-use tools for adjusting text properties like font, size, and color.
- AI tools for automatic text enhancement like Auto Captions, AI Translation, Speech to Text, etc.
Video Tutorial: Create a Smooth TEXT Effect Like AE
Steps to Add Text Effects Using Presets in Filmora
Step 1. Download and Open Filmora
You can download Filmora by clicking the buttons below. And then, start by launching Wondershare Filmora and opening a new project.

Step 2. Add Your Video
Drag your video into the timeline.
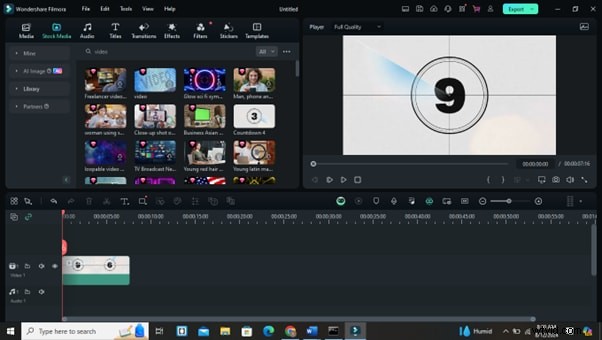
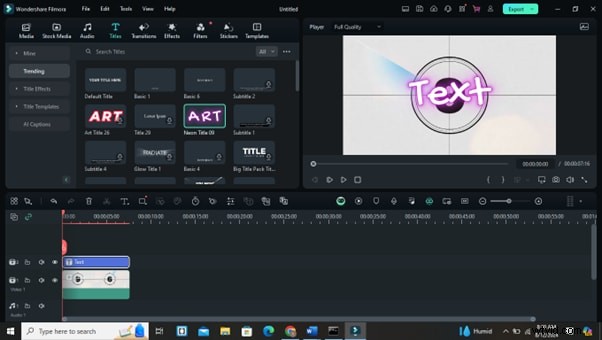
Step 3. Choose a Text Preset
Select a text effect from the ‘Titles’ library and drag it onto your video.
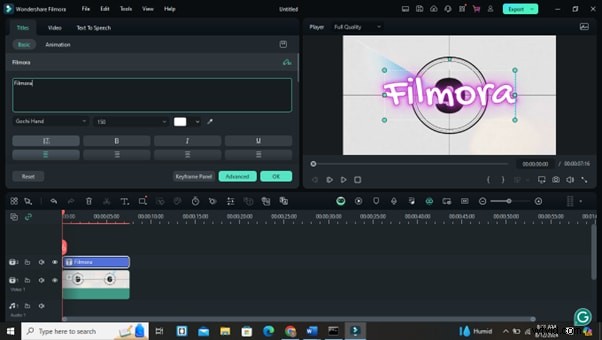
Step 4. Customize Your Text
Double-click the text to open the editor. Here, you can change the font, size, color, and animation settings.
Step 5. Preview and Adjust
Preview the text on your video. Adjust the timing and placement as needed.
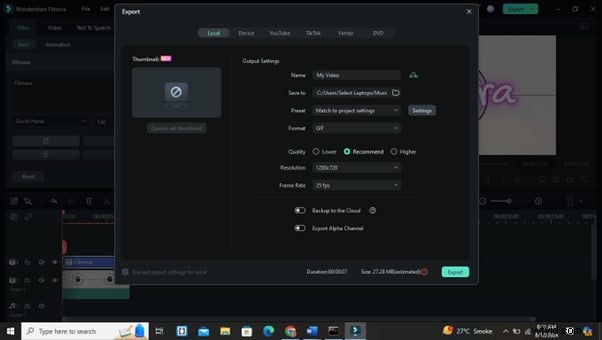
Step 6. Export Your Video
Once you’re happy with the text effect, export your video in the desired format.
Conclusion
Your videos can look more professional if you learn how to use DaVinci Resolve's text animations. You can use these tools to produce captivating titles and visuals. It can draw in viewers with a little effort.
Whether you prefer DaVinci Resolve for its extensive features or Filmora for its simplicity, both provide potent alternatives for enhancing your video work.
Try out several methods and tools to see what suits you the best. As you get more practice, you will add text effects quickly. This will improve your videos and draw in the audience.
Keep learning and discovering, but above all, never stop creating!
Get Started for FreeFor Win 7 or later (64-bit) Get Started for FreeFor macOS 10.14 or later