Achieving a cinematic look on a budget is now possible directly on your iPhone. By mastering color grading, you can elevate the mood, correct lighting inconsistencies, and give your footage a distinctive style without investing in expensive desktop software.
Historically, high‑quality color grading demanded powerful computers and pricey applications. Today, the iPhone’s advanced processing power and a growing ecosystem of dedicated apps make professional‑grade color adjustments accessible to anyone.
This guide walks you through the fundamentals of iPhone color grading, from color theory basics to selecting the most effective tools. Learn how to tweak brightness, contrast, and color tones to craft the perfect aesthetic—all from the convenience of your pocket.
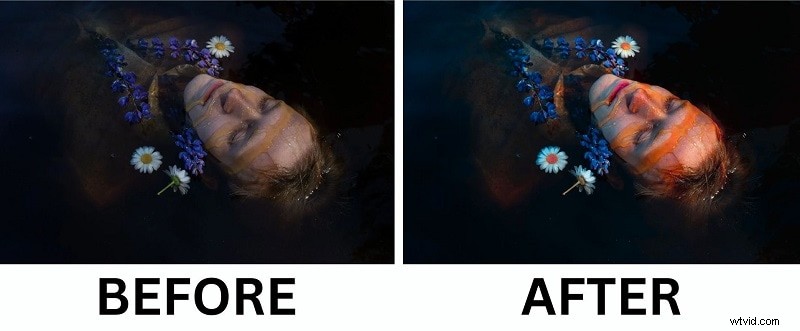
Table of Contents
- Essential Color Grading Tools and Settings
- Common Color Grading Techniques on iPhone
- Method 1: Using Video Adjustments
- Method 2: Applying Filters Presets
- How to Color Grade Using the iPhone Photos App
Part 1: Understanding Color Grading Tools and Techniques
Color grading on the iPhone goes beyond simple filter application. It involves refining a video’s color palette, contrast, and overall tone to convey a specific mood or narrative intent. Mastering these elements allows you to create visuals that feel warm, cool, dramatic, or intimate, mirroring the approach of seasoned cinematographers.
Essential Color Grading Tools and Settings
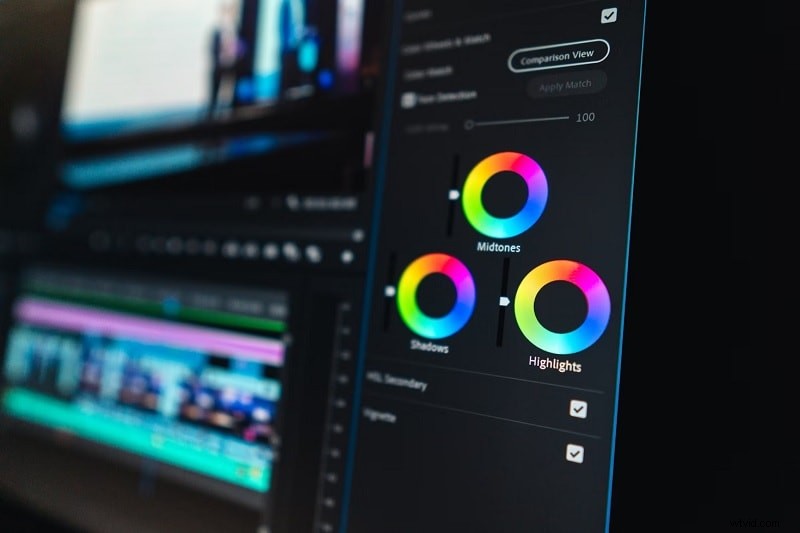
Professional color grading relies on a set of core tools that control every aspect of a frame’s appearance. While iPhone apps may not match the depth of desktop suites, they offer robust options such as:
- Color Wheels – Adjust shadows, midtones, and highlights independently for pinpoint color control.
- Curves – Shape contrast and brightness across tonal ranges, enabling cinematic fades and depth enhancement.
- Histogram – Visualize brightness distribution to avoid over‑exposure or lost shadow detail.
- LUTs (Look‑Up Tables) – Apply pre‑crafted color styles instantly, often used to emulate Hollywood‑style grades.
Even the most basic iPhone grading apps provide these features, ensuring you can achieve compelling results with just a few taps.
For instance, a raw clip shot under natural light may appear washed. By boosting highlight warmth, deepening shadows, and fine‑tuning contrast, the footage gains richness and cinematic depth. Most apps let you preview before and after, making adjustments precise and efficient.
Common Color Grading Techniques on iPhone
| Color Adjustments | Description |
| Exposure | Controls overall brightness, preventing footage from being too dark or overly bright. |
| Contrast | Increases the difference between highlights and shadows, adding depth and drama. |
| Saturation | Enhances color intensity—higher values make colors pop, lower values create a muted, moody look. |
| Temperature | Shifts the video’s warmth (yellow) or coolness (blue), shaping emotional tone. |
| Tint | Balances green/magenta hues, essential for correcting color casts in varied lighting. |
| Shadows & Highlights | Recovers detail in dark and bright areas, crucial for high‑contrast scenes. |
| LUTs or Presets | Applies a full color style with one click, ideal for instant cinematic looks. |
Mastering these adjustments grants full control over your video’s mood and style. Whether you aim for a natural filmic feel or a stylized palette, iPhone color grading is more accessible than ever.
Part 2: Choosing the Best Color Grading App for iPhone
Selecting the right app is as vital as the grading process itself. Among the available options, Filmora iPhone stands out for its blend of user‑friendly interface and powerful features. It supports real‑time preview, custom settings, and a wide array of color tools, making it suitable for beginners and professionals alike.
With Filmora, you can craft everything from subtle pastel tones to vibrant travel vlogs. The app’s intuitive design means you spend less time learning the tool and more time refining your creative vision.
Method 1: Using Video Adjustments
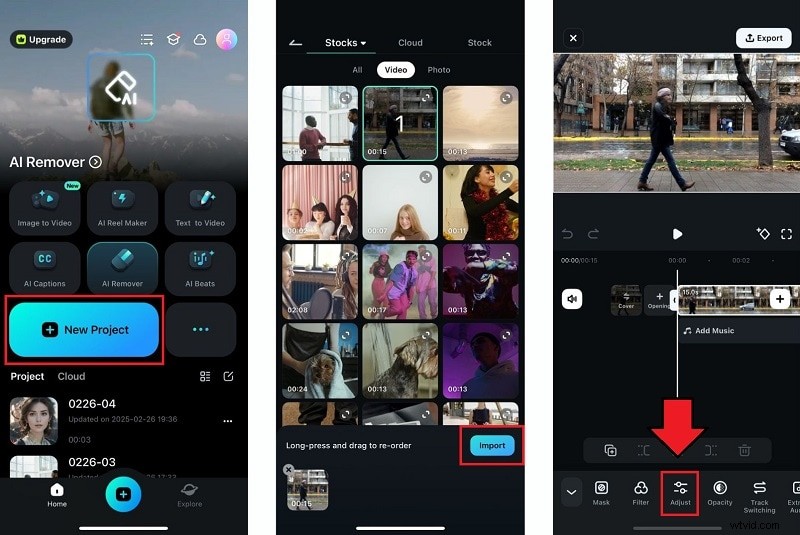
Step 1 – Create a Project and Import Your Video
Launch Filmora, tap New Project, and select the clip you wish to edit from your gallery.
Step 2 – Access the Adjustment Panel
After placing the clip on the timeline, tap it and choose Adjustment from the toolbar.
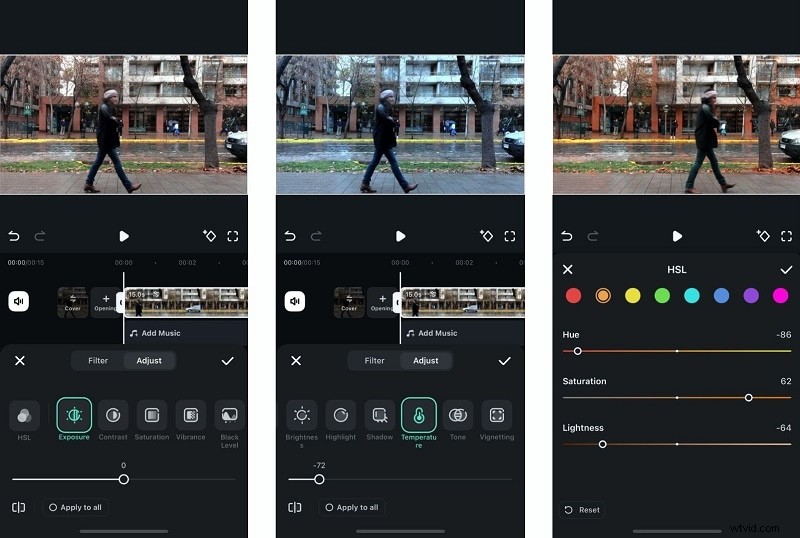
Step 3 – Fine‑Tune White Balance and Basic Settings
Adjust the Temperature slider to add warmth or coolness, and use the Tone slider to boost vibrancy. Within the same panel, modify Exposure, Contrast, and Saturation for a balanced look.
Step 4 – Target Specific Colors with HSL
Use the HSL tool to isolate and tweak individual hues. This is ideal for correcting color casts or emphasizing particular elements.
Step 5 – Preview and Export
Watch the preview to ensure the grading aligns with your vision. When satisfied, tap the checkmark and Export to save the finished video.
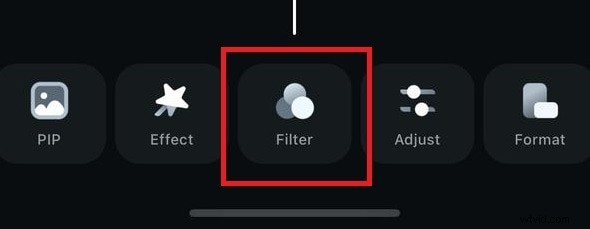

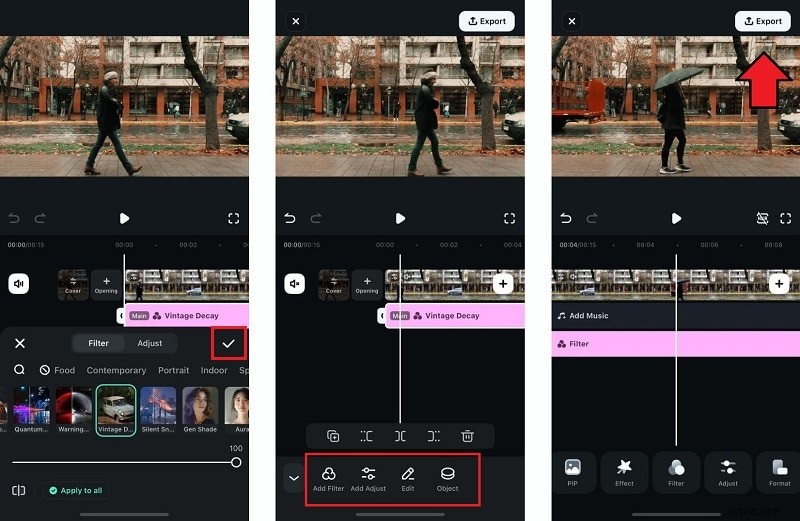
Method 2: Applying Filter Presets
Step 1 – Import Your Clip and Open Filters
After adding your video to the timeline, tap the Filters tab.
Step 2 – Choose a Style and Adjust Intensity
Browse categories such as Trending, Film, Retro, and others. Select a filter and adjust its intensity with the slider. Use the Apply to all option for consistent styling across multiple clips.
Step 3 – Finalize and Save
Apply the filter, then tap the checkmark to lock in the changes. You can layer additional filters or tweak settings for a custom finish.
Part 3: Built‑In Color Grading with the iPhone Photos App
For quick edits without installing third‑party software, the Photos app offers essential adjustments. While it lacks advanced features like color wheels, it still provides robust controls for exposure, contrast, saturation, highlights, and shadows—ideal for subtle enhancements.
How to Color Grade Using the Photos App
Follow these streamlined steps to refine your video’s appearance:
Step 1 – Open Your Video
Navigate to the Photos app, select the clip, and tap Edit.
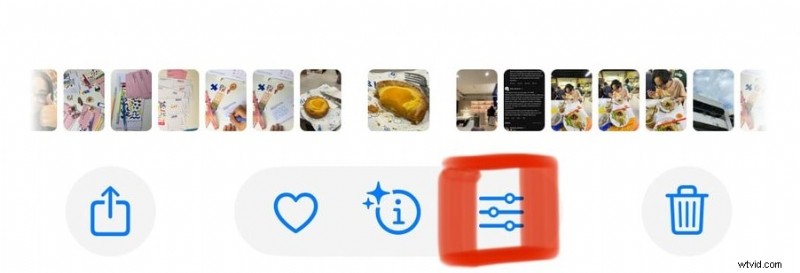
Step 2 – Access Adjustments
Tap the adjustment icon to reveal the available sliders.
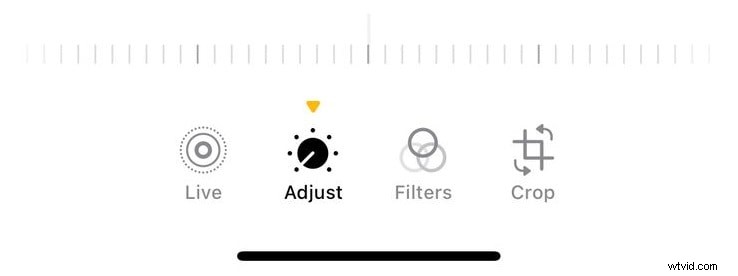
Adjust the following controls to achieve your desired look:
- Exposure & Brightness – Brighten or darken the overall image.
- Contrast – Increase sharpness or soften the image.
- Shadows & Highlights – Restore detail in dark or bright areas.
- Saturation – Make colors pop or create a muted, moody feel.
- Warmth & Tint – Shift the color balance toward yellow or blue, and correct green/magenta casts.
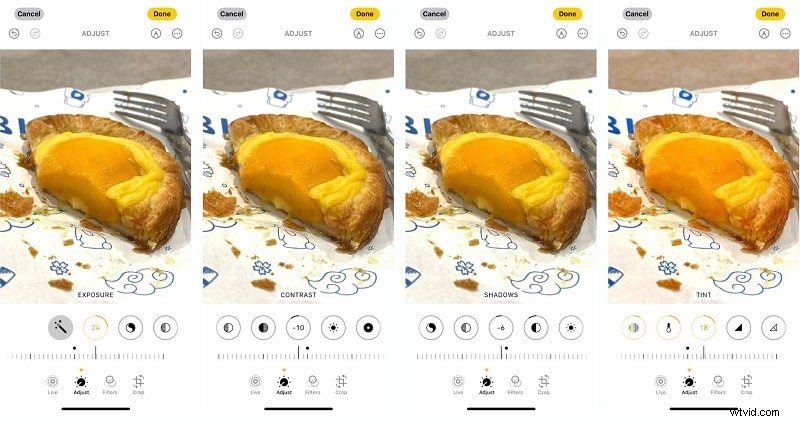
Optional: Apply one of the built‑in filters for a quick cinematic touch.
Step 3 – Save Your Work
Once satisfied, tap Done to apply the edits. While the Photos app’s options are limited compared to dedicated grading tools, it remains a convenient choice for fast, on‑the‑go adjustments.
Conclusion
Color grading on the iPhone has evolved from a basic filter app to a full-fledged production tool. For casual users, the Photos app offers a quick way to enhance footage. For creators seeking deeper control—such as custom color wheels, advanced LUTs, and precise HSL adjustments—third‑party apps like Filmora provide the necessary features.
Whether you aim to transform a raw clip into a cinematic masterpiece or simply add a touch of polish, mastering iPhone color grading unlocks professional results without the need for a desktop setup.