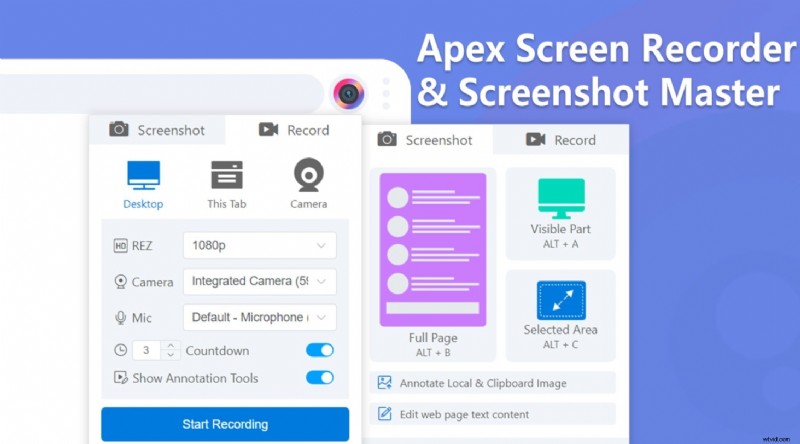
In 2025, screen recording has become an essential tool for creating tutorials, documenting online meetings, and archiving digital content that isn’t available for download. Apex Screen Recorder streamlines this process, allowing you to capture video or take high‑quality screenshots with just a few clicks.
The Apex Screen Recorder extension is more than a basic recorder—it offers annotation tools, customizable recording settings, and quick access to screenshots. In this guide, you’ll learn how to set up and use the extension, plus how to enhance your recordings with advanced editing tools.
In this article
- How to Set Up the Apex Screen Recorder
- How to Use the Apex Screen Recorder
- Bonus: Optimize Your Screen Recording with Advanced Video Editing
Part 1. How to Set Up the Apex Screen Recorder
Apex Screen Recorder lets you capture everything on your screen, whether you’re creating professional tutorials, gameplay videos, or quick demonstrations for clients. With its intuitive interface, you can record your screen with or without audio, depending on your needs.
The extension offers two primary recording modes:
- Record Screen + Audio: Capture the full visual output along with system sound and your microphone.
- Record Screen Only: Record a clean video without audio, ideal for adding voiceovers or background music later.
Because Apex is a Chrome extension, you’ll need the latest version of Google Chrome. Follow these steps to install and pin the extension:
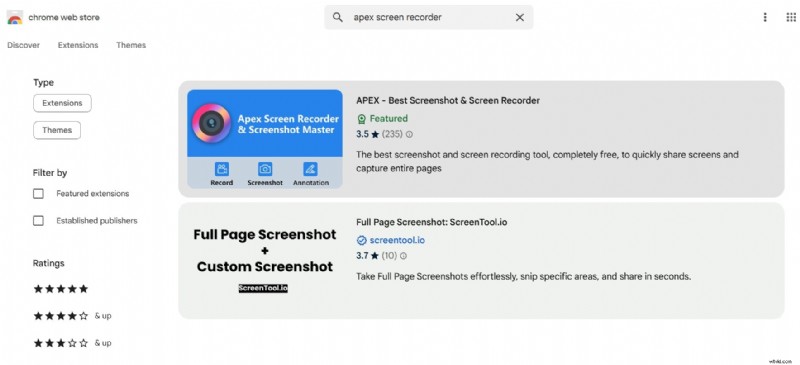
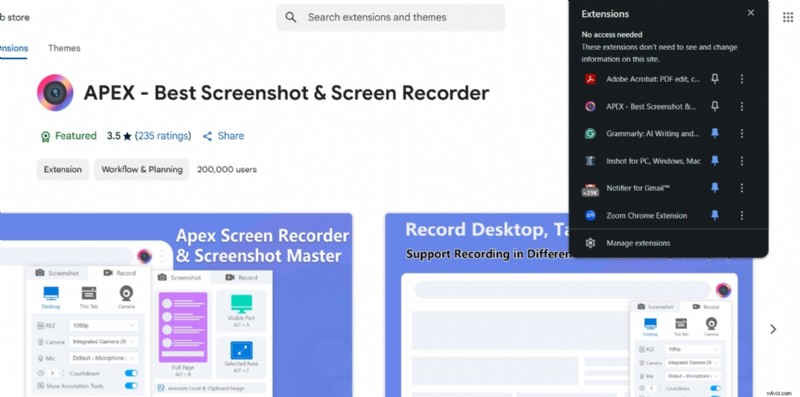
- Step 1: Visit the Chrome Web Store and search for "Apex Screen Recorder".
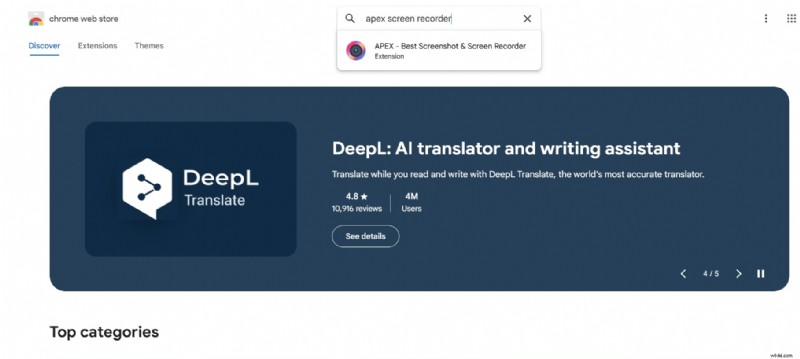
- Step 2: Click the extension result to open its details page.
- Step 3: Press Add to Chrome, review the permissions, and confirm by clicking Add Extension.
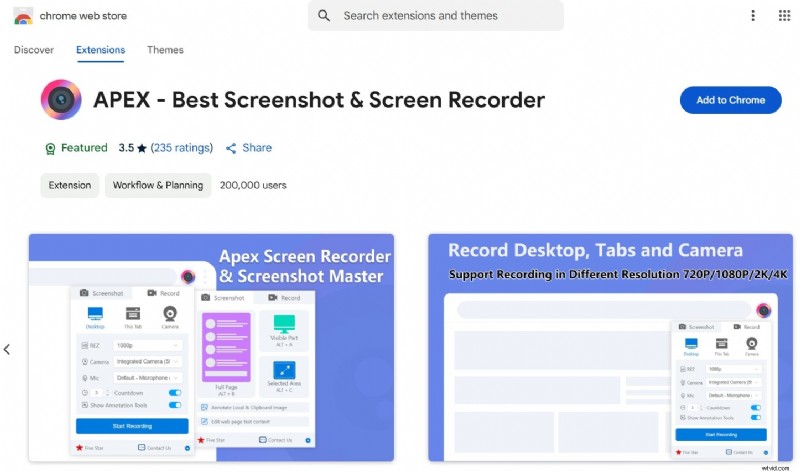
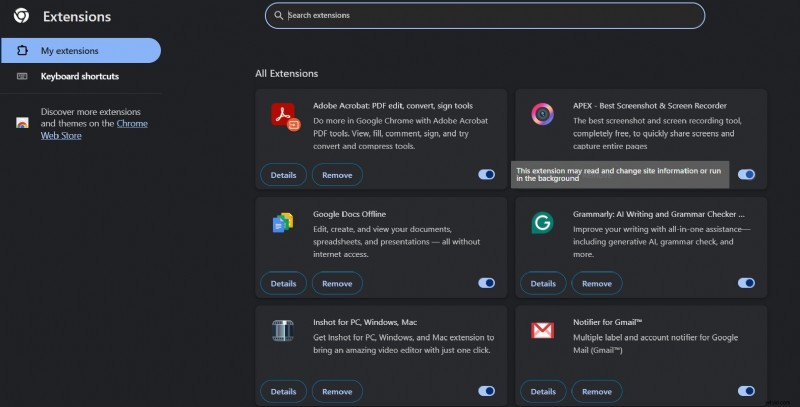
- Step 4: Locate the Apex icon in the extensions bar. Pin it to keep the icon readily accessible.
- Step 5: If the icon isn’t visible, open Manage Extensions, locate Apex Screen Recorder, and toggle it on the right side. This action pins the extension to your toolbar.
Always review the requested permissions before confirming installation to ensure a smooth recording experience.
Part 2: How to Use the Apex Screen Recorder | Steps
Once Apex is pinned, you can start recording or taking screenshots with minimal effort. Follow these straightforward steps:
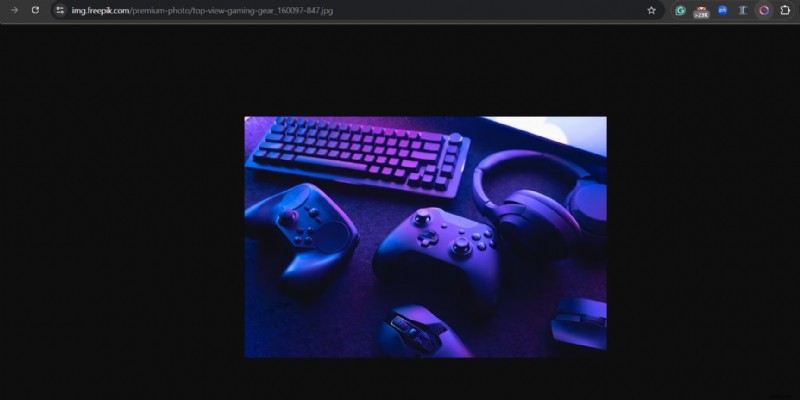
- Step 1: Navigate to the page you want to capture, then click the Apex icon in the toolbar.
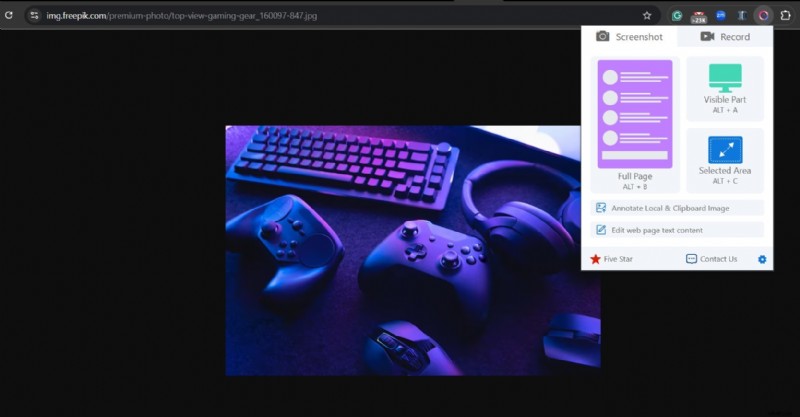
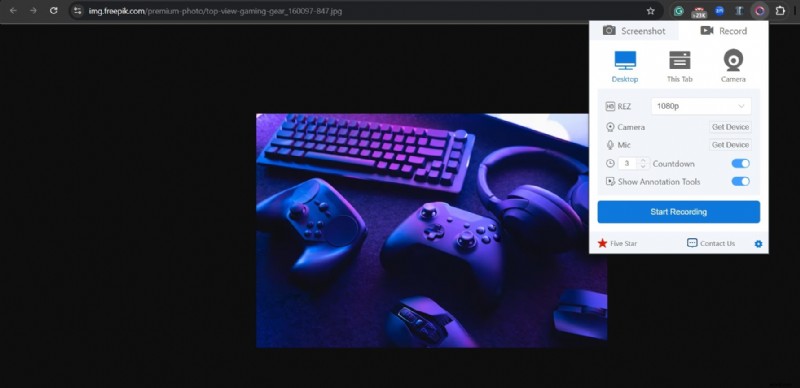
- Step 2: Choose between Screenshot or Record on the initial panel.
- Step 3: Select Record to access options for resolution, webcam, microphone, and countdown timer. Configure your preferences and hit Start Recording.
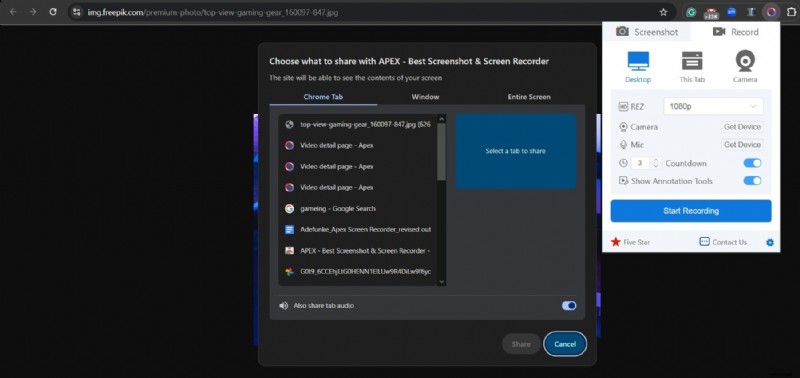
- Step 4: If you choose "Desktop", the pop‑up will ask whether you want to record a specific tab, window, or the entire screen. You can also enable tab audio if needed.
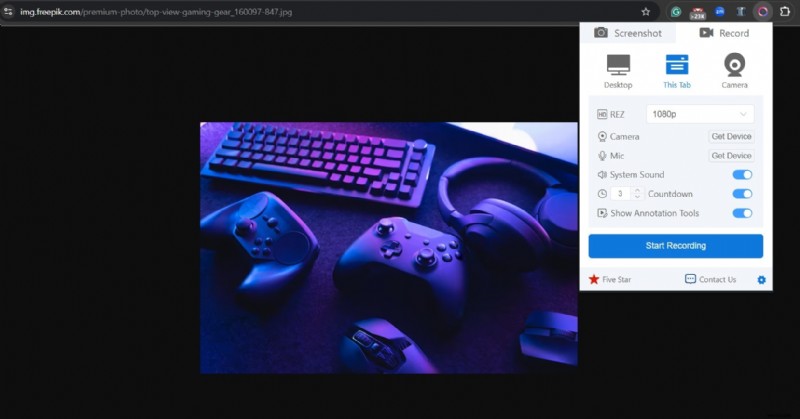
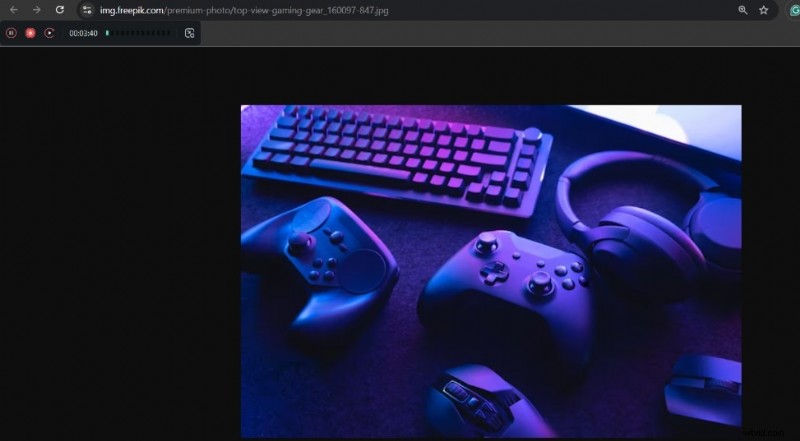
- Step 6: For a quick capture of the current tab, click This Tab and then Start Recording.
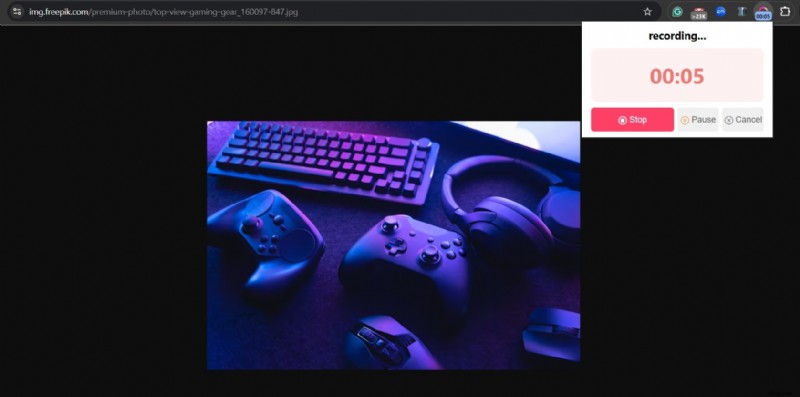
- Step 7: Stop the recording whenever you’re finished. You can also pause mid‑capture if you need a break.
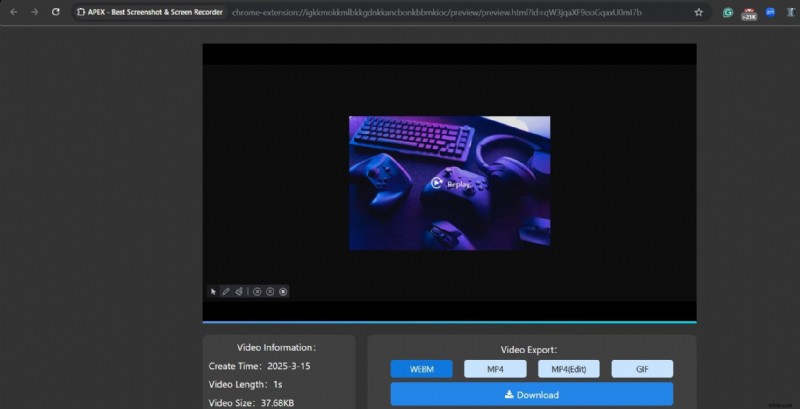
- Step 8: After stopping, the extension opens a new tab where you can adjust export settings—format, resolution, and more—before saving.
- Step 9: To take a screenshot, select Screenshot and choose whether to capture the entire screen or a selected region. Drag to define the area, then release to capture.
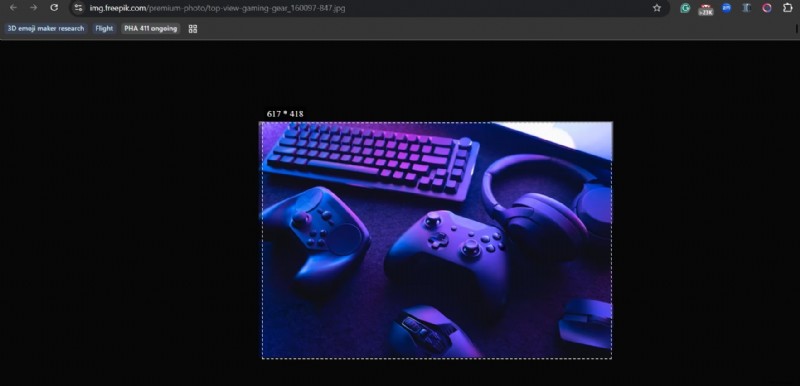
The screenshot automatically opens in a new tab for easy editing or sharing.
Tip: If you don’t want your webcam feed in the recording, simply disable the camera toggle before starting.
Part 3: Bonus – Optimize Your Screen Recording with Advanced Video Editing
Apex is powerful, but its functionality is limited to the Chrome browser. If you need cross‑browser support or more sophisticated editing features, consider a dedicated application like Wondershare Filmora.
Filmora offers integrated screen capture, webcam overlay, voice‑over recording, and an intuitive editing suite—all in one platform. Follow these steps to record directly within Filmora:
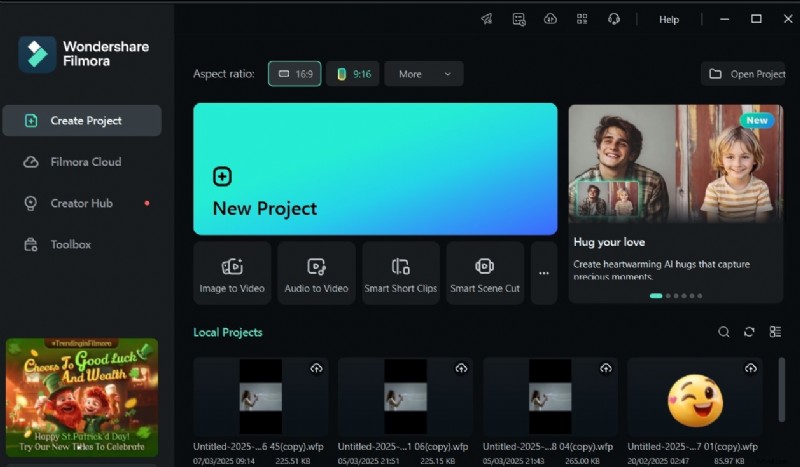
- Step 1: Open Filmora and create a new project.
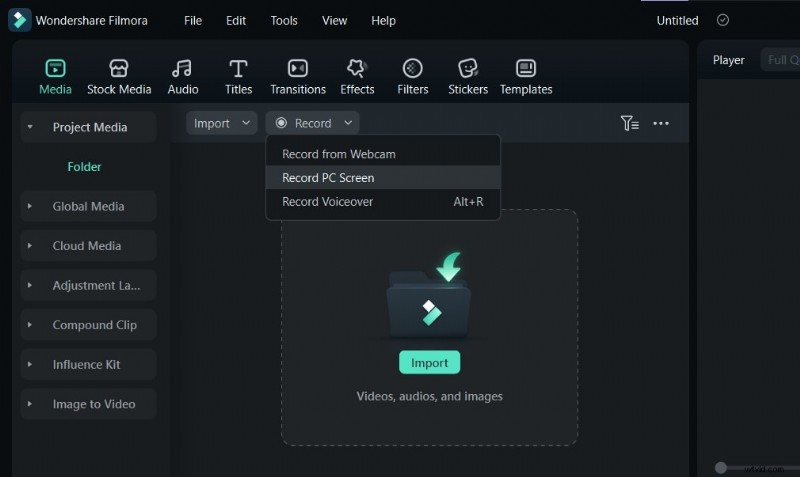
- Step 2: Navigate to the Media tab and click Record.

- Step 3: Choose Record PC Screen to capture your desktop.
- Step 4: Adjust the recording area, enable your microphone, and toggle system audio if desired.

- Step 5: Click the prominent red button to start recording. Press F9 or the stop button to end.
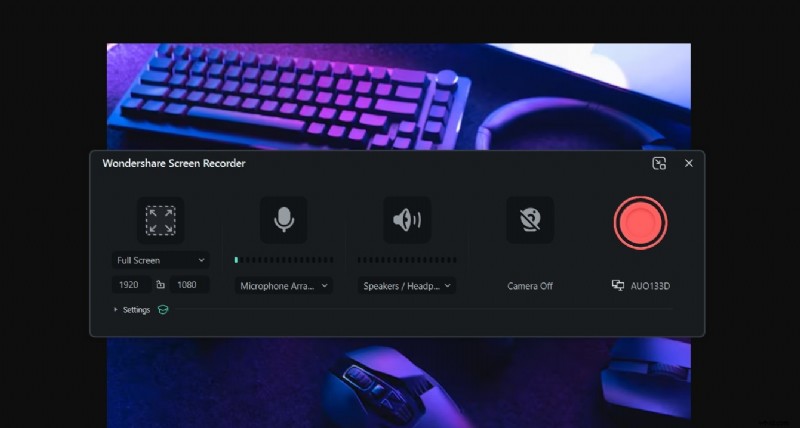
- Step 6: Your recording appears in Filmora’s media library, ready for editing, trimming, and exporting.
Conclusion
Apex Screen Recorder is an excellent choice for quick, high‑quality screen captures and tutorials. Its Chrome‑based workflow makes it accessible for anyone who needs a fast solution. However, if you require advanced editing or cross‑platform compatibility, Filmora provides a robust alternative that combines recording and post‑production in a single environment.
Try both tools to determine which best fits your workflow. Whether you’re creating concise walkthroughs or full‑featured videos, these solutions empower you to produce polished, engaging content.

Filmora
⭐⭐⭐⭐⭐
The Best AI-powered Video Editing Software and App