Introduction
Many learners find watching a video while hearing an explanation more engaging than reading static text. PowerPoint, part of Microsoft 365, lets you weave graphics, text, tables, multimedia and animation into a compelling presentation. If you want to add your own narration or record your screen for later use, there are straightforward methods available.
In this article
- Record directly in Microsoft PowerPoint
- Use a dedicated screen‑recording tool (Filmora)
- Edit and fine‑tune the recording
- Export and share your finished video
Part 1. Recording a PowerPoint Presentation with Audio in Microsoft 365
Microsoft 365 introduced a native recording feature in early 2022, making it easier to add voiceovers and video to slides. This is ideal for educational materials, business meetings, product demos, and online tutorials.
Follow these steps to record your presentation:
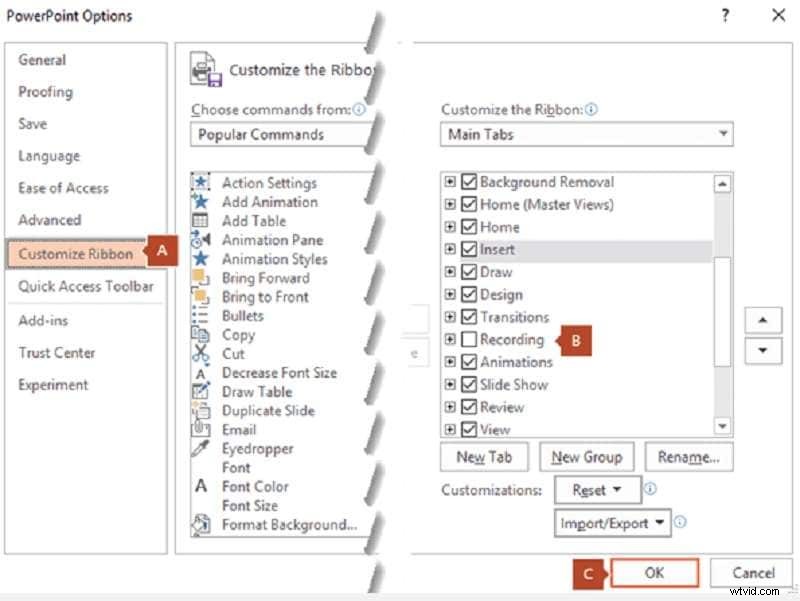
Step 1 – Enable the Recording Tab
Open your presentation in PowerPoint. On the File tab, click Options → Customize Ribbon. Check the Recording box on the right, then click OK.
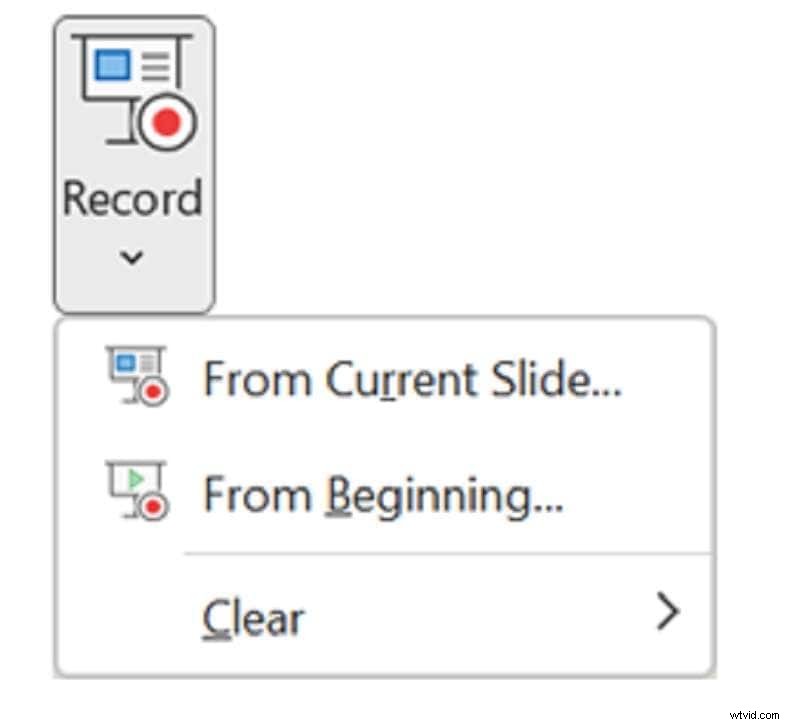
Step 2 – Start Recording
On the new Recording tab, click Record. Choose From current slide or From beginning based on your preference. The recording window will appear.
Step 3 – Record Your Slides
Click the red circle (or press R) to begin. A countdown signals that recording will start soon. You can:
- Pause or stop with Alt+S or the stop button.
- Navigate slides using the arrow buttons.
- View the automatically logged recording time.

Step 4 – Manage Audio and Video
Toggle the camera, microphone, and preview icons in the bottom right corner to control whether video and audio are captured.
Step 5 – Finish the Recording
Click the stop icon or press S to end. PowerPoint will automatically embed the narration and video into the slide sequence.
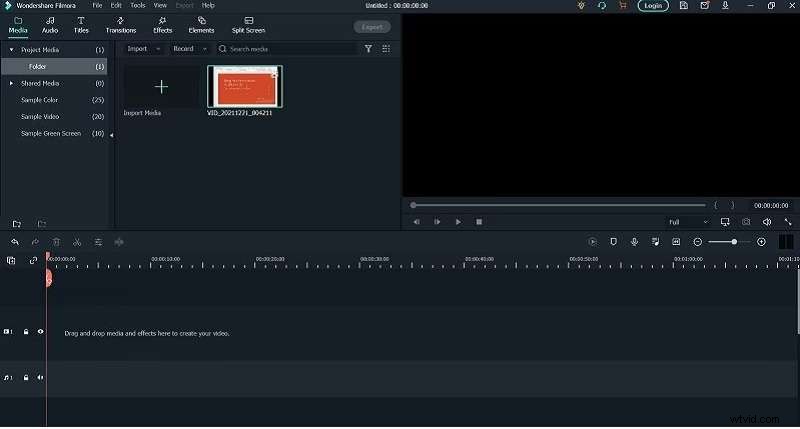
Part 2. Recording a PowerPoint Presentation with Filmora
For those who prefer a dedicated screen‑recording solution, Wondershare Filmora offers robust features, including simultaneous microphone and system audio capture, webcam overlay, customizable recording area, and visual click indicators.
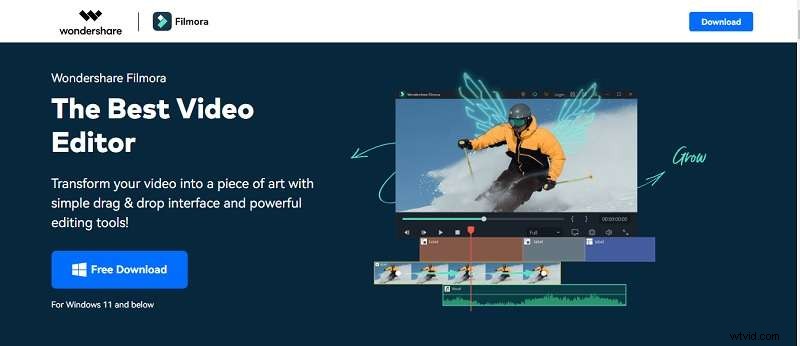
Step 1 – Download and Install Filmora
Click Free Download below to get the installer. The software is trusted by over 3.5 million users.

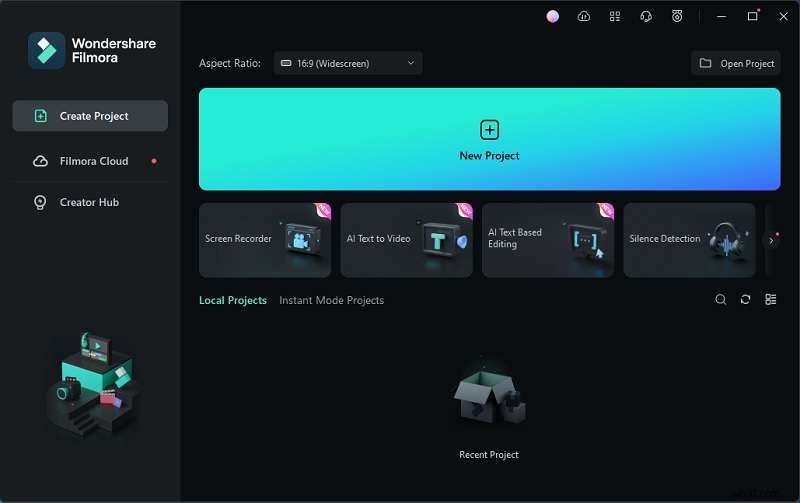
Step 2 – Launch and Sign In
Open Filmora, then register or log in. The main interface appears with a Screen Recorder option.
Step 3 – Configure the Screen Recorder
Choose the screen area (full screen or custom size), enable the microphone, and select the camera if desired. Filmora also allows you to set a recording timer.
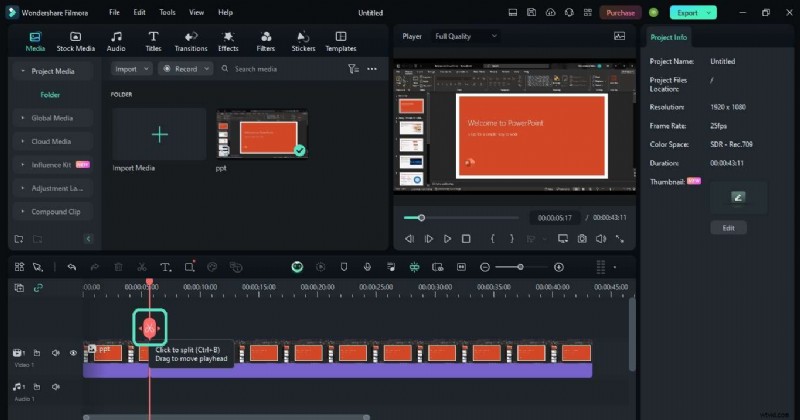
Step 4 – Record and Edit
Press the red button to start. When finished, Filmora opens an editing workspace where you can add text, audio, effects, and transition markers. For a new voiceover, simply click the microphone icon again to record a separate track.
Part 3. Editing and Finetuning Your Recorded Presentation
Polishing your recording ensures a professional final product. Use Filmora to trim, transition, and enhance audio quality.
Step 1 – Trim Unnecessary Pauses
Play the recording, locate unwanted segments, split the clip with the scissors tool or Ctrl+B, and delete the unwanted portion.
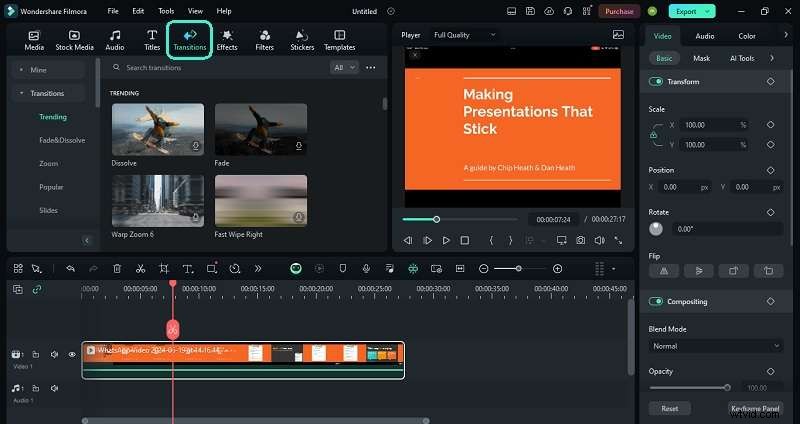
Step 2 – Add Transitions
Drag a suitable transition from the Transitions tab onto the timeline between clips.
Step 3 – Refine Audio
Select the audio track and adjust settings in the right‑hand panel to reduce background noise or apply AI speech enhancement.

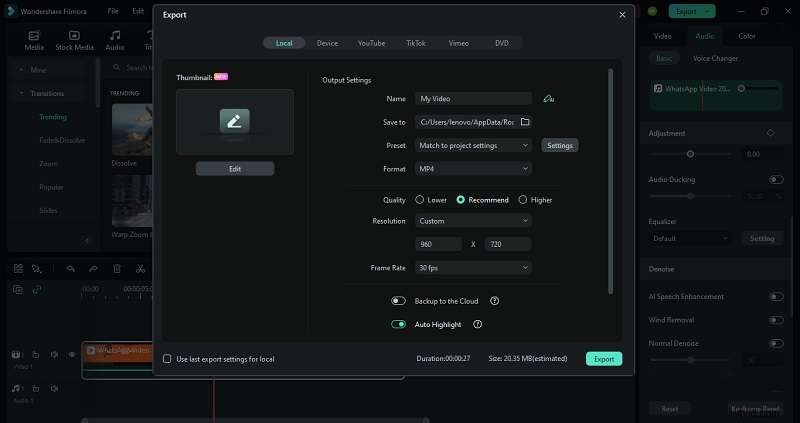
Step 4 – Export the Final Video
Click Export and choose your desired format (MP4, WMV, AVI, MOV). The video is ready for sharing.
Conclusion
Recording your PowerPoint slides with audio—whether directly in PowerPoint or via Filmora—adds a dynamic layer that can enhance learning, engagement, and retention. By following the steps above, you can create polished, shareable videos that convey your message with confidence.