
Master Flash Photography: 3 Proven Tips for Professional‑Quality Images
\nETTL, manual mode, 1/8th power, and bouncing light—these terms are the cornerstone of effective flash use. While many beginners rely on the camera’s built‑in pop‑up flash, true mastery comes from understanding and controlling the external speedlight.
\nReady to transform your photos? Flash photography is accessible, and you can start creating stunning images right after reading this guide. No more red‑eyed, washed‑out portraits or harsh shadows.
\nAs with any photographic skill, it takes practice and experimentation. These three concise tips will help you quickly gain confidence and produce images that stand out.
\n\nTip #1: Invest in a Speedlight – Leave the Pop‑Up Flash Behind
\nThe built‑in flash that pops up when you press the lightning icon is limited and often produces overexposed, harsh lighting. A dedicated speedlight gives you full control over power, angle, and direction, allowing you to shape light exactly as you need.
\nA speedlight (or Speedlite) is a compact strobe that attaches to the camera’s hot‑shoe or can be used off‑camera with a receiver. Modern systems support wireless TTL or manual sync, giving you flexibility for studio or on‑location shoots.
\nExplore our guide on off‑camera flash photography if you’re interested in expanding your setup.
\n[ad id='5']
\n\nTip #2: Master Your Speedlight Settings – ETTL and Manual Mode
\nUnderstanding the two primary modes is essential:
\n- \n
- ETTL (Evaluative Through‑The‑Lens) – The camera reads the scene and automatically sets the flash power. It’s convenient for quick shoots but can drain batteries faster. \n
- Manual Mode – You set the exact flash power. I usually use 1/4 to 1/8 of full power, which balances light quality and battery life while giving me creative control. \n
Choose the mode that best fits your shooting context and always adjust power to match the environment.
\n\nTip #3: Experiment with Angles and Practice Creative Lighting
\nPositioning the speedlight can dramatically change your image. One effective technique is pointing the flash upward to bounce light off the ceiling, producing a softer, more flattering illumination.
\nExamples:
\n
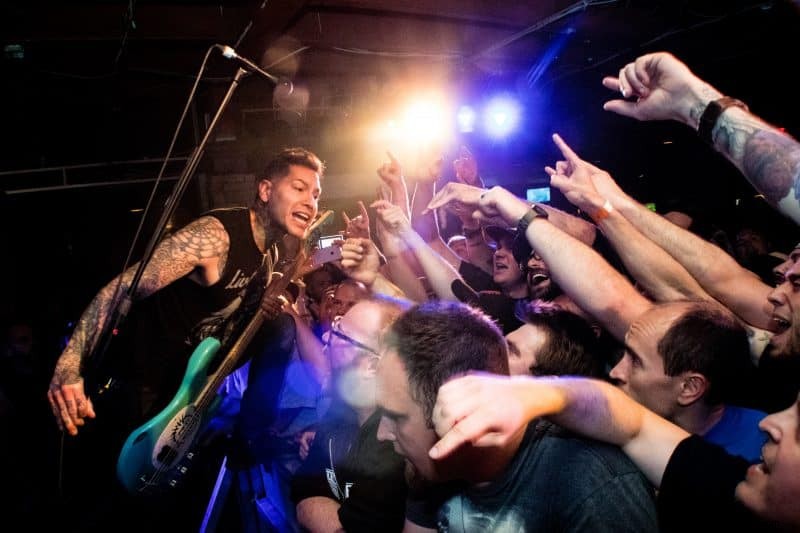

These shots were taken with the flash angled upward. The reflected light creates a gentle wash that eliminates harsh shadows and adds depth.
\nPractice varying the angle, power, and modifiers to discover the lighting style that best suits your subject. With consistency, you’ll see a noticeable improvement in image quality.
\nHappy shooting, and see you next time.
\n—Jay
\n