
Rim lighting is a powerful tool that turns ordinary portraits and product shots into striking images. By positioning a light source behind the subject, you highlight the edges and create a subtle halo that adds depth and intrigue. Even beginners can master this effect with a few straightforward steps.
What Exactly Is Rim Light?
Rim light is a back‑lighting technique where a light is placed behind the subject. The light outlines the silhouette, leaving the rest of the frame in shadow. The result is a clean, dramatic look that works beautifully in both studio and outdoor settings.
Key, Fill, and Back Lights: The Three‑Point Foundation
Before diving into rim lighting, it helps to understand the core lighting terms used in photography and filmmaking:
- Key light: The primary source that illuminates the subject.
- Fill light: Softens shadows created by the key light.
- Back light: Often used as a rim light to separate the subject from the background.
The lighting ratio—the relative brightness of key to fill—determines the mood. A 2:1 ratio gives a natural feel, while a 16:1 ratio can produce a high‑contrast, film‑noir vibe.
Edge Lighting and Low‑Key Contrast
Edge lighting emphasizes a subject’s shape by placing backlights directly behind them. Combined with low‑key lighting—high contrast with minimal fill—you can sculpt dramatic silhouettes that command attention.
Getting Started with Rim Light
Rim lighting is one of the easiest lighting tricks to learn, yet it delivers impressive results. You can achieve it with a single flash, a softbox, or even natural light.
Why It’s Beginner‑Friendly
Many new photographers rely on natural light, which can feel limiting. Artificial light, though intimidating at first, is simple to set up and offers complete control over exposure and mood.
Step‑by‑Step Setup
1. Position the light source directly behind the subject, out of the camera’s view.
2. Adjust intensity so the rim highlights the outline without spilling over into the face.
3. Use a reflector or fill light on the front to prevent a completely flat look if desired.
Experimenting Beyond the Basics
- Apply colored gels to the rim light for mood‑changing hues.
2. Combine rim light with a second light to create low‑key textures.
3. Add props—glass, water droplets, or smoke—to play with diffusion and texture.
4. Post‑process highlights and contrast for extra drama.
Conveying Emotion Through Silhouette
While a rim light masks facial expressions, you can still tell a story by:
- Posing the subject’s profile or hands to hint at movement.
2. Highlighting hair or flowing fabrics that catch the rim glow.
3. Using subtle props to suggest narrative context.
Diffusion Techniques
Diffusing the rim light can soften the edge or create intriguing patterns. Try:
- Transparent sheets or frosted glass in front of the light.
2. Aerosol cans for a wispy cloud effect.
3. A light‑saturated backdrop to reflect the glow.
Choosing the Right Light Source
Rim lighting can be achieved with various tools, each with its own strengths:
- Studio strobes or off‑camera flash: Powerful and controllable but can be harsh; use modifiers for softness.
2. LED panels: Continuous light makes setup easier for beginners; they’re quieter and more portable.
3. Natural light: Position the subject against a low sun or a window to create a soft rim effect. Cover part of the window with curtains for added contrast.
4. DIY setups: A lamp with an adjustable arm can serve as a cost‑effective rim light; experiment with intensity and distance.
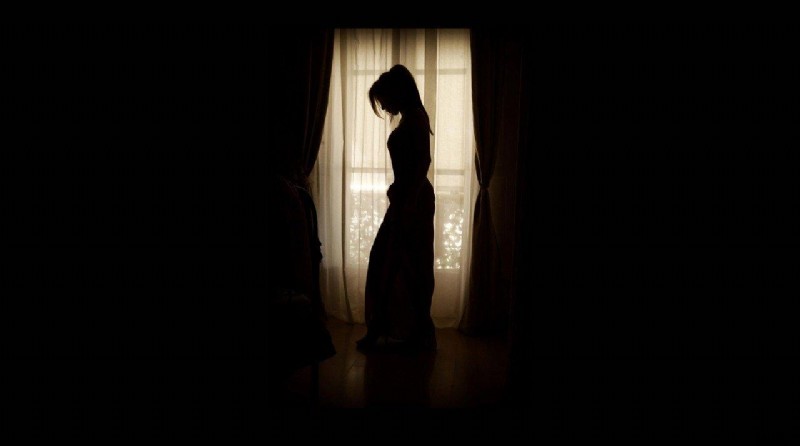
Photo by skeeze (Pixabay License) demonstrates how a window can be harnessed for a gentle rim glow.
Optimizing Contrast
For the best silhouette, pair rim lighting with a dark background or a high contrast setting. Adjust ISO and shutter speed to sync with flash or LED output. Post‑processing can fine‑tune the balance between shadow and highlight.
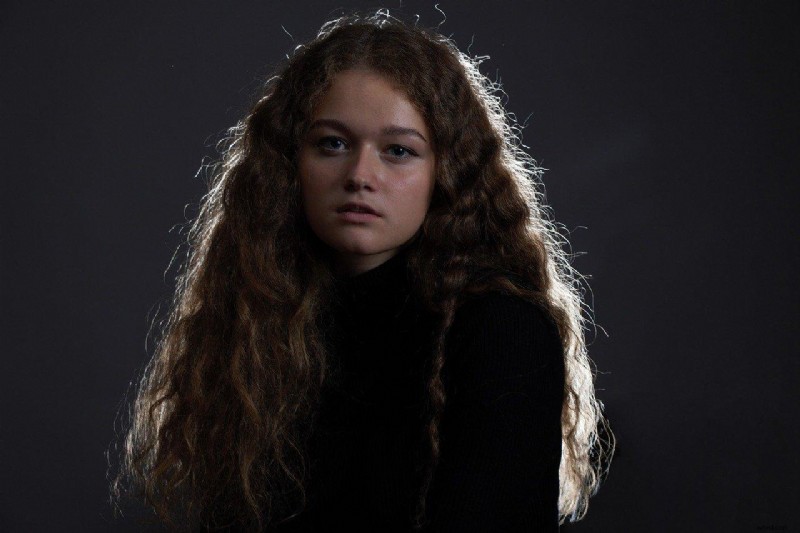
Portrait by Olga1205 uses a neutral backdrop to amplify the rim effect (Pixabay License).
Portrait Tips with Rim Light
- Use a black backdrop to maximize contrast.
2. Keep the subject a few feet from the background to prevent spill.
3. Lower camera ISO for detail, and match shutter speed to the flash sync for a crisp silhouette.
Enhancing Rim Light in Post
Adjust brightness, contrast, and saturation. Masks can isolate the rim for targeted tweaks. Subtle color grading adds depth and visual interest.
Transforming a Softbox into a Strip Light
If a softbox is too wide for your composition, convert it into a strip light. Tape two dark cardstock strips to the sides, then adjust their placement to control the light’s width.
Advanced Techniques: Dark Field and Bright Field
Dark field (black background) and bright field (white background) are complementary approaches. For product photography, a bright field emphasizes details, while a dark field highlights texture and silhouette.
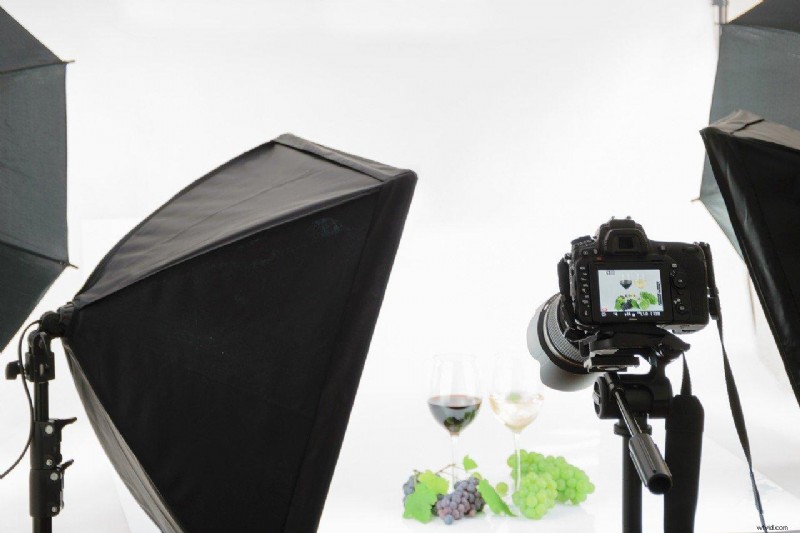
Image by Pexels shows a typical bright field setup (Pixabay License).
Rim Lighting a Camera Lens
Capture a lens against a bright field to reveal its curvature, then repeat with a dark field to emphasize its silhouette. Mirrors and reflective surfaces benefit from rim lighting as well.
Conclusion
Rim lighting is a versatile, beginner‑friendly technique that can elevate both portraits and product images. Start with a simple flash, experiment with modifiers, and refine your approach through practice and thoughtful post‑processing. As you grow comfortable, you’ll be able to integrate rim light into more complex setups for stunning visual storytelling.