
Ever feel frustrated by dark, grainy photos? You’re not alone. With the right lighting knowledge and practical techniques, you can consistently capture sharp, well‑exposed images that impress clients and elevate your portfolio.
Which Type of Light Is Used in Photography?
Photographers typically work with two primary light sources: natural and artificial. While I personally favor natural light for its warmth and authenticity, understanding how to harness artificial light—especially flash—can save the day when conditions aren’t ideal.
After mastering flash fundamentals through Cole’s Classroom, I still lean toward natural light. However, a well‑executed flash setup can rescue a session and protect your reputation, making it a valuable skill for any professional.
Want a behind‑the‑scenes look at how to use flash? Sign up for a membership here!
How Important Is Studio Lighting in Photography?
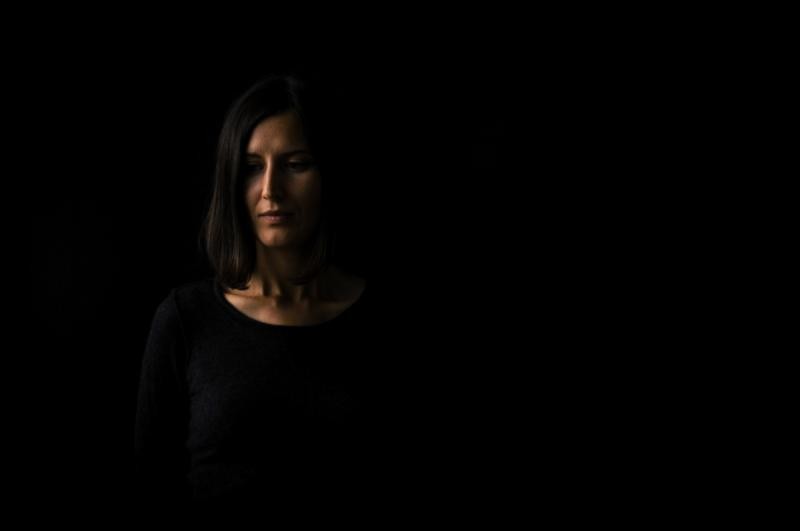
Lighting is the cornerstone of every great photograph. Even the best composition and sharpest focus fall flat if the subject isn’t illuminated properly—clients will reject the work regardless of technical prowess.
High‑end cameras aren’t a substitute for understanding your equipment’s limitations. If your gear struggles in low light, schedule shoots during daylight or use supplemental lighting.
Exposure is often mistaken for “poor light.” Mastering the interplay of ISO, shutter speed, and aperture ensures your images are correctly exposed before you even touch the subject. Once exposure is locked, evaluate how the light interacts with your model: Are shadows soft or harsh? Are highlights flattering?
Adjust the light source or reposition your subject to achieve the desired mood and clarity.
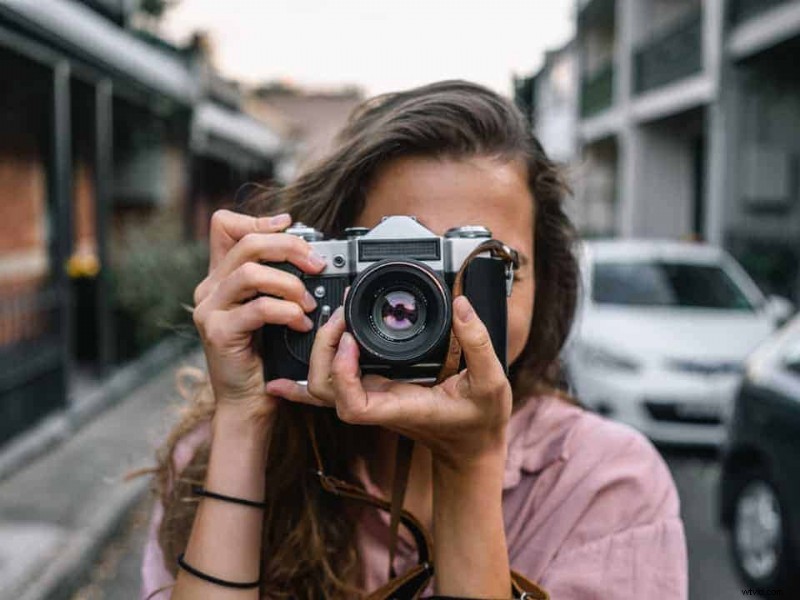
Ready to take your photography to the next level?
Join Cole’s Classroom today! »
What Is the Best Light for Taking Pictures?
The soft, diffused glow of golden hour—when the sun is low during sunrise or sunset—provides a flattering, slightly orange hue that enhances skin tones and reduces harsh shadows. If golden hour isn’t an option, choose a shaded location for more even light.
For artificial lighting, there’s no single “best” setup; it depends on your creative vision. Many photographers start with a three‑light kit: a key light, a fill light, and a backlight.
What Are the Different Types of Indoor Studio Lighting?
Studio lights can be continuous (always on) or strobe (flash). Each light can be modified with diffusers—softboxes, octaboxes, stripboxes, umbrellas—to soften its effect, or with flags to shape and contain the beam.
Success doesn’t require a full kit; many small‑studio setups thrive with just one or two lights. Consider your budget and shooting style before investing in a complete system.
Key Light
The primary source that defines the overall illumination of your subject. It usually sits to one side of the frame and directly faces the subject, providing the majority of the light.
Fill Light
Used to soften shadows created by the key light. It’s typically less intense, allowing natural depth and dimension while maintaining a balanced exposure.
Hair Light / Separation Light / Kicker
This narrow beam focuses on the subject’s hair or shoulders, creating separation from the background and adding visual interest.
Background Light
Illuminates the backdrop, preventing it from becoming a dark void and reducing unwanted shadows.
Camera‑Mounted Flash
A portable option that’s ideal for events, portraits, and street photography. Bounce the flash off ceilings or use a diffuser to soften the light and reduce harshness.
Become the Photographer of Your Dreams with Cole’s Classroom.
Start Free Trial
What Are the Different Light Techniques?
With the fundamentals in place, let’s explore how to position lights for specific aesthetics. Each technique can dramatically change the mood of a portrait.
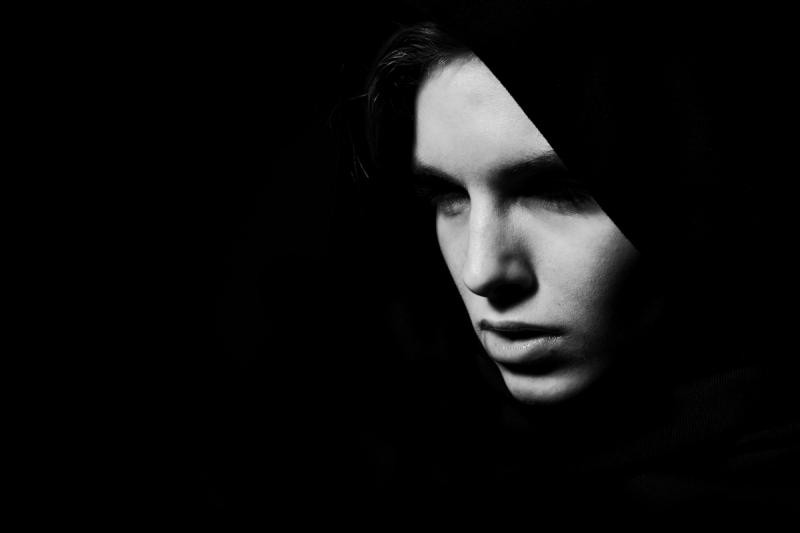
- Split Light: Position the light 90° from the subject’s face, creating a stark shadow on one side and a bright side on the other—ideal for dramatic portraits.
- Rembrandt Lighting: Place the light slightly more than 90° and at head height, forming a small triangle of light on the cheek. This classic technique flatters most faces.
- Loop Lighting: Angle the light 30–45° from the back, with a reflector on the opposite side. It adds subtle contouring and is universally flattering.
- Butterfly Lighting: Mount the light above and behind the camera, directly in front of the subject. It creates a butterfly‑shaped shadow under the nose, enhancing cheekbones.
- Broad / Short Lighting: Describes whether the illuminated side of the face is toward or away from the camera. Use this to subtly shape the subject’s profile.
Ready to Learn More?
Join Cole’s Classroom today to unlock everything you need to become a pro photographer.
Start Free Trial