Background and Vision
The holiday season is upon us, and what better way to start the season than to share our behind-the-scenes video on how to shoot a composite image? I needed to shoot and create an advertising image for UNDFIND’s Fishbomb, which is a versatile accessory pouch that can carry lens filters, memory cards, and other small items. So I figured, why not create a behind the scenes video and tutorial on how I went about the shoot. Plus, it’s not a bad stocking stuffer for the photographer in your life, especially since you can get two for $13 (50% off) with this sale, wink! =)
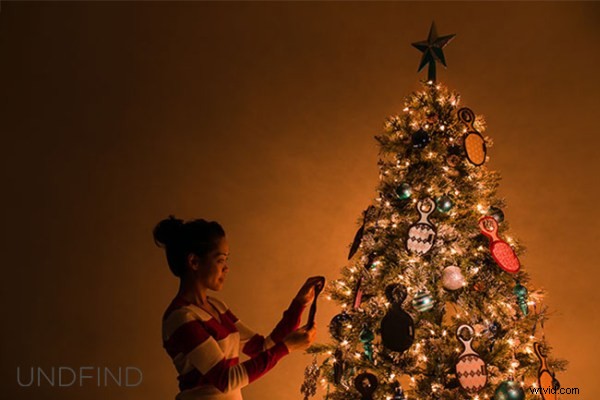
Anyway, because the Fishbomb is shaped like a Christmas tree ornament, I decided to decorate a Christmas tree with the Fishbombs and shoot our model, Maria, placing a Fishbomb on the tree. Here is the final image we will be working towards.
The Behind-the-Scenes Video
If you are interested in watching the full behind the scenes video on the SLR Lounge YouTube Channel, here is the video below.
How We Shot It
GEAR USED:
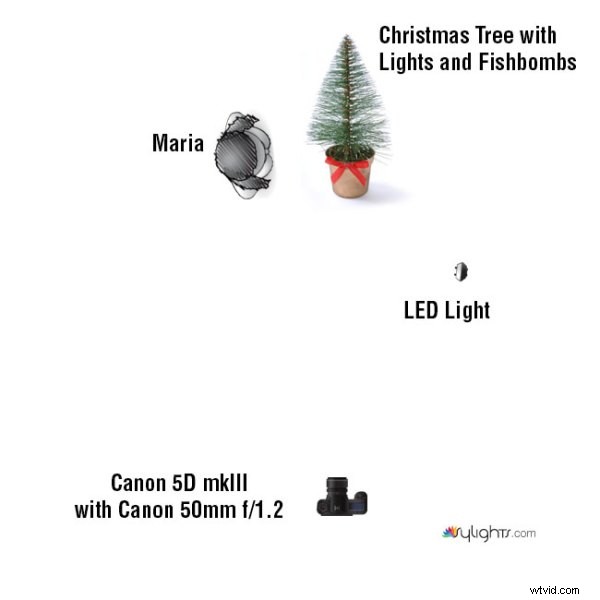
Camera: Canon 5D mkIII
Lens: Canon EF 50mm f/1.2 L USM Lens
Lighting: LED Light and Christmas lights on the Christmas tree
The biggest challenge that I encountered was how to light the Fishbombs in addition to lighting Maria, the Christmas tree, and the environment. The Christmas lights were used to light Maria and the environment.
However, when we hung the Fishbombs on the tree, we noticed that the front of the Fishbombs were not illuminated by the Christmas lights. This meant that we had to light the Fishbombs using another light source; I selected an LED light with an adjustable temperature so that I could color match with the tree’s natural Christmas lighting.
However, I ran into another problem. The LED light was casting a harsh shadow against the wall which destroyed much of the warm, ambient light from the Christmas tree as you can see in Shot 1 below.
The easiest way to solve this lighting issue was to light and shoot two separate images, one for the model and the environment, and the other for the actual detail on the Fishbombs and the tree. Afterwards, we can composite both images together in Photoshop via layers.
For each shot, I had the camera placed on a stationary tri-pod to make it simple to combine both layers into our final composite. So let’s look at how I shot each image.
Shot 1: The Fishbomb and Tree Details

Shutter: 4.0 seconds
Aperture: f/16
ISO: 100
For the first photo, I lit the Fishbomb and the front of the Christmas tree with the LED light. I also dragged the shutter speed and used the smallest aperture possible in order to get a twinkling/starburst effect from the Christmas lights. I didn’t have to worry about any camera shake because the camera was on a tripod and was triggered with a shutter release. The tree and the ornaments were completely still as well since we were in a closed environment.
Shot 2: Maria and the Environment
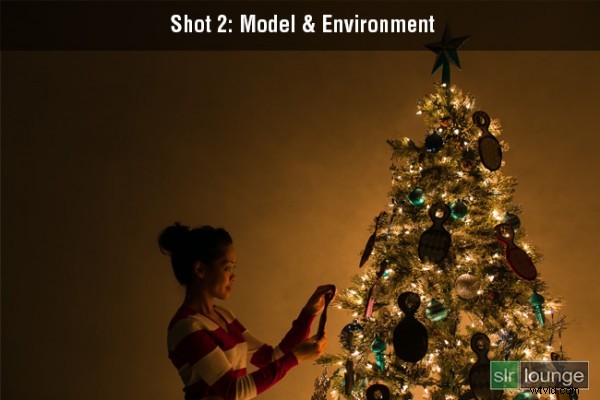
Shutter: 1/8 seconds
Aperture: f/2.8
ISO: 200
This image was lit strictly by the lights on the Christmas tree. Because I want to minimize any motion blur with the model, a quicker shutter speed was required. Therefore, I used a wider aperture and a higher ISO in order to attain a shutter speed of 1/8 seconds. Even then, I still had to ask Maria to hold completely still during the photo to prevent any motion blur.
How We Processed It
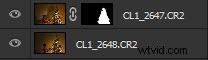
In Lightroom, I applied the Soft Portrait preset from the SLR Lounge Lightroom 4 Preset System to both images. Additionally, I shifted the Tint and the Temperature in order to add a warm, intimate glow reminiscent of a fireplace. Once I achieved the look that I wanted, I exported the two images into Photoshop via layers for compositing.
In Photoshop, I used layer masking to reveal the Fishbombs and the tree details from the first image over the second image of Maria and the environment.
After a little bit of clean up in the hair and the cloning of an extra branch to the top of the tree, this is how the image looks.
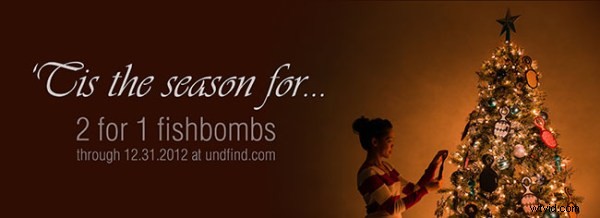
Finally, here is how the UNDFIND Fishbomb ad looks after I added the text:
Hope you all enjoyed this article! If you are interested in picking up some Fishbomb’s for stocking stuffers, the deal is available on UNDFIND’s Camera Bags website through the end of the year.