Using your camera’s self-timer to give you time to run in and join your family or friends in a photo is one of the pleasures of photography. Every year when I meet-up with my uni friends we always take a group photo and the sight of me racing the timer always ensures that everyone has a big grin on their face in the photo.
Most cameras and smartphones have a self-timer that can be set to trip the shutter after a 2, 10 or 12 second delay. Some even let you specify the length of the delay, so you tailor the deal to suit the distance to run. But some cameras also have a more advanced Custom Self-timers.
What is a custom self timer?
As well as letting you specify the length of delay between the shutter release being depressed and the shutter firing, an advanced Custom Self-timer lets you set the number of images that will be shot and the interval between those images. It combines a traditional self-timer’s functionality with a simple intervalometer.
There are lots of potential uses of a custom self-timer but it’s especially useful for group photos that include the photographer. Instead of having to run backwards and forwards or use a Wi-Fi connection to trip the shutter you can set the camera to take a series of images with just one press of the shutter release.
As you set the interval time between each shot you can have fun counting down to each image and make sure that everyone is looking in the right direction and smiling.
- Read our full Olympus OM-D E-M10 Mark III review
How to set up your camera’s custom self-timer
Like the normal self-timer the custom self-timer is usually found within the drive options. Alternatively your camera may have dedicated self-timer control, in some cases you may need to use the main or custom menu to customise its function. These directions follow the process of setting-up the custom self-timer on the Olympus OM-D E-M10 Mark III.
- Press the self-timer button – by default it’s the down navigation control.
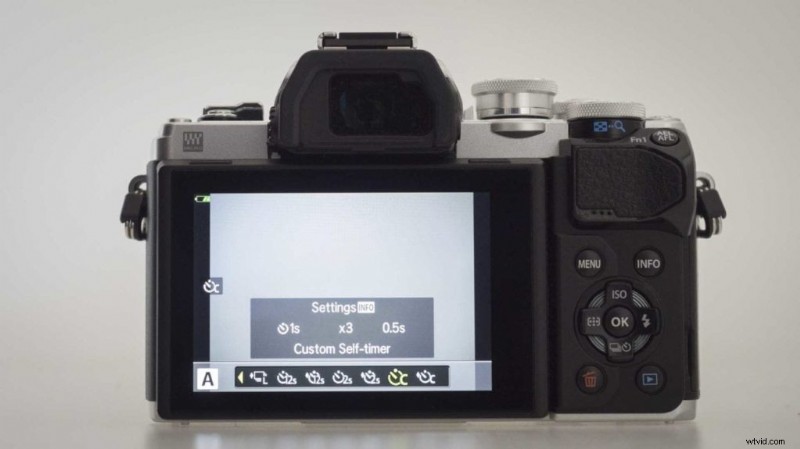
- Scroll right through the self-timer options until one of the two with a C is selected.
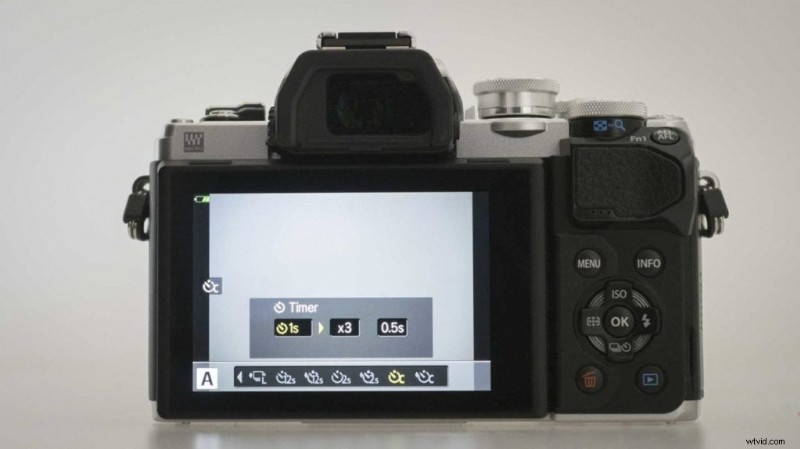
- Use the up navigation control to select the first box and set your required delay before the first exposure.
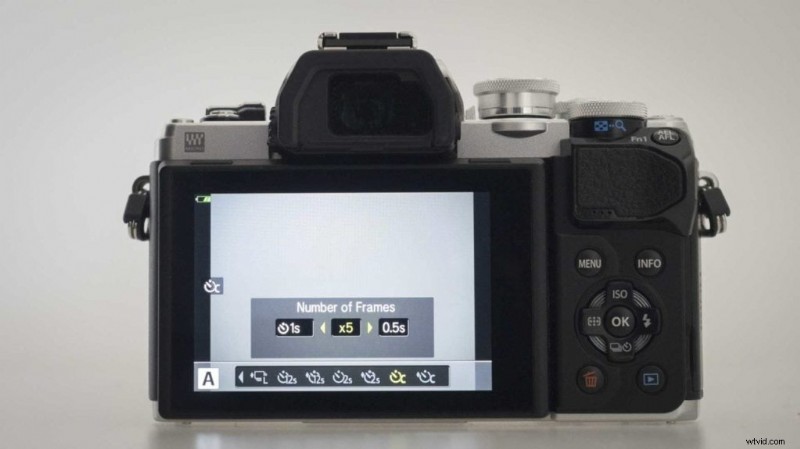
- Navigate to the second box and set the number of images you wish to shoot in a sequence.

- Navigate to the third box and set the interval time between each of the shots.
- Compose the shot and press the shutter release as normal, the shutter will fire after the specified delay.
Which cameras have a custom self timer?
Just about all cameras have a basic self-timer but the custom self-timer is less common. Recent Olympus mirrorless cameras like the OM-D E-M10 Mark III, OM-D E-M5 Mark II, OM-D E-M1 Mark II, Pen-F and Pen E-PL8 have one as do some Nikon DSLRs including the new Nikon D850.
Save
Save