Setting up your tripod seems like it should be a simple job, but you’d be surprised how difficult in can sometimes be. There are a few basic rules for setting up your tripod, such as making sure the head is level and using a cable release, but these aren’t always enough to ensure stability.
In difficult terrain or challenging weather condition there are a few more advanced tripod techniques you can draw upon to give yourself that extra advantage.
In this tutorial, we’ll show you how to set up your tripod and create a solid base wherever you may be. This is an essential tripod technique for shooting long exposures.
We’ll explain how to set up your tripod correctly in the first instance so that you don’t miss out on other photo opportunities while readjusting it later.
Advanced tripod tips
01 Compose without the tripod
This is something that sounds simple but is crucial to your final shot – and often overlooked. Before you can set up your tripod you need to know what it is you want to capture. If you simply extend your tripod to its full length and start shooting, you might be missing a more opportune angle.
Take a moment to hold the camera at different heights and angles and explore your scene. When you’ve found that killer composition, then it’s time to unfold your tripod and set it up to accommodate that angle.
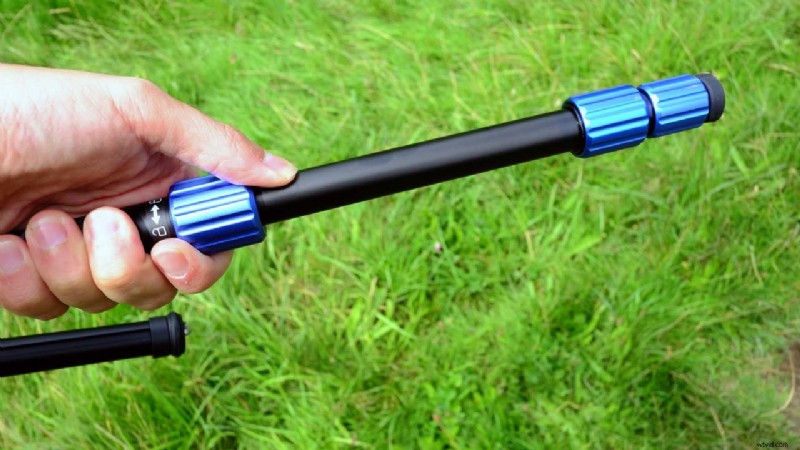
02 Release your tripod’s upper legs first
The best tripod for long exposures is one that combines strength and weight. So when you’re setting up your tripod to create a solid base you’ll want to first extend the fatter legs – the upper section near the apex. Then extend each of the subsequent leg sections as needed until your tripod is as high as you need it to be.
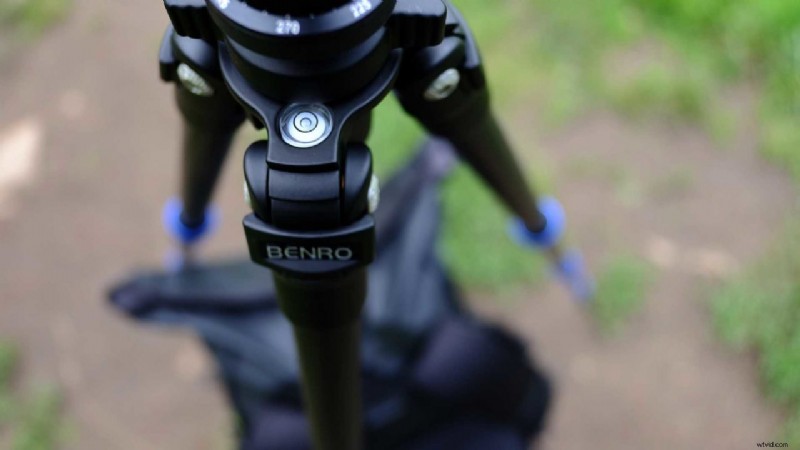
03 Keep the tripod’s central column straight
When your legs are planted firmly on the ground, give them each a nudge to check that they don’t shift. At this time you might need to adjust their length individually to make sure that your tripod’s central column is perfectly vertical, and not tilted.
Many tripods these days offer built-in spirit levels to help guide you.
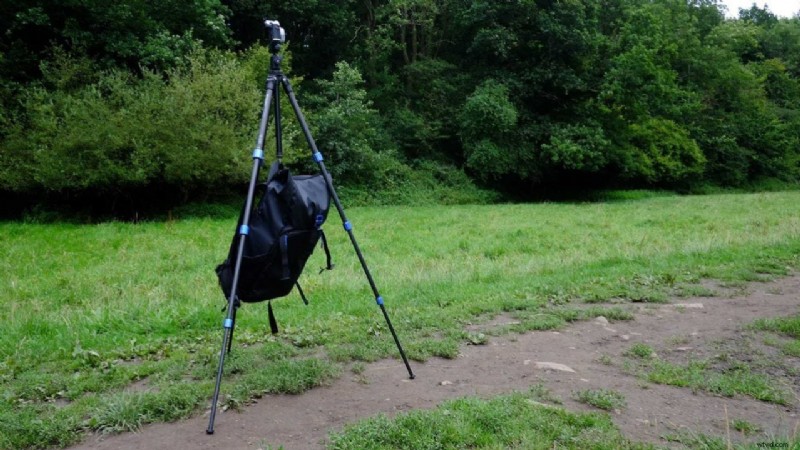
04 Add some weight to the tripod
Many tripods also now feature a hook at the bottom of their central column. This is extremely useful because you can hang your camera bag from it to create a lower centre of gravity. This will make your base all the more firm.
If it’s windy out, the last thing you want of course is your bag blowing around on the hook. In these instance, a simple trick you can try is to attach a bungee cord between the hook and bag. Then all you have to do is adjust the length so that the bag is just touching the ground.
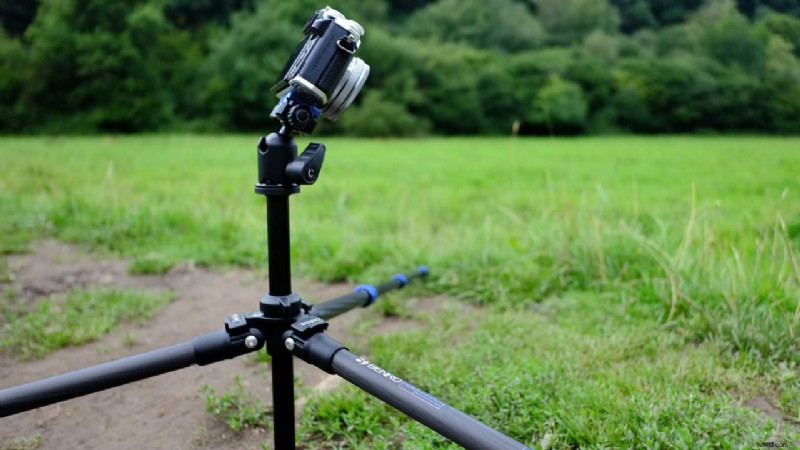
05 Set your tripod up low to the ground
Shooting from a low angle is a great way to add variety to your landscapes, and most tripods are designed to lay flat or near flat to the ground.
Your tripod legs at the top will most likely have a clip that you can slide or click to move each leg independently at a free angle. Simply enable this free angle setting so that it suits your terrain.
Most tripods are also designed with a removable centre column. With your centre column removed you can then position the tripod perfectly flat against the ground, enabling you to use the angle and length of the legs to level the camera.
Save