In this video tutorial photographer Nathaniel Dodson (from the website tutvid) looks at how to best export HD videos to YouTube using Premiere Pro CC.
Before we start it is important to realize that no matter what export settings you are going to put in – this will never improve the quality of a poorly recorded/edited video (what is typically known as garbage in – garbage out).
With that out of the way, Dodson talks about using the sequence in/out option in your timeline and in your export (personally we make sure our timeline is clean by the time we export and export the entire sequence – but it is really up to you and your workflow).
Another tip Dodson has is that if you are not interested in the technical details – there is a YouTube HD preset in Premiere Pro which seems to work well (there is also a YouTube 4K preset by the way) which you can choose and according to Dodson it should work fine.
If you do want to understand what is going on you should watch this video. Dodson starts with the obvious things – you can change the name of the output video and the save location. In the video, the tab goes down to the bitrate encoding – here is where things become interesting.
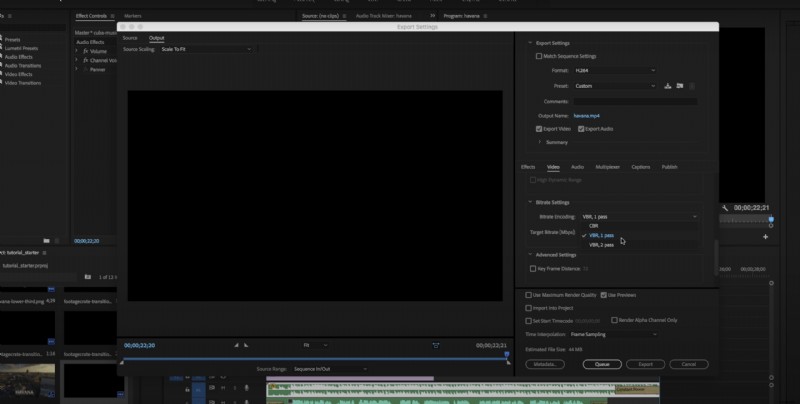
CBR, VBR1, and VBR2
CBR or constant bitrate will give you a constant bitrate across your entire video while VBR 1 pass and VBR 2 passes are dynamic bit rate encoding. As for the specific bitrate – Youtube has its own recommendation which changes according to the resolution and fps of your video (higher res/higher fps – more bitrate). Dodson goes on the safe side and doubles YouTube’s own recommendation and uses VBR-2 if he has the time (it makes two passes on the entire video).
CBR vs. VBR/VBR2 in Adobe Premire Pro Export 1080p/4K
When it comes to audio – go with AAC and 48,000Hz and the highest bitrate.
One final tip – you can press queue instead of export and it will go to media encoder where you can have several videos in line for exporting and go back to working in Premiere.
You can find more tutorials on the video editing section here on LensVid. You can also check Dodson’s previous videos here on LensVid.