If you’re new to Photoshop, you may not know what Photoshop blending modes are. But they are right under your nose, and you use them every time you use Photoshop.
Mastering the use of blending mode gives a powerful and professional tool in your hands.
What Are Blending Modes?
When you place a layer on top of another, an algorithm determines how they interact. You can choose different algorithms to alter the result. These algorithms are blending modes.
You will find the blending mode options at the top of the layer panel in Photoshop. 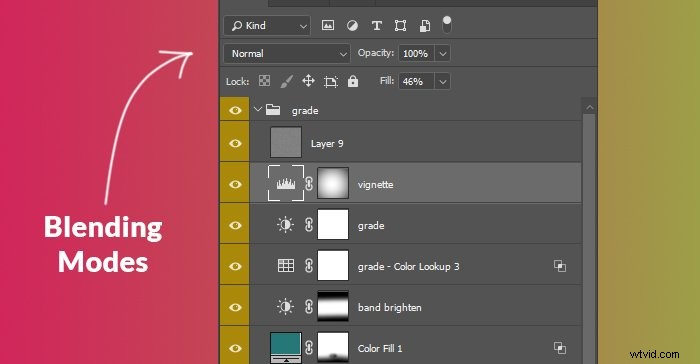
What Do Photoshop Blending Modes Do to Layers?
There are currently 27 standard blending modes in Photoshop. Three extra options are also available for certain types of layers. You can blend Painted layers with Clear and Behind modes. Groups automatically get Pass Through mode, but you can change that to any of the 27 options.
You can choose from six different Photoshop blend groups. These groups are organised based on how the primary function of the mode works.
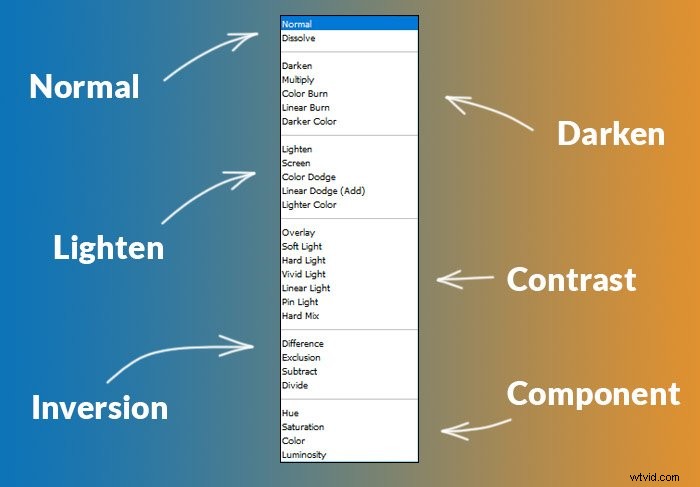
Normal blending modes don’t have combining algorithms. They replace the content of one layer to the other.
Darkening modes give a darker result. White will become transparent; anything that’s not white will make the image darker.
Lightening modes give a lighter result. Contrast modes combine darken and lighten algorithms, dividing the image at 50% luminance.
Inversion modes compare the layers and show their variations in different forms. Component modes are blending based on various properties of colors.
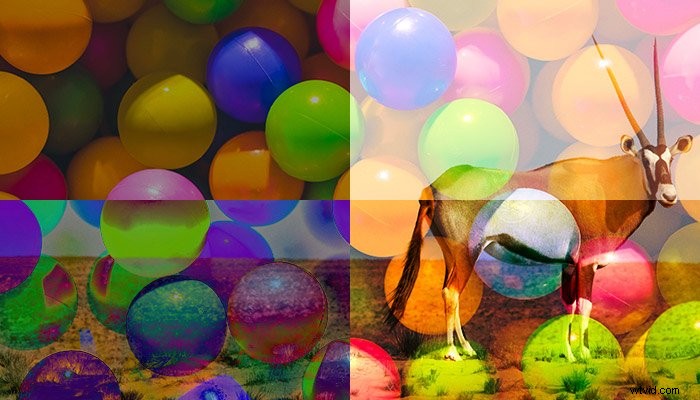
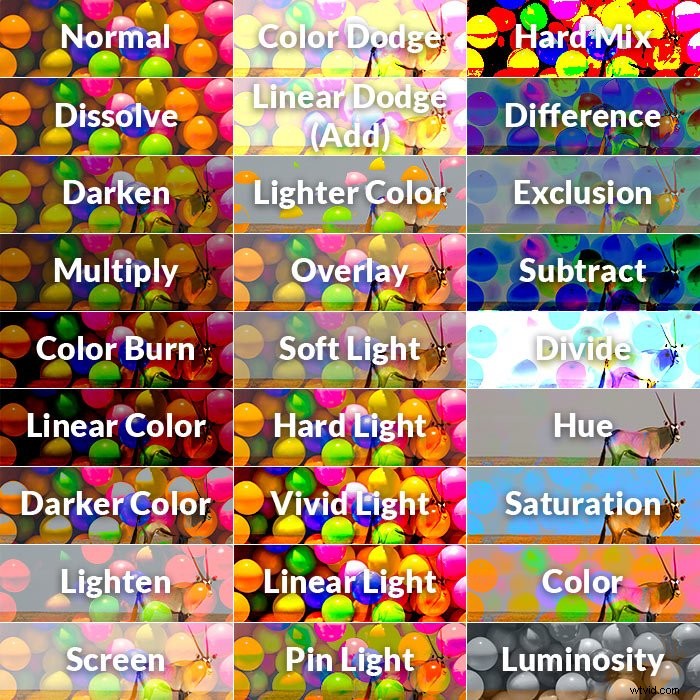
A Comparison of All Blending Modes
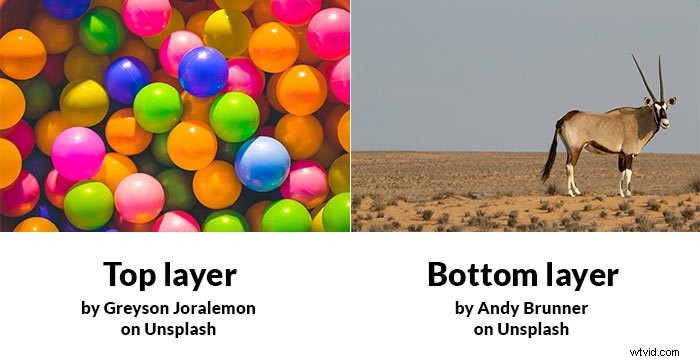
In this illustration, you can compare all 27 standard blending modes in Photoshop. I downloaded the source photographs from Unsplash.
How to Blend Layers in Photoshop
You can use blending modes for various purposes. But they are most beneficial for compositing.
You can blend photos faster by choosing the proper blend modes. Selecting and masking them by hand would take tedious minutes.
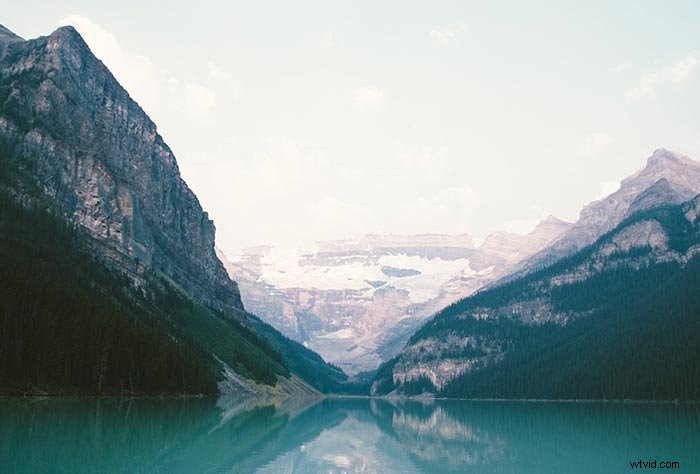
In this example, I downloaded three photos from Unsplash and blended them into one.
The base is a landscape photo with water in the foreground and lighter color clear skies in the background.
The first thing that I want to blend in is a rocket trail. This a photo by SpaceX.
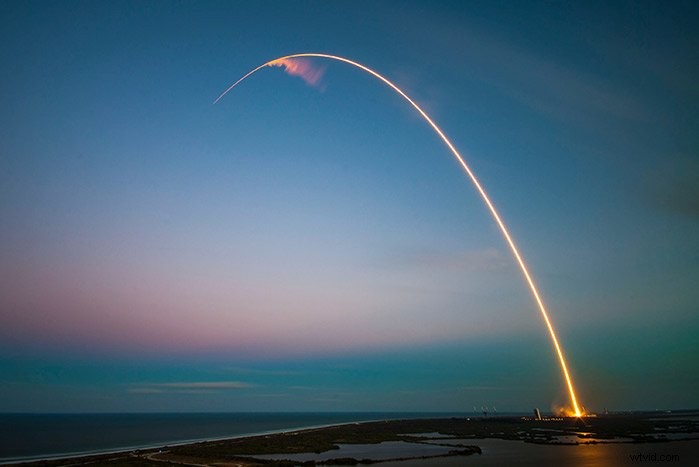
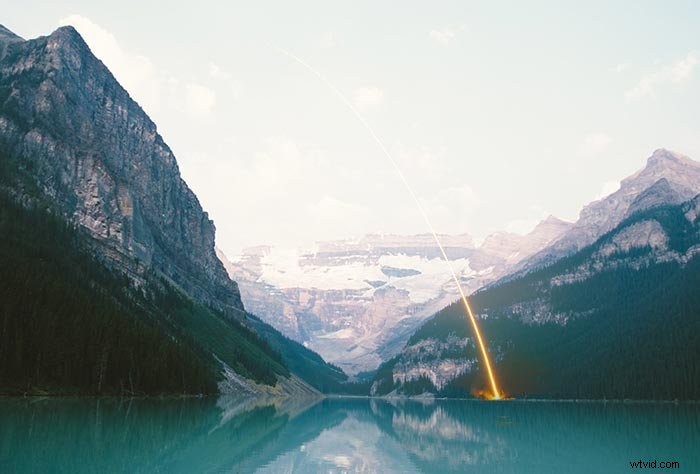
I chose the Lighter Color blend mode to blend it in. As you notice, the orange part disappeared before the bright sky.
I didn’t find this a problem, as it would look similar in real life. But if you’d want to reveal more of the color, pull back the highlights on the background.
You can do this by using a Levels or Curves adjustment layer.
Next, I wanted to add a splash to add another layer of depth.
I found this photo of a lemon falling into a glass of water. I masked out the bottom part of the photo in a few seconds.
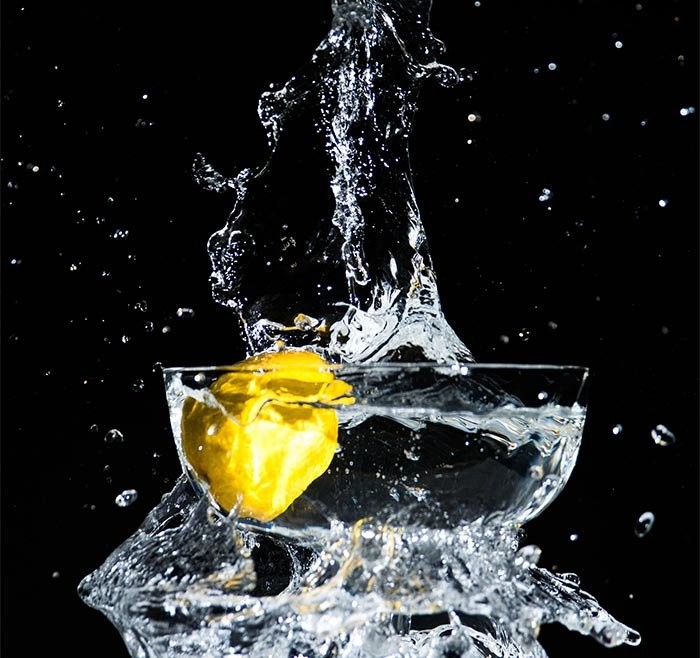
Then, I changed its blend mode to Screen. This mode removes anything that is black and keeps what is closer to white.

Of course, this composite image could be much more refined. But, the whole process took less than a minute, which shows the power of blending modes.