GIMP may have started as a very basic free editing tool. But the range of tools that it offers has expanded over the years. Today, GIMP offers a great alternative to paid programs like Photoshop!
You might be considering switching to GIMP or starting out with it instead of a paid program. The following basics will get you going in no time at all. Let’s get started learning how to use GIMP!
Things to Keep in Mind Before Installing GIMP
The tool icons and menu options will feel familiar to those of us who use Photoshop regularly. But GIMP does have some basic differences that are important to know.
After downloading GIMP for the first time and opening a photo, you’ll notice that RAW files can only be opened if you install a separate RAW file loader.
You may want to consider installing the loader at the same time that you install GIMP itself. This depends on how often and in-depth you plan on getting with GIMP.
The second difference to note is that edits done on GIMP are destructive to the image. This means that edits made are permanent and directly affect the integrity of the image.
Photoshop and Lightroom are non-destructive in their editing. You can go back and forth with different settings without fear of the file being affected.
To avoid any editing regrets when learning how to use GIMP, it’s best to edit on a copy of the original photo. Or you can use layers for the changes.
GIMP Editing Basics
GIMP offers many editing features, but let’s go over some editing basics to get you started learning how to use GIMP.
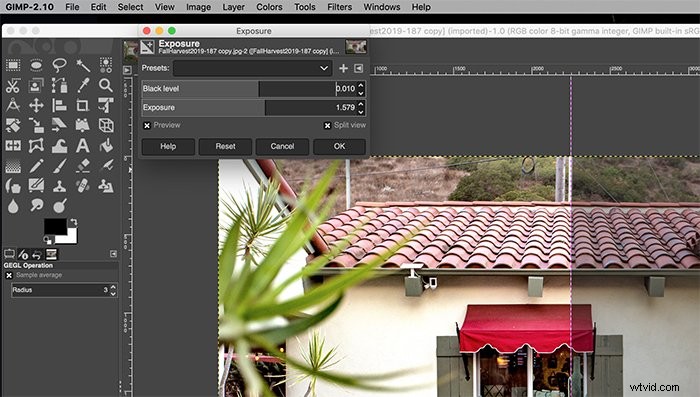
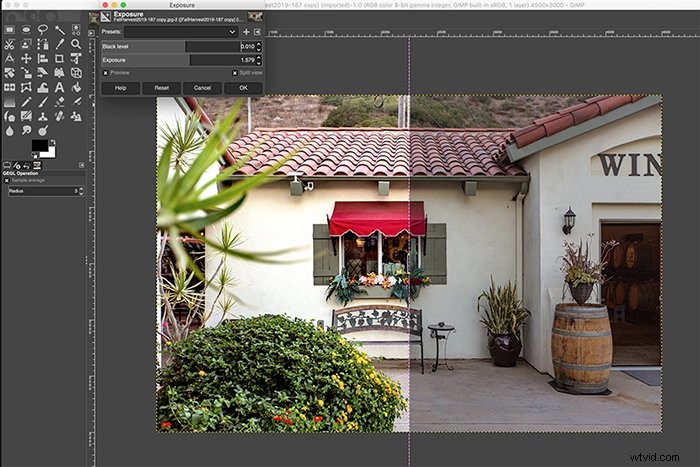
Exposure
Keep exposure, shadow, and highlight adjustments to a minimum when working with JPEGs. This helps you avoid creating noise.
There will be times when you will need to make some tweaks, though. You can find exposure settings under the Colors menu. To adjust, click and drag the Exposure or Black Level slider.
With this, and whenever possible, you may want to check the Split View box. That way you can see the before and after side-by-side as you make adjustments!
Contrast, Blacks, or Whites
If you’re familiar with adjusting Levels in Photoshop, then you’ll learn to apply them in GIMP. You can adjust Levels under the Color menu, and sliders work the exact same as in Photoshop.
The top sliders adjust input levels. The bottom sliders adjust the black and white range, or output levels.
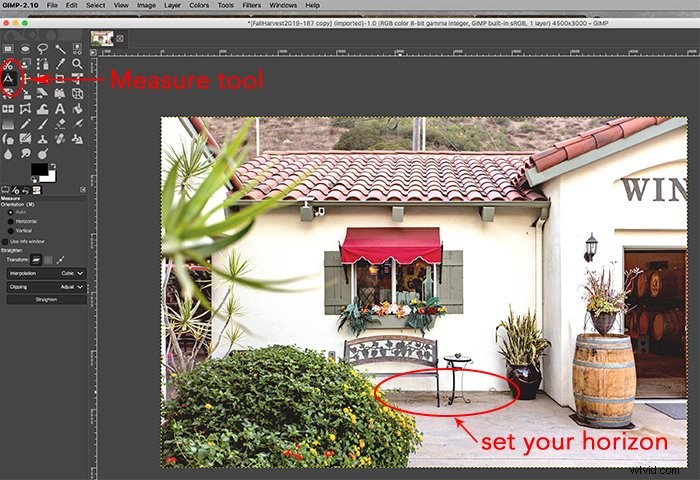
Straighten and Crop
Straightening and cropping a photo are two of the most necessary photo editing. To straighten a horizon, select the Measure tool from the left column. Click and drag the existing horizon line, and then click on Straighten.
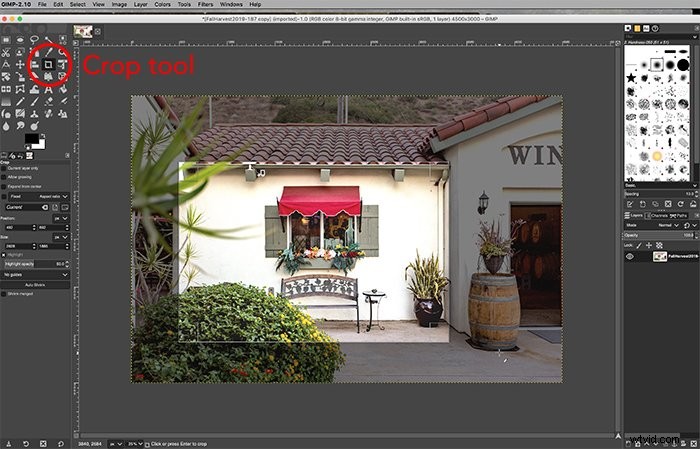
The cropping tool can also be found within the left column toolbox! Click and drag where you want the new crop to be. Hold down the Shift key at the same time to keep the existing ratio.
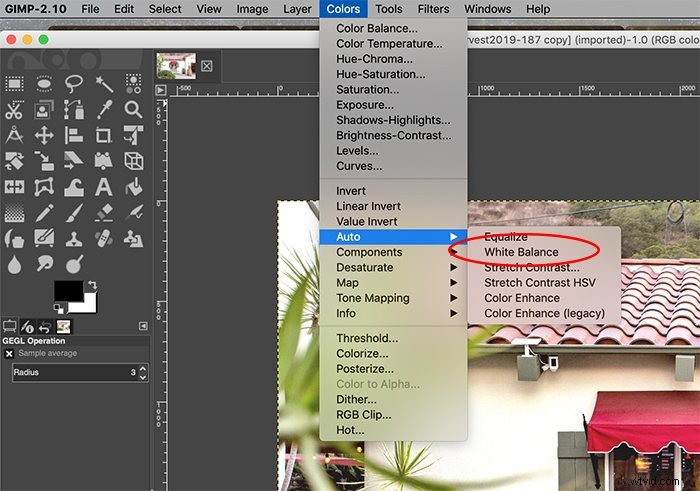
White Balance
There are a few ways to correct the white balance within GIMP. You can allow GIMP to automatically set the white balance by going to Colors > Auto > White Balance.
You can also use the eyedropper tool within the Levels dialogue box to select a gray point of reference. This option is together with the Levels adjustments within the Color menu.
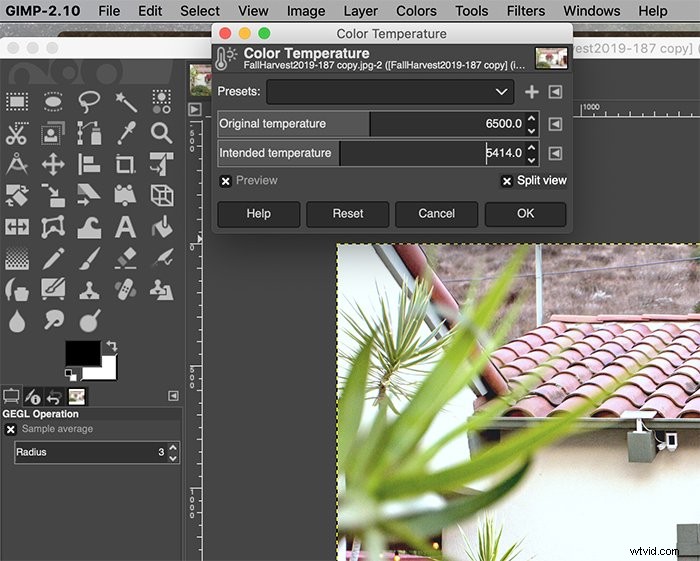
Finally, you can manually change the light temperature. Go to Color > Color Temperature and then drag the sliders to adjust.
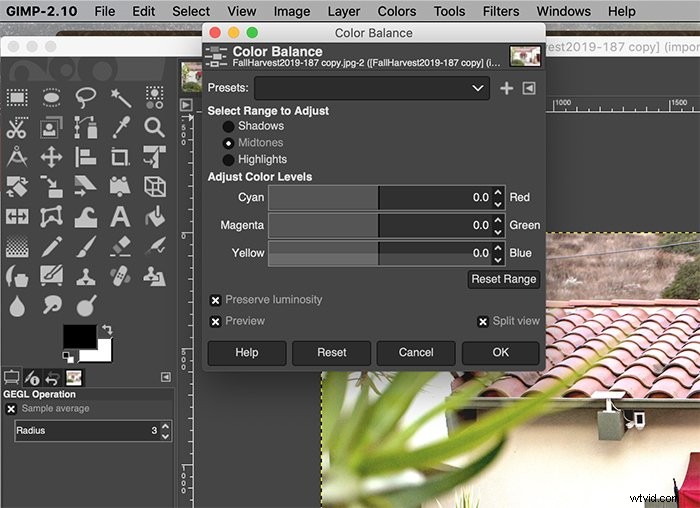
Color Balance
Also within the Color menu is the Color Balance adjustment. This lets you adjust the color channels for shadows, midtones, and highlights.
Adjusting the color balance manually gives you ultimate control over the photo’s colors!
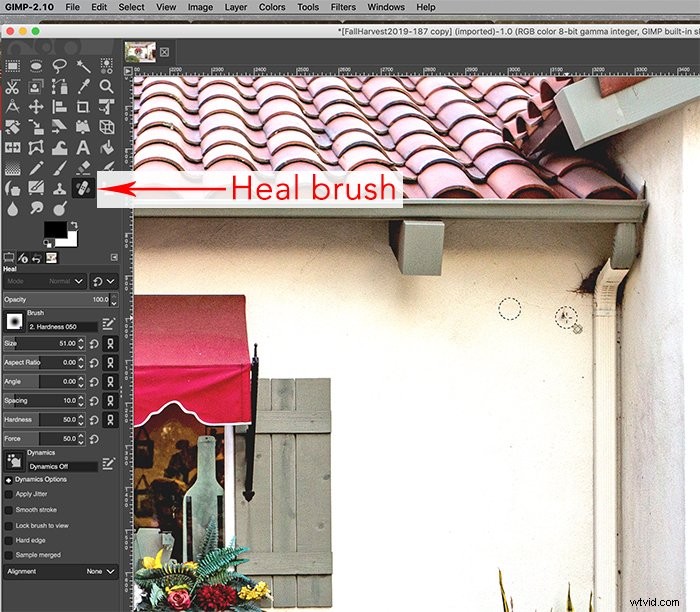
Spot Removal
Whether you have dust on your lens, dings on a wall, or unsightly marks that you want to remove, it’s easy to remove spots. Within the tools on the left column, select the Heal brush tool.
First, you’ll need to pick a reference point for the corrections. Then you can start clicking on where to apply the healing. This tool is yet another one that works almost exactly like Photoshop.
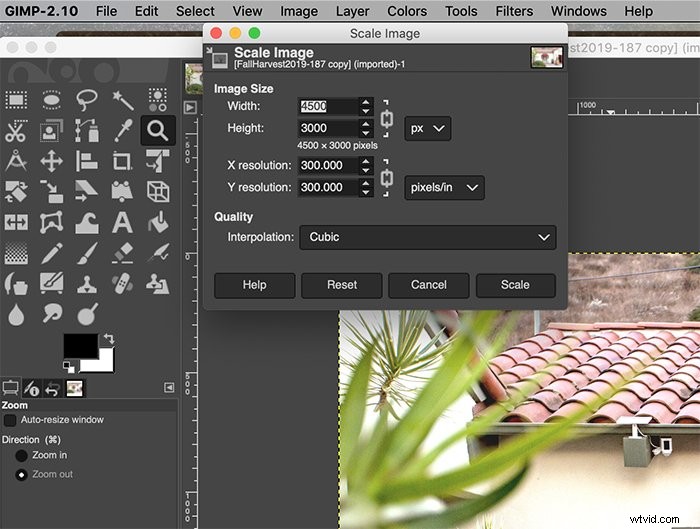
Resizing
Finally, resizing a photo is a very common need. This tool works exactly like Photoshop, also!
You can resize an image by going to Image > Scale Image and then making your adjustments.
Conclusion
For anyone looking for a free alternative to Photoshop, GIMP offers a perfect solution. The tools are varied, but the interface will take a bit of time to get used to.
The above tools, though, will get you on your way to editing in no time!