Lighting is a huge integral part of a movie’s success. The same applies to photography. It’s all about the light or lack of it to create the drama in an image. Rim lighting, as the term suggests, is also called edge or back lighting. In this article I will show you how to create this dramatic style of lighting.

A rim light effect created in-camera and an Inner Glow effect added in Photoshop.
Rim lighting adds drama
There’s a particular scene in the movie Alien (1979) in which the character played by Harry Dean Stanton goes to find Jones the cat. That scene had me glued to my chair with both hands up to my mouth and fingers lodged between my teeth. You just knew something bad was going to happen but it was drawn out with unbelievable tension.
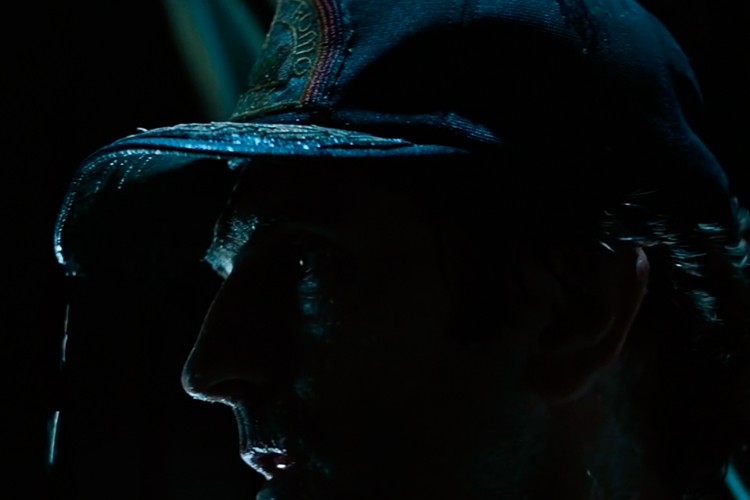
Alien Courtesy of 20th Century Fox
The lighting throughout the movie was low key to give that moody atmospheric feel.
A good example of rim lighting is using two side lights or one light from behind the subject, as in the image below.
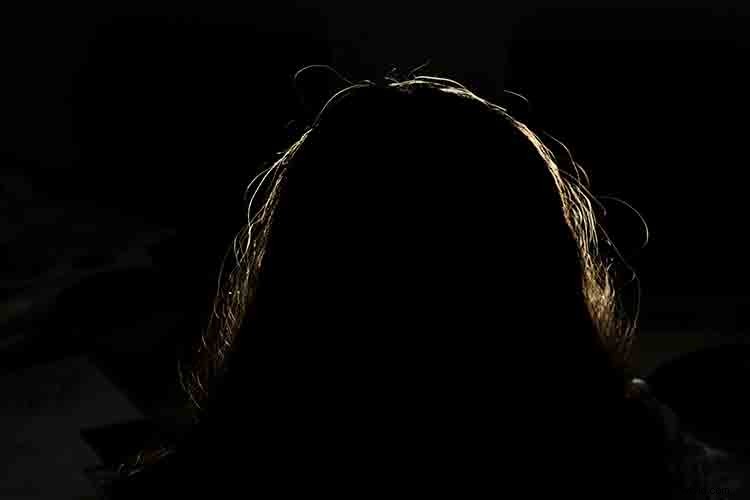
In this photo the light is behind the subject creating an edge or rim light around the subject’s head. This is also called a hair light.
Before I demonstrate how to create a rim light effect in Photoshop. I want to show you just how easy it is to get a rim light effect in-camera, so you can try it out in the comfort of your own home.
Create a rim light effect in-camera at home
I used the following setup to create my rim light:
- One bottle of water
- One glossy black tile
- Two lights
- A camera mounted on a tripod
I picked up a sample black glossy tile from a local tile shop, where I was able to purchase just the one. As for the lighting, strip softboxes are ideal for this type of rim lighting. You place a strip softbox on each side, and slightly behind (closer to the background), the subject.
Unlike standard softboxes, strip softboxes are narrow and rectangular in shape. But, for the purpose of this article so that you can easily do a similar setup in your own home, use whatever light sources that you already have at your disposal.
Using my iPad placed vertically to one side of the bottle, I opened the Soft Box app which is free to download and set it to white. I placed an LED light on the other side of the bottle. My kitchen table was used for the setup.
As you can see in the photo below, I was able to angle the lights so that I could control the rim light hitting the bottle. My camera settings were: ISO 2000, 1/60th of a second, at an aperture of f/5.6.
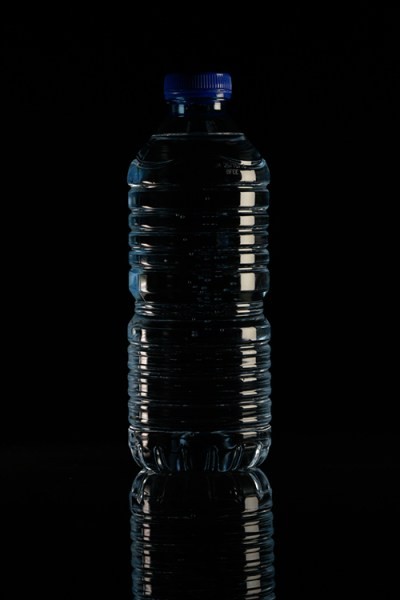
A simple setup that you can do at home to create a rim light effect in-camera using a black glossy tile, a prop, and two lights.
NOTE:
If you don’t want to use two lights and you have a regular softbox, try placing it directly behind the object and cover the center of the softbox with a strip of black card (that will become your background). You will need to experiment to get the rim lighting around the object.
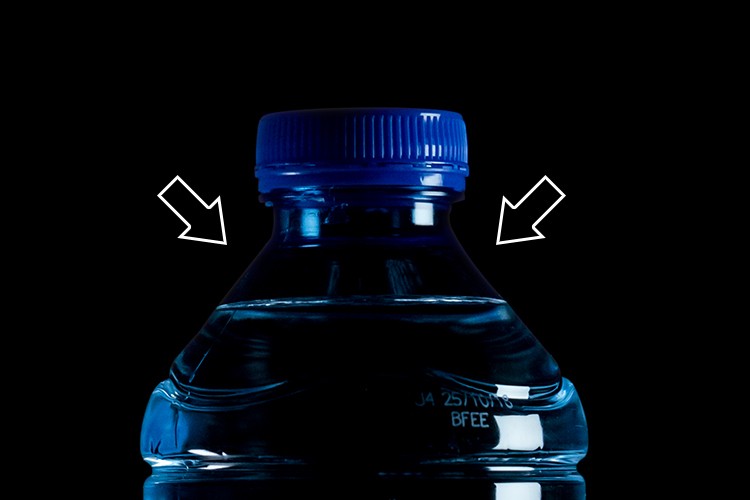
This is the bottle of Water straight out of the camera.
Let’s dive into Photoshop.
Creating a rim light effect in Photoshop
The key to adding the rim light effect in Photoshop is Layer Styles and having the subject isolated from the background. Before any layer style can be applied, it is necessary that the image that you are applying the style to has been carefully cut out. Use whatever selection tool you want but I would recommend using the pen tool.
Layer style
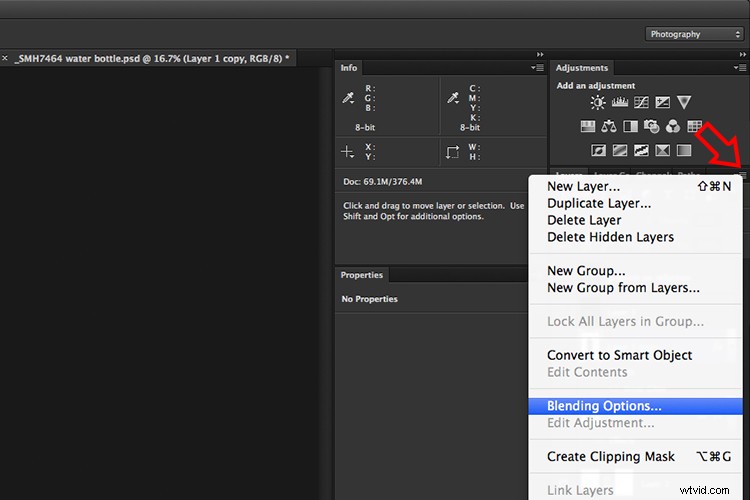
Let’s take a look at Layer Styles. With Photoshop open, go over to the Layers Panel. Scroll down to the bottom and you will see a group of icons. You will see this icon, fx second to the right. Click on that and a pop-up dialog box will appear with different preset style options.
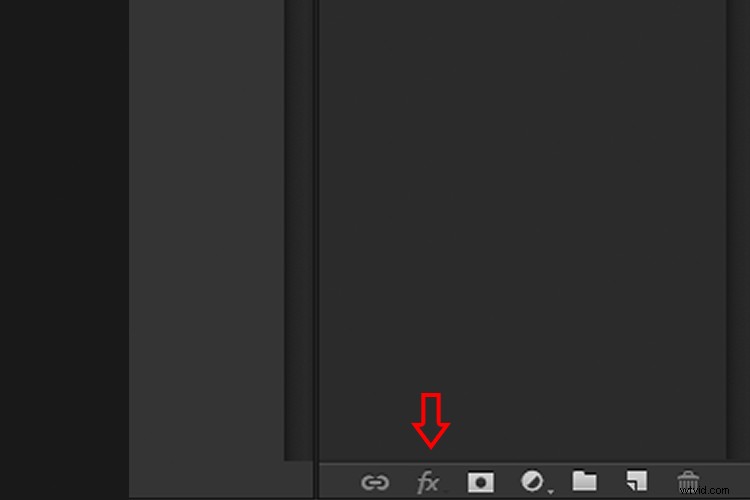
The Layer Styles presets are accessed by clicking on the fx icon located at the bottom of the Layers Panel.
The Inner Glow preset
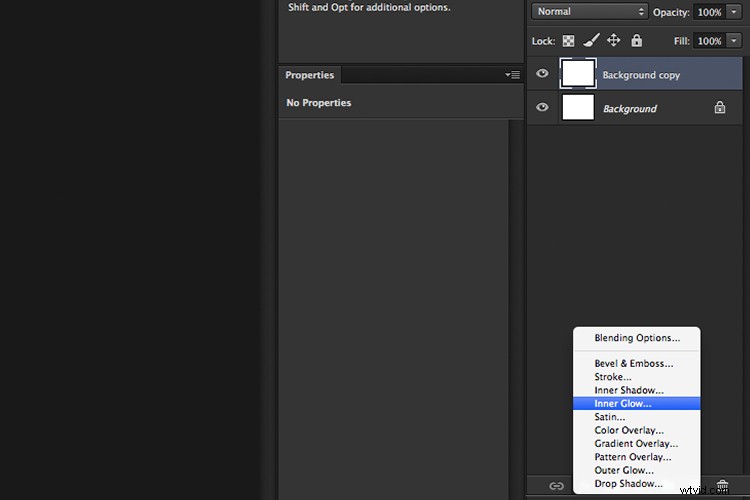
Alternatively, you can access the Layer Styles by going back to the top right corner of the Layers Panel and clicking on the downward arrow icon with horizontal lines beside it. Scroll down to where it says Blending Options. The same Layer Style option box appears and just click on Inner Glow.
When you click on any of the Layer Style options, the settings are all preset options, but they can be easily edited. In this example, leave some of the settings as they are and only adjust the following three:
- Choke – similar to feathering
- Size
- Opacity
Experiment until you get the desired effect, then click the OK button.
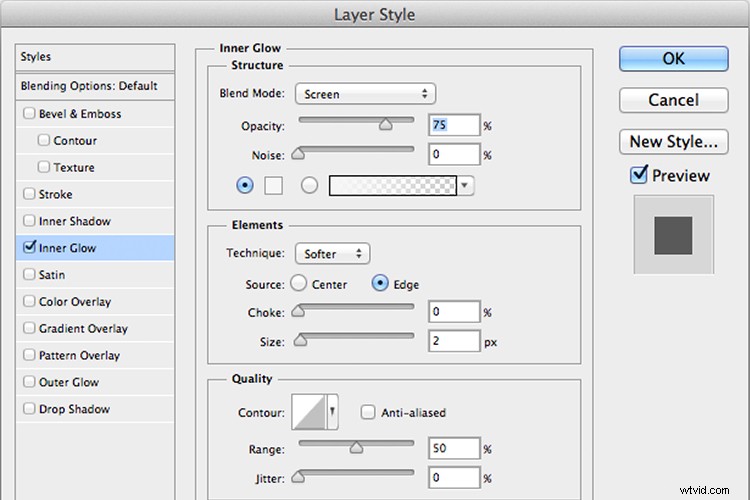
The Layer Style pop-up dialog box with the default settings.
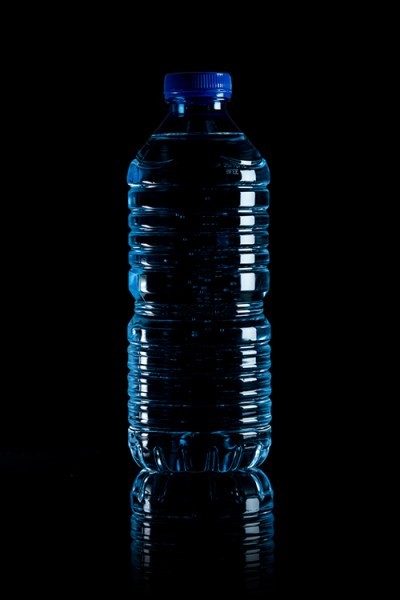
A rim light effect is added in Photoshop using Inner Glow from the presets in the Layer Styles.
Using Color Dodge Blend Mode instead of Screen
My preference when using this Layer Style technique is to change the Blend Mode from Screen to Color Dodge. I used this on the bottle of water in the title shot. To illustrate the subtle differences between the two Blend Modes, see the two photos below. The first image is the Inner Glow with Screen as the
The first image is the Inner Glow with Screen as the default setting. For the second image, I changed the Blend Mode to Color Dodge.
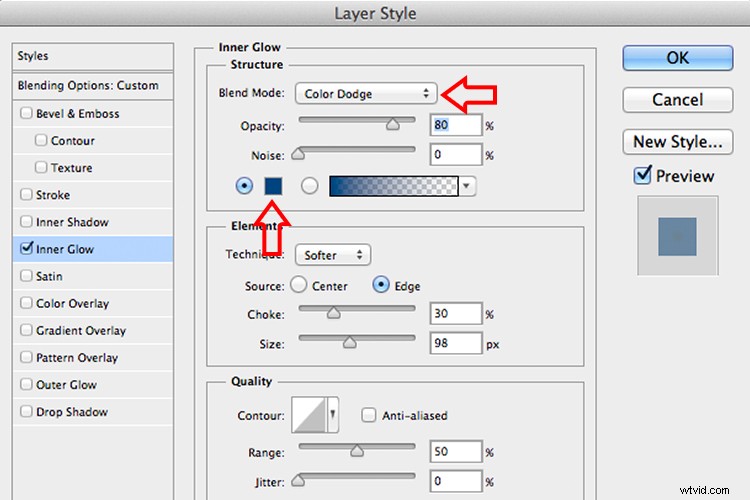
Changing the Blend Mode to Color Dodge
Rim light effect created in Photoshop using Inner Glow from the presets in Layer Styles.
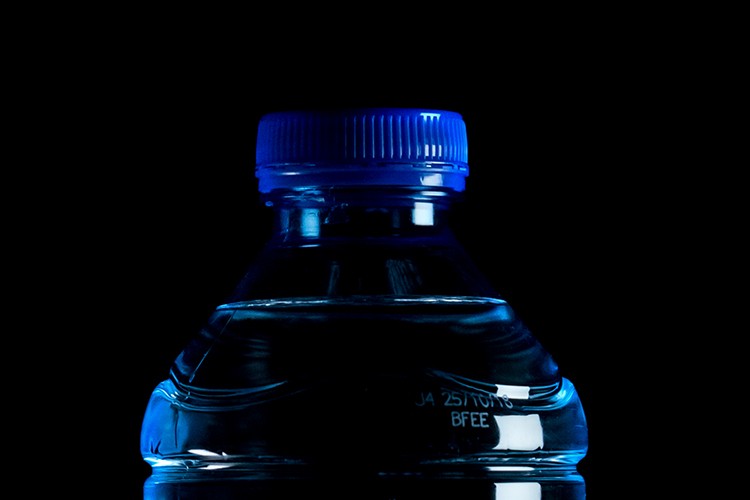
This rim light effect is created using Inner Glow from the Layer Style presets but I changed the Blend Mode to Color Dodge.
Creating a rim light from scratch using Photoshop
However, this technique really does shine when you have to create the rim light effect totally in Photoshop. For example, take this Owl Butterfly image that I got from www.pixabay.com. It has no rim light effect on it at all.
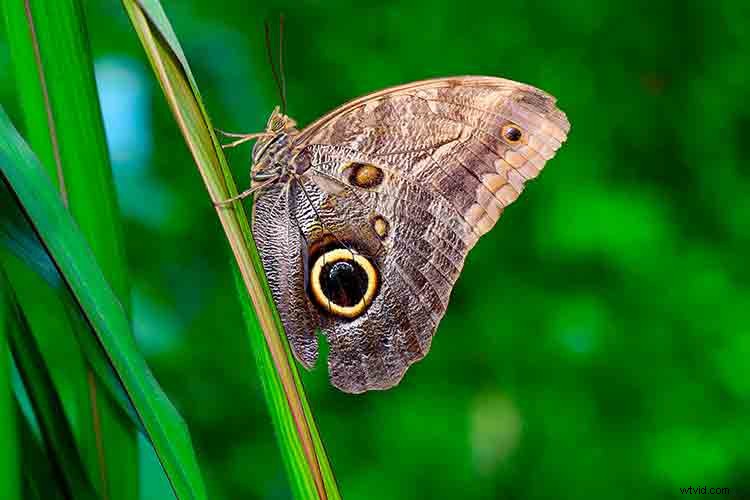
Owl Butterfly from Pixabay 1668956 – dowload the image if you want to follow along.
I isolated the Owl Butterfly from the background using the Pen Tool and placed it against a different background shot to which I added a Gaussian Blur.
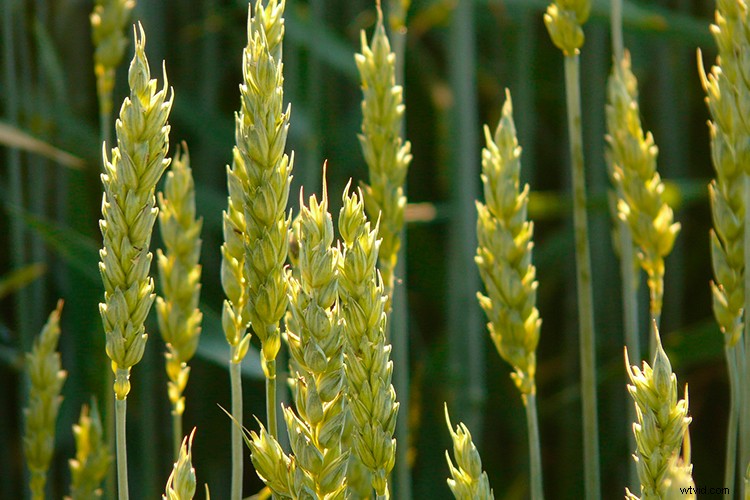
Wheat from Pixabay 8244_1920
As I had the Butterfly on its own separate layer, I added an Inner Glow from the Layer Styles and changed the Blend Mode to Color Dodge and chose a darkish yellow. I wanted a backlight to appear on the wings of the Butterfly caused by the setting sun in the background.
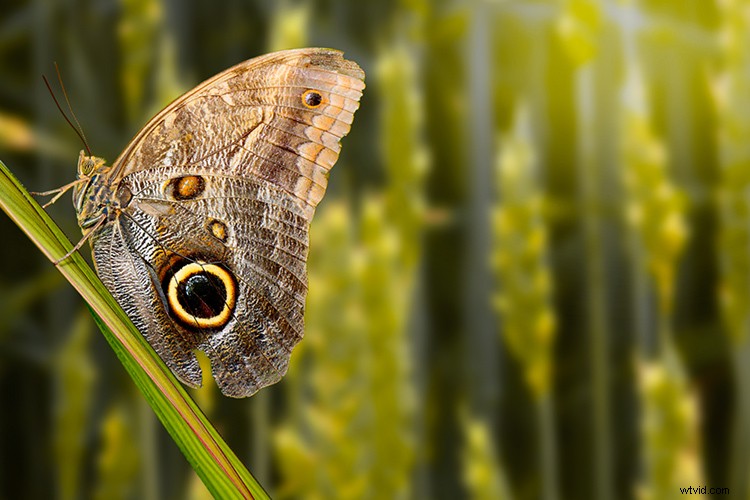
The Owl Butterfly was cut out using the Pen Tool in Photoshop and placed it against another background image. I blurred the background using Gaussian Blur.
I put this Layer Style effect on its own separate layer. Then I applied a layer mask and brushed in the yellow glow on the wings to give it a more realistic look. I did a bit more retouching by adding a gradient Overlay and then applied the Filter>Blur>Average to blend the colors from the two images.
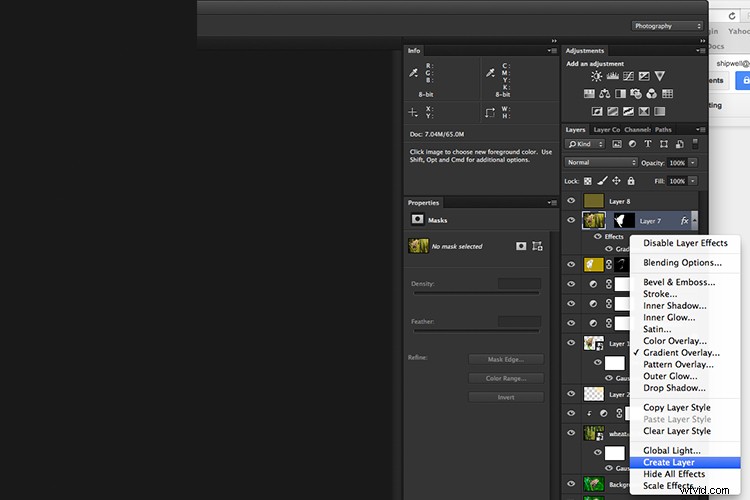
By placing the Layer Style effect on its own separate layer. I was able to apply a layer mask and brush the Glow effect onto to the wings of the Butterfly.
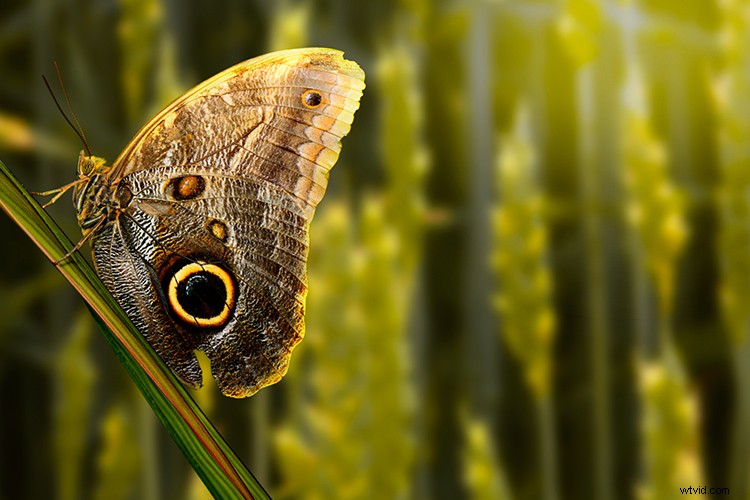
An Inner Glow was added using the blend Mode set to Color Dodge. I then added a Gradient Overlay to darken the bottom part of the Butterfly and I applied an Average Blur to blend the color of the two images.
Your turn
I hope I have been able to show you how effective creating a rim light in Photoshop can enhance your images. Do you use this effect on your images? Feel free to give it a try and post your results below, I will try to answer any questions and would love to see your images.