In this post Edward Mercer of Digital Photography Darkroom shares a process for adding depth of field to sports images.
You know how the Sport Photos look when taken by the Pros with those really expensive LONG lenses? The soft background and the sharp player? Well you can get the same effect with your current lens using the following steps in Photoshop!
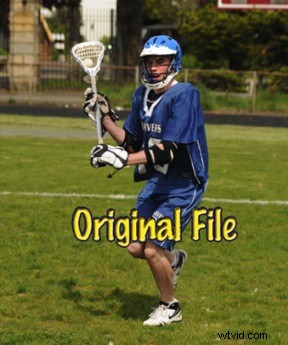
The first picture you see is the Original Image – taken with our 75-300 zoom lens – almost all of the photo is “sharp” and in focus.
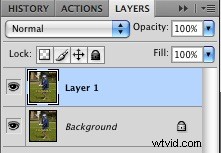
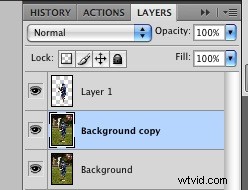
1. With your layer pallet OPEN – see Background – make a duplicate of this layer by using the shortcut – on a PC hold the Control key down and hit “J” – on the Mac – hold down the Command key and hit “J” – you will now see the duplicate layer above the background layer.
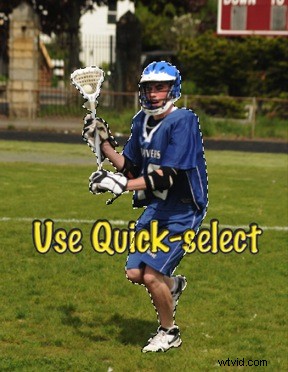
2. Using the Quick Select too from the tool box – select just the player – then hit Command or Control J to make a duplicate layer of just the player.
3. Layers- With the “Background Copy” (or Layer 1) in the layer pallet highlighted – go to Filter – Blur – Gaussian Blur – select the amount of softness you want in the background – keeping it realistic looking.
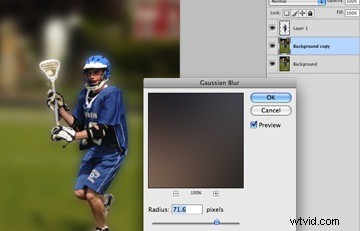
Once you have clicked OK – your photo should look like the photo below.

4. Now – with your “Background Layer” highlighted in the layer pallet, click on your “Eraser” in your Tool Box to the Left – set the opacity to around 30% and the Flow on 100% – size your brush to be about the size in the following photo – keep a soft edge and a bigger brush in the “Open” areas and make your brush smaller and sharper the close you get to the player. You can also change your opacity if you need to.

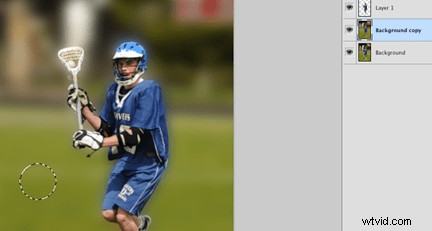
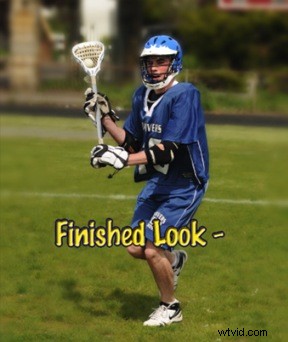
5. Start erasing – little by little – keeping the degree of softness in the background that you like. (Some people like it more out of focus than others.) Keep in mind the area directly near the player should be a little in focus also – when you are done your photo should look like the one below – finishedlookBe sure to “Flatten” all your layers before sending this off to your lab!
So there you go, I’ve just saved you from purchasing that Expensive – $3000 lens! You can do it all in Photoshop!