Tethered shooting is the practice of connecting your camera to a computer. Doing so allows you to take photos and review them straight from your Mac or PC.
There are plenty of apps that feature camera tethering. But for this tutorial, we will be working with Adobe Lightroom as it’s a very accessible post-processing software.
Why Should You Use Tethering?
Tethered shooting sounds quite complicated. But it’s simply connecting your camera to the computer so you can adjust settings and take photos remotely.
The newest cameras have wi-fi capabilities that let you do wireless tethering. Such a feature allows you to connect to your phone, tablet, or computer. Most photographers still prefer wired tethering as it’s more reliable. It saves high-resolution images straight to your computer and does not disconnect unless you unplug the cable.
The most significant advantage of tethered shooting is that you get to see your images on a bigger screen. Since you can see the details better, you can easily reshoot and correct mistakes. That is why it’s ideal for commercial shoots that require meticulous inspection.
Of course, tethered capture is not for everyone. For instance, it’s not ideal for run-and-gun style shoots. Just try to imagine lugging your laptop around when capturing street photos! But if you take pictures in a studio, we recommend you try it.
What Do You Need for Camera Tethering?
You have probably seen photographers using tethered capture before and thought it’s only for professionals. But honestly, all you need is a USB cable and tethering software to do it!
USB Cable
When you buy a new camera, it typically comes with a USB cable. You may think you can only use it to upload images to your computer. But it also lets your PC and camera communicate for tethered shooting.
The only issue with the cable that comes with your camera is that it’s often too short. Most professionals buy longer options designed explicitly for tethered photography.
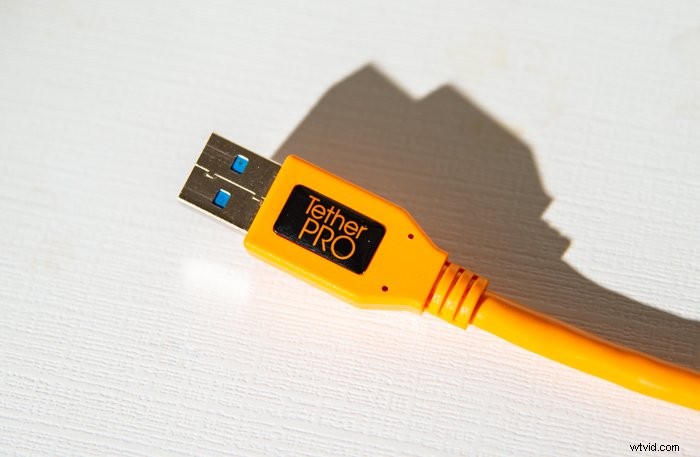
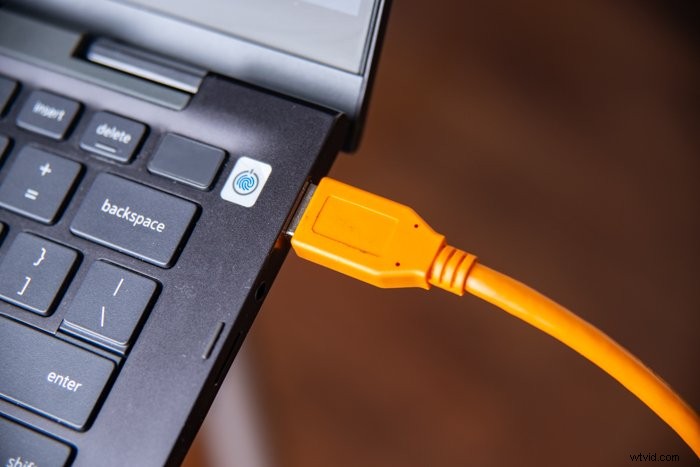
The most popular cable for shooting tethered comes from TetherPro. Most of their products are at least 15 ft (4.6 m) long, which is perfect if you are working in a large studio. The cords are also orange to make them highly visible. That way, you will not accidentally trip on them.
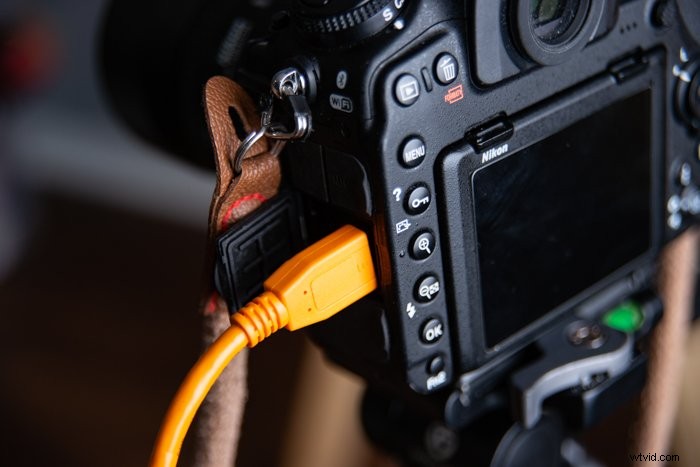
Keep in mind that the type of USB port may vary from one camera to another. Older devices may feature a Mini-A or B port, while newer versions may have a Type C or a Micro B instead.
Be sure to check your camera’s USB port to see which card is compatible with your device. You will often see it under a flap or a panel on the side of your camera.
Tethering Software
Apart from the cable, you also typically receive a driver when you buy a camera. It has loads of features, including editing and printing tools. But it also includes tethering software that lets you do basic tethered photography.
If you don’t shoot tethered all the time, then the tethering software that comes with your camera should be enough. But if you need to connect your device to your computer often, you will need more professional options.
The most popular software for shooting tethered is called Capture One. Apart from letting you shoot from the camera, it allows you to adjust and edit your images without leaving the app.
The downside of using Capture One is that it can be expensive. You will need to subscribe or buy a license to use it.
Fortunately, if you have Adobe Cloud, you already have a cheaper option than Capture One. You probably did not know this, but Adobe Lightroom has a built-in tethering function.

Lightroom is more accessible to more photographers than Capture One. So that’s what we will be using to teach you how to shoot tethered for the first time.
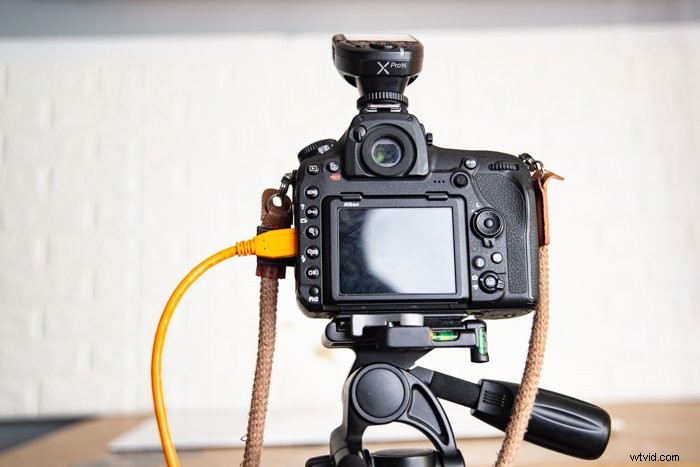
Step 1: Connect Your Camera to Your Computer
First, make sure your camera is turned off. Plug your cable into the camera’s port, then connect it to your computer.
After connecting your camera, turn it on. Your computer should automatically recognise your device.
Step 2: Open Adobe Lightroom Classic
After Lightroom Classic finishes loading, go to File > Tethered Capture > Start Tethered Capture.
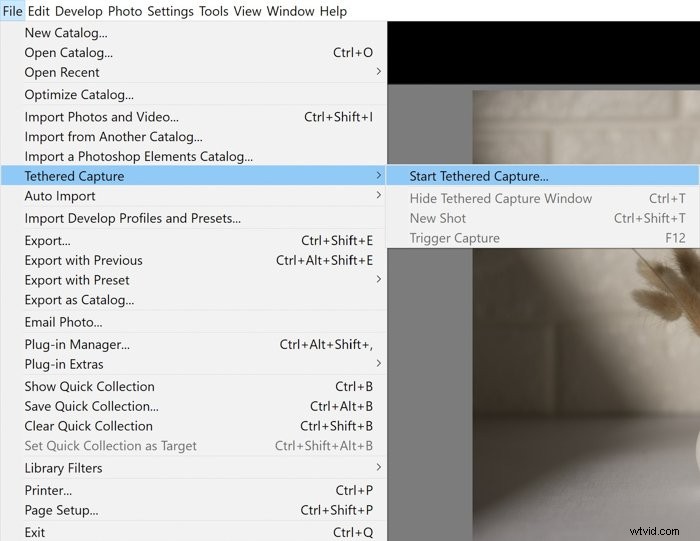
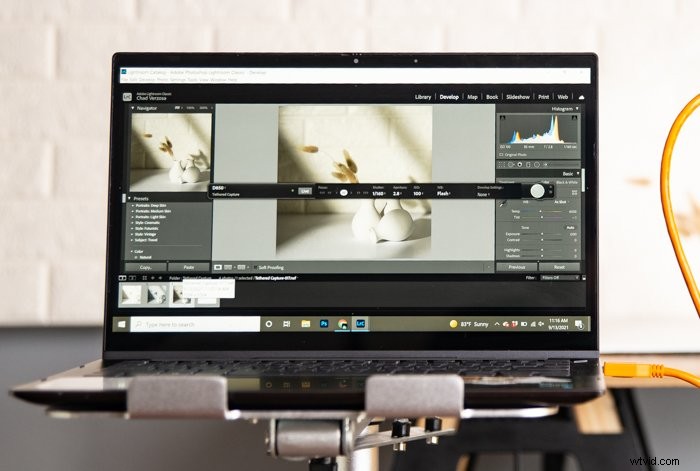
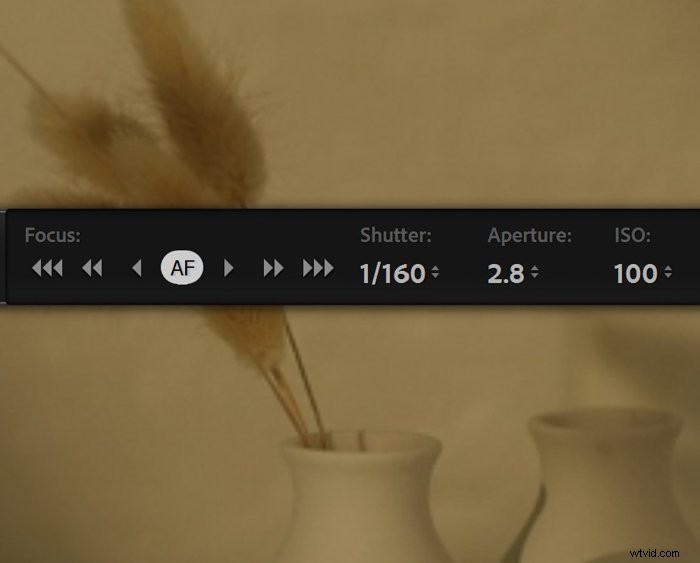
Once a dialog box opens, type in the session name and where you want to save your images. After you hit Okay, this toolbar should appear:
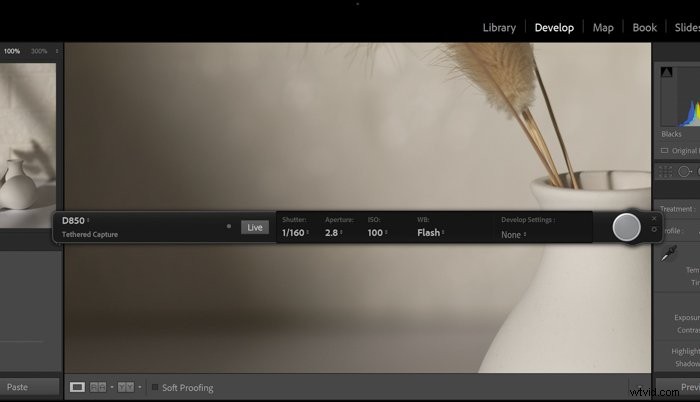
The toolbar includes Shutter, Aperture, and ISO settings to let you change your exposure parameters straight from the computer. Apart from that, you should also see WB (White Balance) and Develop Settings.
At the end of the bar should be your virtual shutter button. You can click it to press your camera shutter remotely.
Step 3: Turn on Live View
This feature is only compatible with select Canon and Nikon cameras at the moment. If your device is it included in the list, skip this part and continue to Step 4.
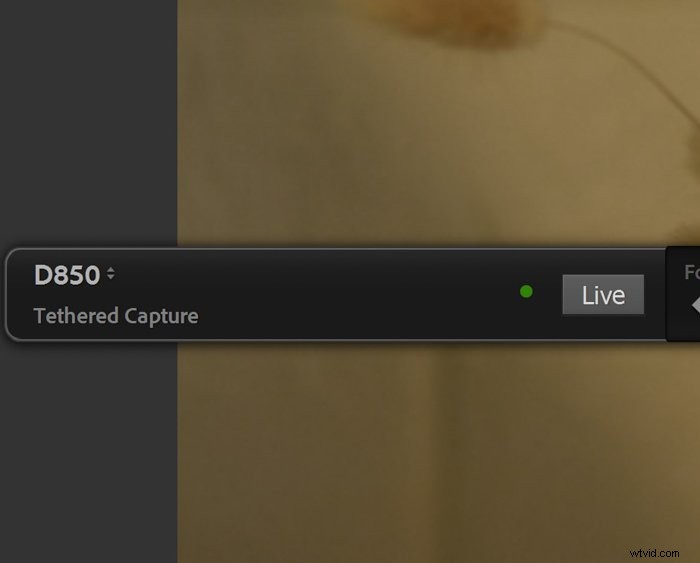
Beside the Exposure Settings, you should see a Live Button. Click it to activate your camera’s Live View. This function lets you know what your device is seeing in real-time.
Once your turn on Live View, you also activate Lightroom’s Focus controls. Press the arrows either left or right until your main subject looks sharp.
Step 4: Adjust Camera Settings
Lightroom does not have auto functions. That’s why it’s essential to change your exposure settings manually.
Set your camera to either Aperture or Shutter Priority before connecting to achieve the correct exposure. Then point at the scene you want to photograph and half-press your shutter.
Take note of the settings on your camera. Once you connect your device to your computer and turn on tethering, you can enter those values in the tethering toolbar.
Click the virtual shutter button to take a test shot. After the camera takes a photo, you should see Lightroom display the image you just took. If your exposure still appears off, go back to the toolbar and change the values in the exposure settings.
Step 5: Change White Balance
The White Balance in Lightroom works the same as the one you find on your computer. It has the usual settings, including Sunny, Cloudy, and Flash, among others.

If you are unsure which WB mode to use, Auto would be the best choice for you. Otherwise, select the setting that matches your shooting conditions the best. For instance, you can choose Indoors Mode if you’re shooting inside your house.
Step 6: Select Develop Settings
Develop Settings sound a bit technical, but they are just Lightroom Filters that are the same ones you find under the Preset Section.
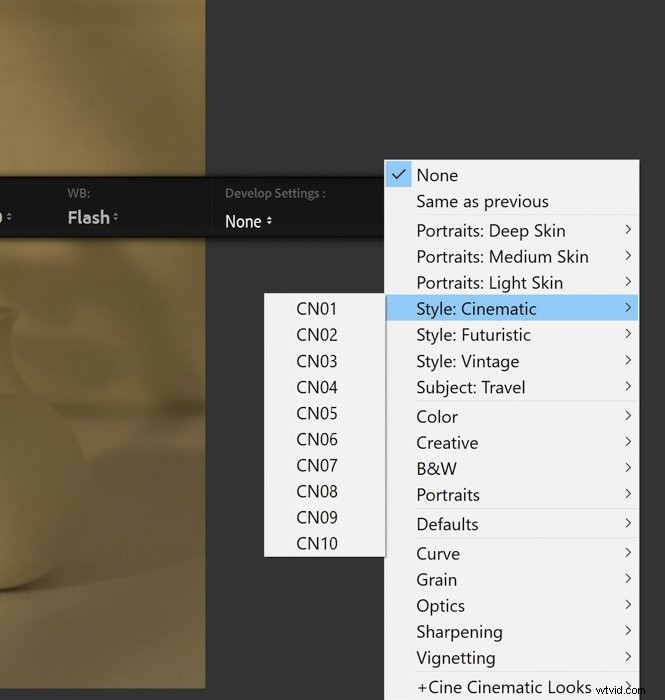
If you use a specific preset, all you have to do is click Develop Settings and look for that particular filter. Once you click the shutter, Lightroom automatically applies that preset to your file.
Step 7: Take Pictures
Once you finish adjusting your settings, you can now take pictures! You have two options to do this: Through your computer or your camera.
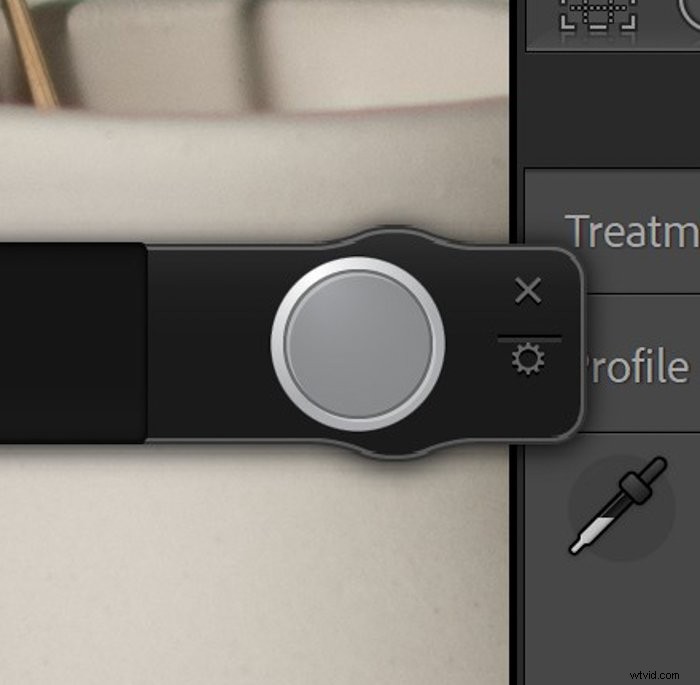
To take pictures with your computer, all you have to do is click the virtual shutter button.

If you want to use your camera, turn on its Live View. Doing so activates your camera’s physical shutter and your lens’s autofocus. This method is best to use, especially if you have a non-Nikon or Canon camera that cannot take advantage of Lightroom’s Live View.
Step 8: Edit Your Image
What makes using Lightroom great is that you can edit the photos you shot right away. After taking a picture, you can adjust all sorts of parameters within the program and apply changes to your photos.
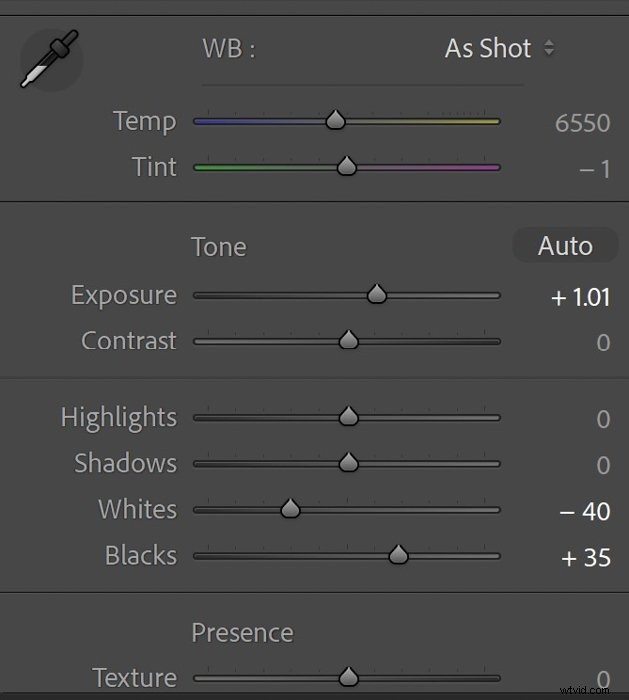
So how do you edit an image from a tethered camera? You adjust the sliders under the Develop tab like you would any other photo. That’s it!
Conclusion
Camera tethering opens up a lot of possibilities in photography. Using tethered capture in Lightroom is also so easy that it feels like a remote camera control. And since you already have a program that allows you to do it, it’s worth a try.
Learn the fastest way to launch a highly profitable portrait photography business with our Profit from Portraits course!