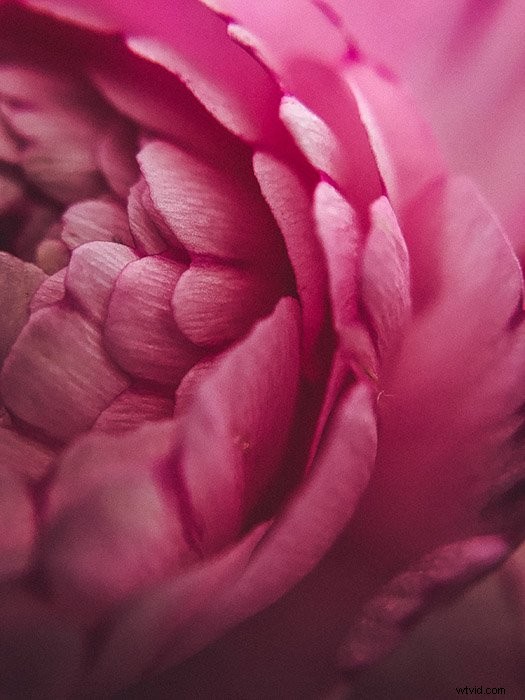
Macro photography is a fun technique, especially if you like photographing nature.
Small subjects like bees or intricate flowers come to life when enlarged!
Here are some tips for editing your macro photos in Lightroom.
Crop Tight to Your Subject or Off-Center
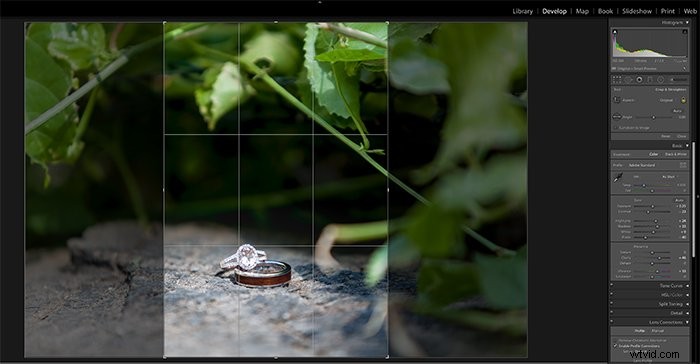
Macro photos can change drastically with different cropping. Consider cropping tight to your subject and placing the subject off-center. This will give your photos more impact.
To know how off-center to place your subject, keep the rule of thirds in mind!
Sometimes the original photo is in landscape, but we later find that a vertical crop would be best. To switch the orientation of the crop, go into the crop tool in Lightroom by pressing R.
While in the crop tool, press X to switch orientation! Be sure to keep the ratio at Original. The padlock icon should be locked. This will maintain the ratio as you crop.
Sharpening
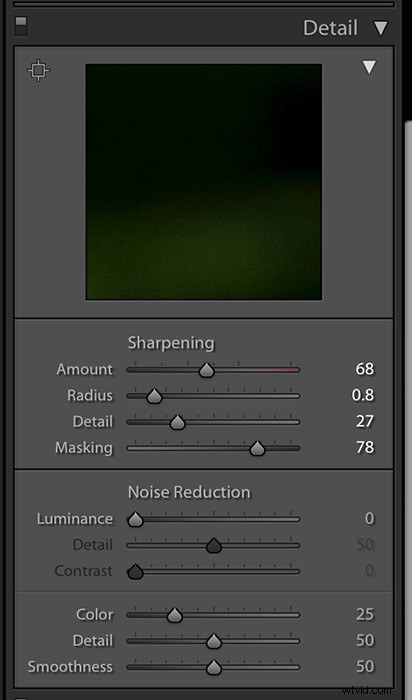
When photographing so close on a subject, the focus needs to be placed perfectly and very sharp. To help ensure that crisp, sharp look, the sharpening tools in Lightroom are ideal.
Raise the sharpening level and the masking, while lowering the detail and radius. This will help keep that sharp detail on your subject.
The texture slider is a new tool in Lightroom and also helps to add crispness and detail to a photograph.
Try raising the texture and see if it helps your subject stand out even more!
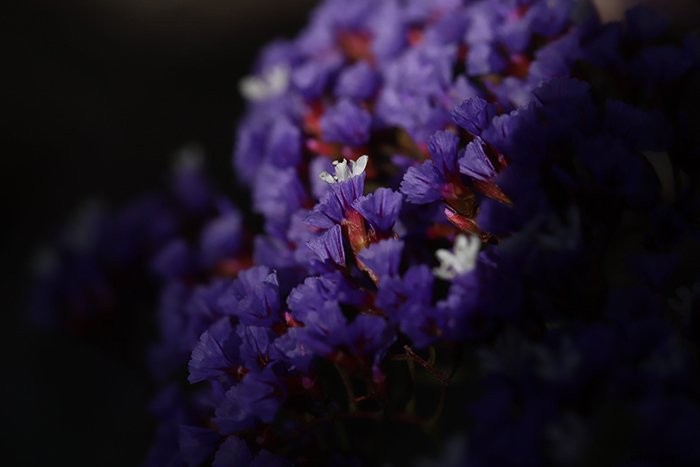
Vignetting
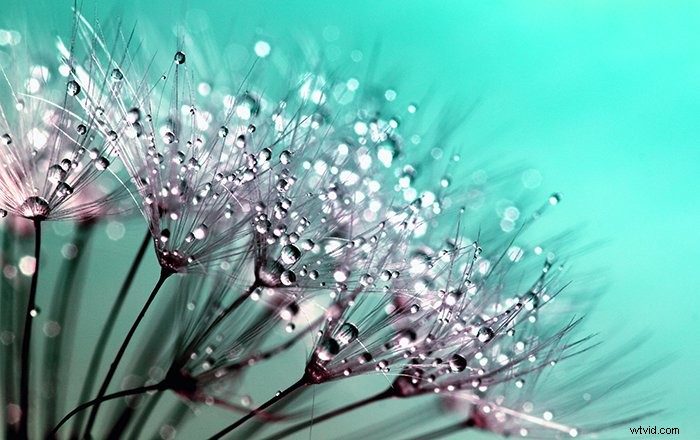
Our eyes go to the brighter parts of an image first. It only makes sense that your subject should be the brightest part of a macro photo.
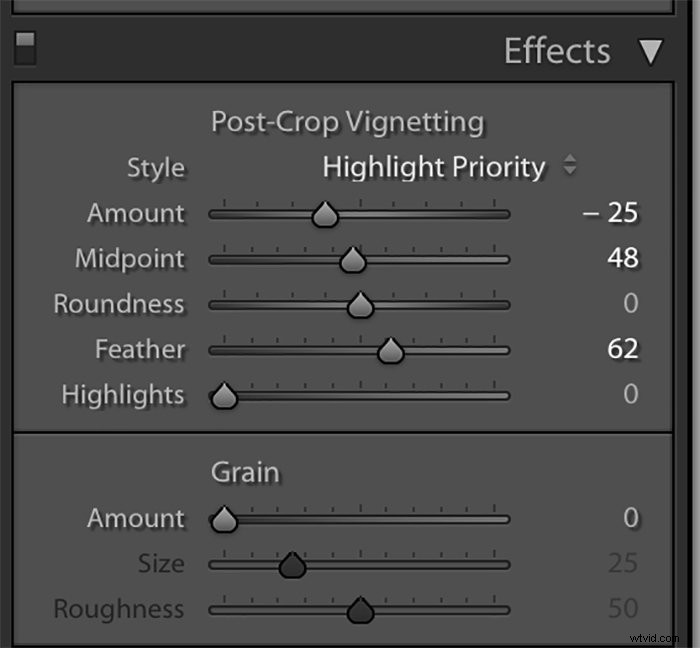
In Lightroom, you can do a vignette to darken the edges! There are several ways to do this. If your subject is in the center of the photo, you can use the vignetting tool.
This lets you adjust the darkness, feathering, and length of the vignette.
If your subject is off-center or you want more control over the placement, you can use brushes. The radial brush is perfect if you want the vignette to be even on all sides.
The adjustment brush is perfect for full control. It lets you hand-paint the areas that you want to vignette and adjust everything about the effect.
Finally, you can use the gradient filter if you want to ensure a soft fade from dark to light.
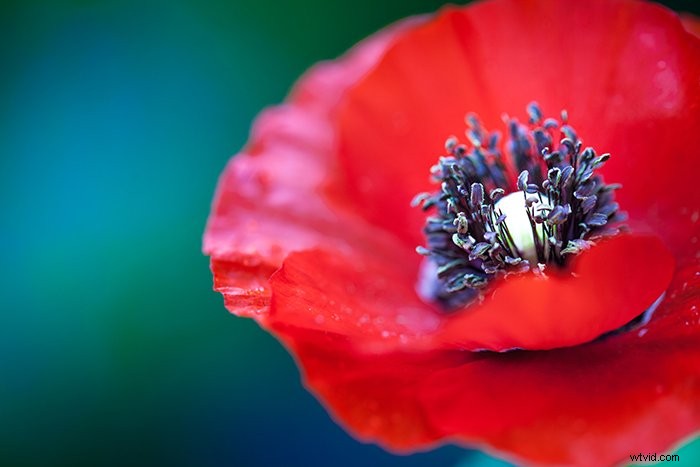
Adjust Colors
To go along with the drama of a macro image, you’ll want to make sure your colors are vibrant! Note that I didn’t say to make sure your colors are saturated. Rather, vibrancy retains detail while giving the colors a stronger pop.
Having strong colors, especially for your subject, will add contrast. It will also make the photo more dramatic.

Separate the subject from the background
This is something that should start happening in-camera. It will most likely be the type of lens that you’re using in combination with a low f-stop.
There are some things you can do in Lightroom to create a similar effect! Using the same brushes mentioned for vignetting, you can adjust the sharpness, clarity, and contrast for the background.
Conclusion
Macro photography helps bring to life all sorts of detail that we otherwise overlook!
With the above Lightroom editing tips, you can give your tiny subjects the dramatic spotlight they deserve.