Lightroom slideshows are a cool way to easily share collections of your best photos. You can create a slideshow and add slideshow music for more creative impact.
We all want people to pay attention to the photos we take. Everyone loves to share their pictures on social media but it’s tough to get people to really notice your photos. Make a simple slideshow for more impact. You can also create a Photoshop slideshow.
With an Adobe slideshow, you can also control the length of time your photos will remain on screen.
Here are five easy steps to create your slideshow using Adobe Lightroom.
Step 1: Choose Your Photos
Using the Lightroom Library module is the easiest way to choose photos for your slideshow.
In grid view, select the photos you want to use. You can add them to a Quick Collection or a New Collection.
Add selected photos to a Quick Collection press the B key. Once you have them in a Quick Collection you can then create a new collection.
This allows you to keep the photos together and continue to work with your selected photos at a later date.
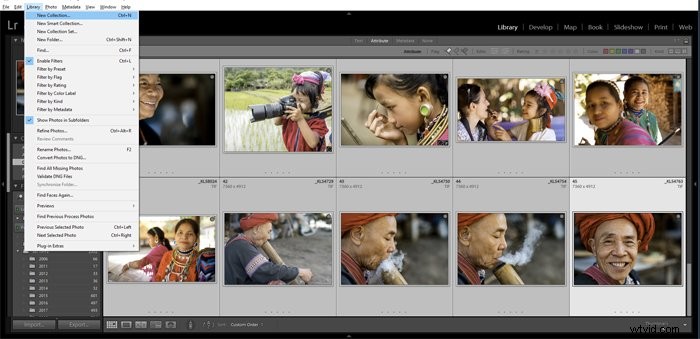
Select all the photos in your Quick Collection and press Ctrl+N to start a New Collection. You can also go to Library in the top menu and select New Collection from the top of the drop-down menu.
Name the collection of photos for your slideshow. It will be added to the Collections panel on the left of your screen.
Step 2: Curate Your Lightroom Slideshow
Choose the order you want your photos to appear in your picture slideshow.
This is a key step in creating a slideshow that will hold people’s attention. If the order of your photos is random they will seem disjointed. Having a good flow to the sequence of images will help you retain your audience for longer.
Create a slideshow with good design. Look for similarities between your photos in composition, color, and meaning. Or place them in a natural series if they are following a timeline of events. Thinking carefully about your story and the way the slideshow will play is very important.
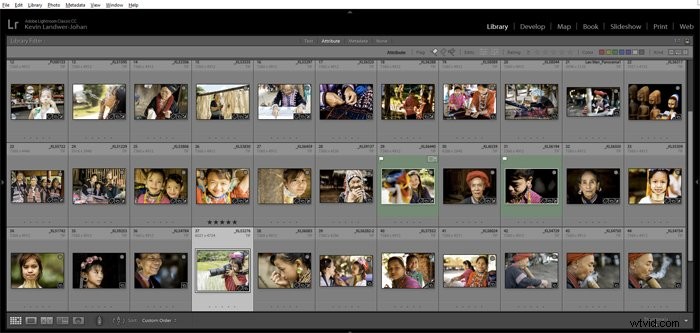
In Grid View in your collection, you can drag and drop each image to the location in the sequence where you want it to be viewed.
Step 3: Create the Slideshow
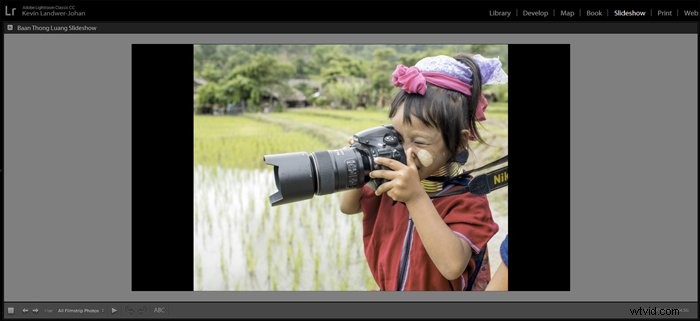
Once you’ve positioned your photos in a pleasing sequence, click on Slideshow in the top menu. This will open a new view in your Lightroom window with different panels on the left and right.
If you are not seeing these panels press the F7 and F8 keys to open them.
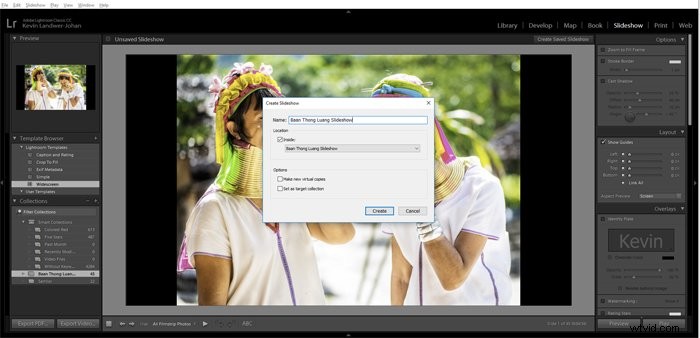
At the top right of the central panel click on Create Saved Slideshow. Name your slideshow and click on Create. Once you have created your slideshow in Lightroom all the changes you make will be saved automatically.
Step 4: Choose a Slideshow Template
In the left-hand panel, you will see the Template Browser. From here you can choose one of the existing templates or create your own. Starting with one of the preset templates is easy and you can make changes to it later if you want.
Run your slideshow through, or part of it, to see how it will look. This will demonstrate the sequence you have chosen for your photos and how the template you have chosen will look.
Step 5: Customise Your Adobe Slideshow
Customize your slideshow by adjusting the option in the right-hand panel. Here you can make changes to:
- Options
- Layout
- Overlays
- Backdrop
- Titles
- Music
- Playback
Let’s take a look at each of these.
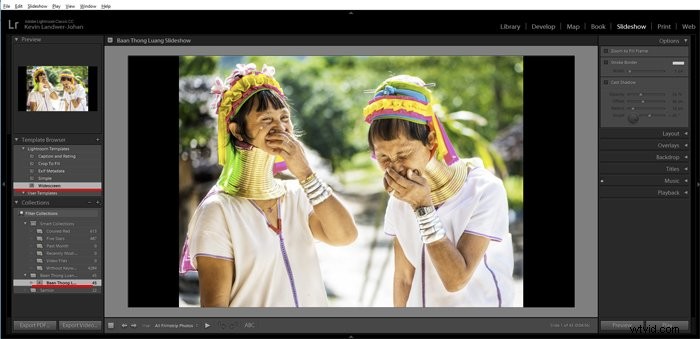
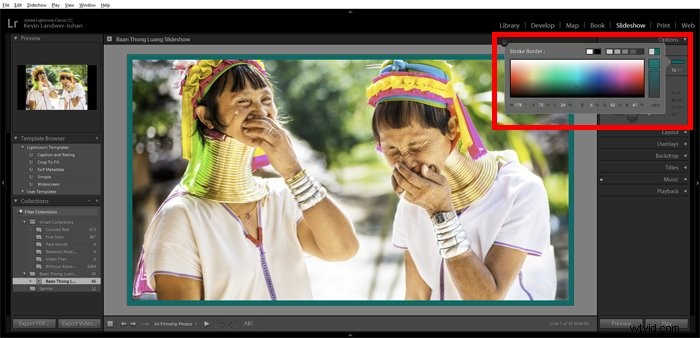
Options
In the Options panel, you can select the way you want your photos to display on each slide.
You can opt to have the photo fill the entire frame. You can also add a border and drop shadow if you wish. Each of these options contains variables you can control to get the look you like.
If you choose Zoom to Fill Frame a shadow will not be visible in the slideshow even if you create one.
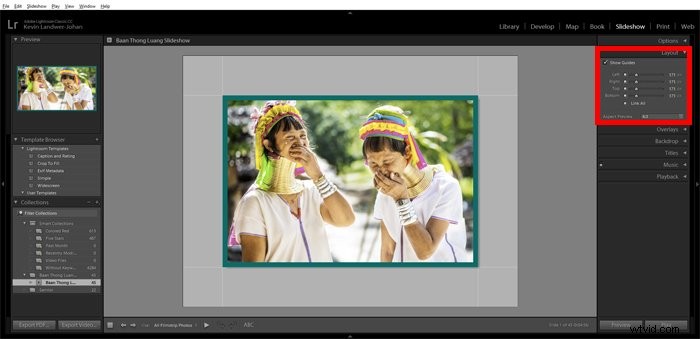
Layout
Here you can make a border around your slides. You can choose how much space there is above and below and to either side of your slides.
They are linked by default, but you can unlink them to customize further. Maybe you’d like to leave more space below your slides than at the top or sides.
In this panel, you can also select the aspect ratio you want to use.
Overlays
The Overlays panel allows you to add things like an identity plate, watermarking and rating stars. These options can be helpful when you are sharing your slideshow with clients say for a portrait session or wedding photos.
To edit the text of your identity plate click on the text box in the panel and then on edit. Here you can change the text, font, and size.
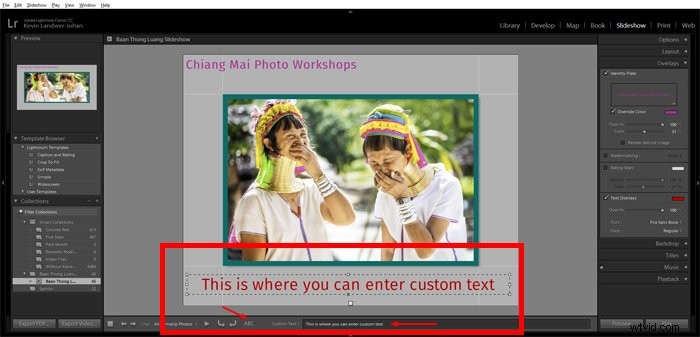
You can add custom overlay text to each slide by clicking the ABC in the toolbar below the main slide window. Once you’ve typed in your text you can resize and position it by dragging the text box on the slide.
Backdrop
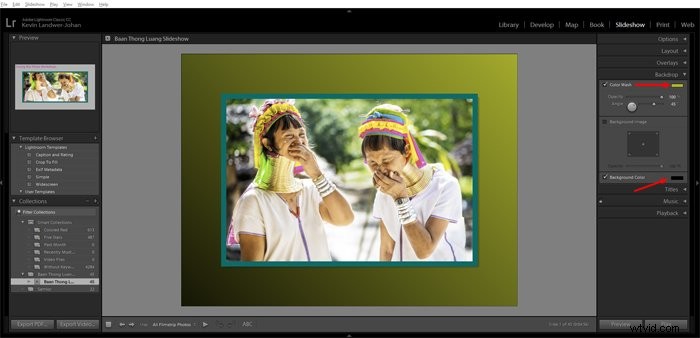
Add a solid, gradient or photo background to your slides using the Backdrop panel.
To add a gradient look, use the Color Wash option. Choose the color which will work best with your images and the Background Color you want.
You can customize the solid background color by leaving the Color Wash option unchecked.
Adding a photo or other artwork in the background is also an option. If you choose to do this be careful to add an image which does not distract from your slideshow photos.
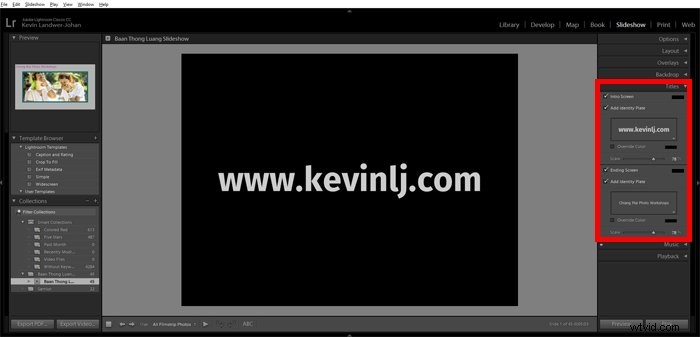
Titles
Here you can add titles that will appear before and after your slideshow in the same way you added and edited the text in the Overlays panel.
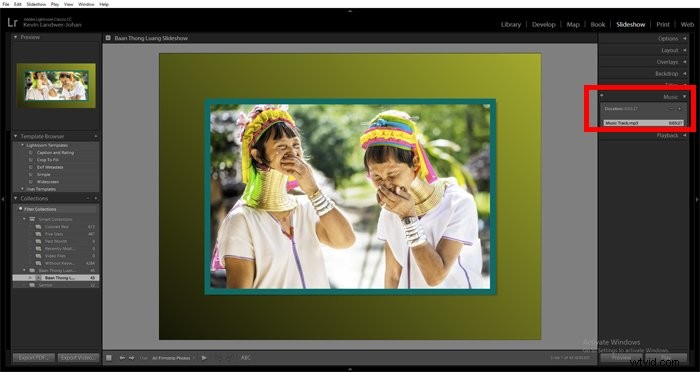
Music
Choose some appropriate music to set the mood for your Lightroom slideshow. You may need to turn on the switch at the left side of the panel.
This will allow you to select an MP3 file from your hard drive.
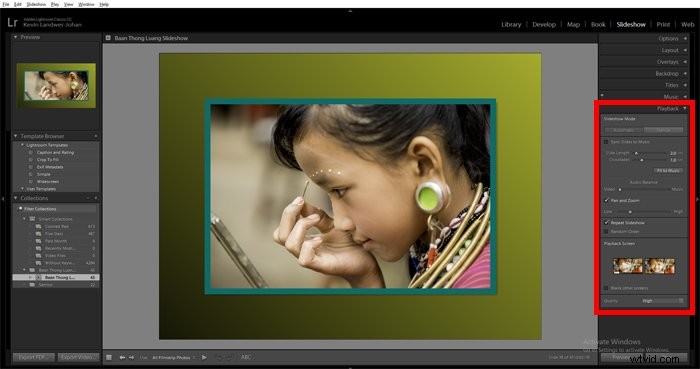
Playback
This is one of the most important aspects of your Lightroom slideshow. Here you can control transitions and how long each slide will stay on screen.
You can do this manually, automatically or have it sync to the music track you have chosen.
Experiment with these options as much as you like until you get the flow just right. The option to sync to your music will work better with some music than others. You may prefer to have each slide and transition of equal length.
Being intentional with this is important. If the pace of your Lightroom slideshow is too fast or too slow it will affect the way your audience sees your photographs.
Conclusion
There are lots of different ways to make and use a Lightroom slideshow. Once you have chosen the photos you want to use, Lightroom makes the process easy and quite enjoyable.
Once you have completed all your editing you can export your slideshow as a video. You can also export your Lightroom slideshow as a PDF file which can be converted into a Powerpoint or similar style presentation.
Check out our articles on how to use Lightroom Adjustment Brush Tool or how to avoid these 12 common Lightroom mistakes you’re probably making next!