How can you create and save presets in Lightroom?
In this article, I’m going to take you through the simple process, step by step. By the time you’re done, you’ll be able to confidently make presets of your own – and I’ll even show you how to make and apply import presets for high-quality, lightning-fast edits.
Let’s dive right in.
When should you create and apply Lightroom presets?
There are mundane edits in Lightroom that you should carry out on almost every photo.
And you can save time by creating presets that perform these jobs automatically upon import. That way, you don’t have to do editing later.
In other words: I highly recommend you apply presets to pretty much every photo you take.
(You can also apply presets during the editing process, but you’ll want to use these more sparingly.)
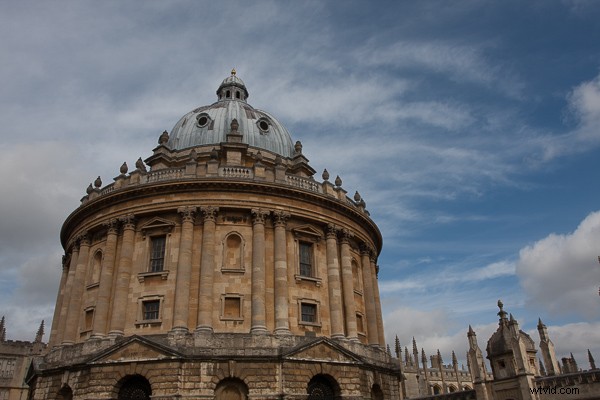
The fact is that RAW photos need edits to look good. And presets will help you do those edits faster than a standard editing workflow. Look at this unedited RAW file:
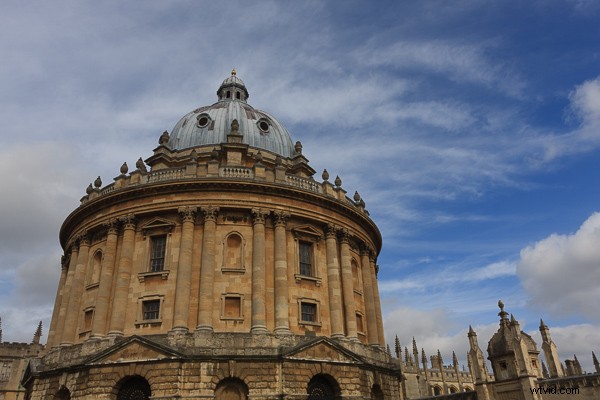
And look at it after applying a simple preset:
That’s what I’m going to teach you how to do in the next section:
Create a simple preset that you can apply upon importing. But note that you can use these instructions to create a preset of any type, whether you plan to apply it on import or not.
How to prepare a useful Lightroom preset: step by step
Now let’s take a look at the simple instructions for making a useful Lightroom preset:
Step 1: Open a photo in the Develop module
Start by selecting the photo you plan to use as your preset base. Open it in the Lightroom Develop module.
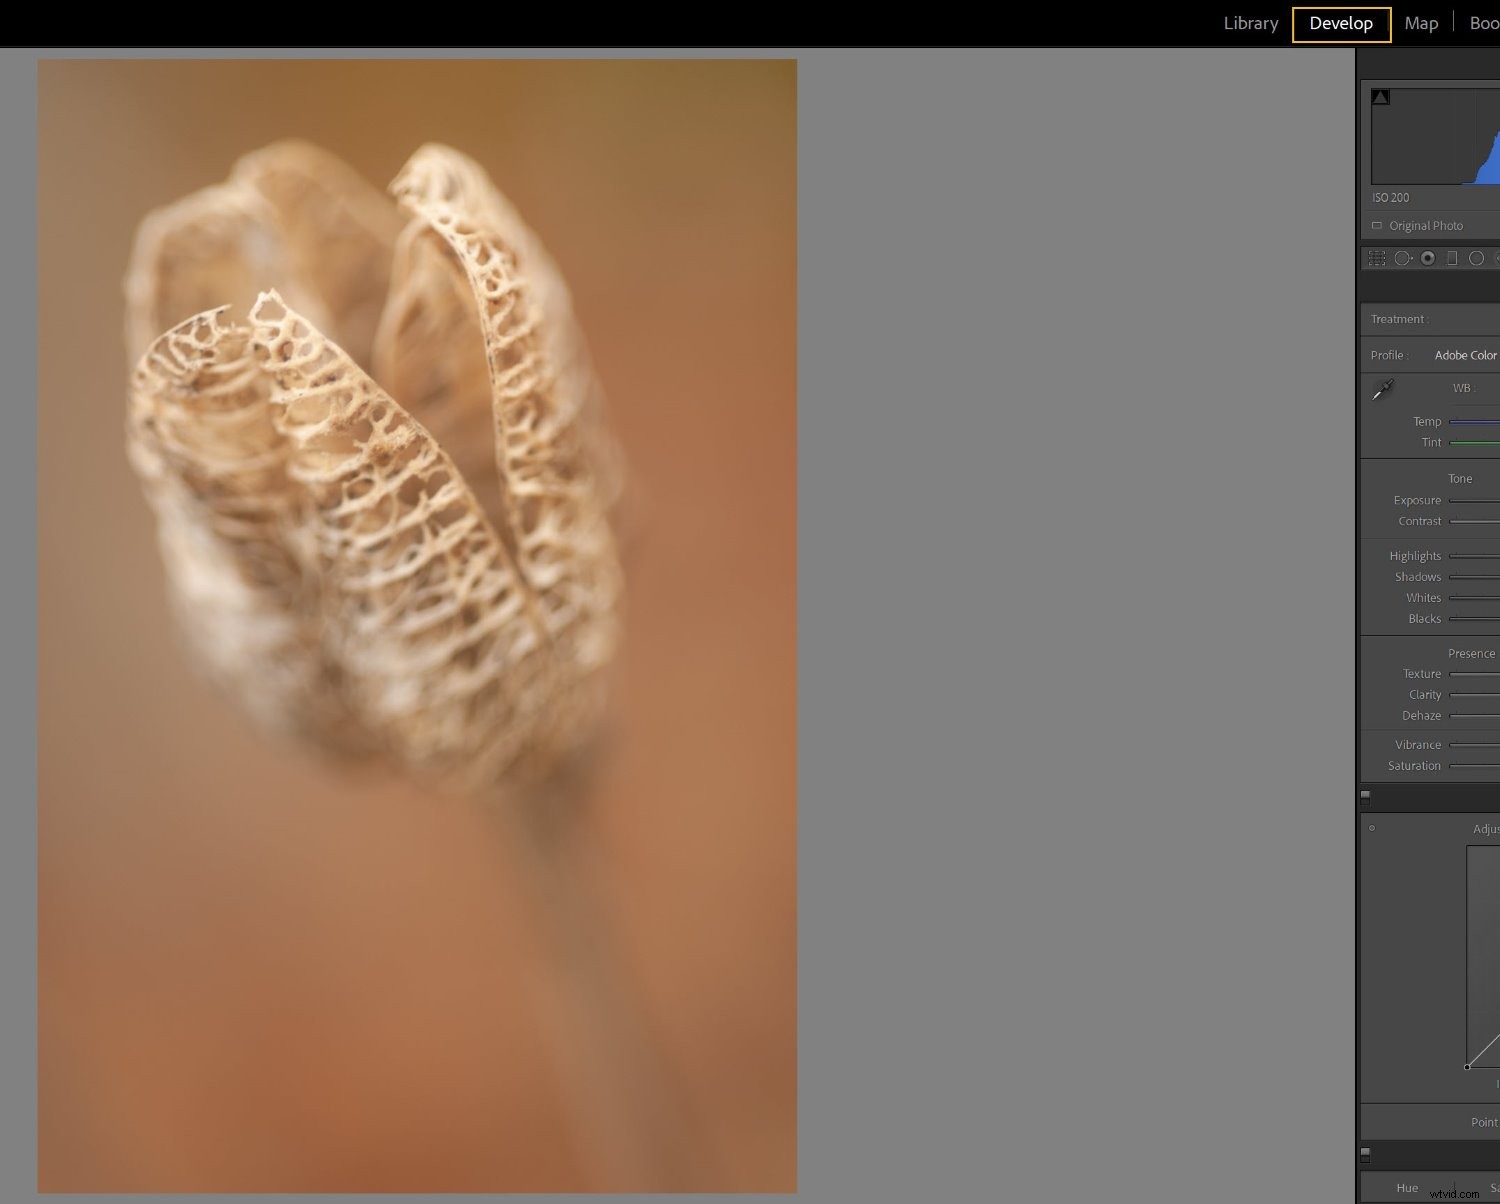
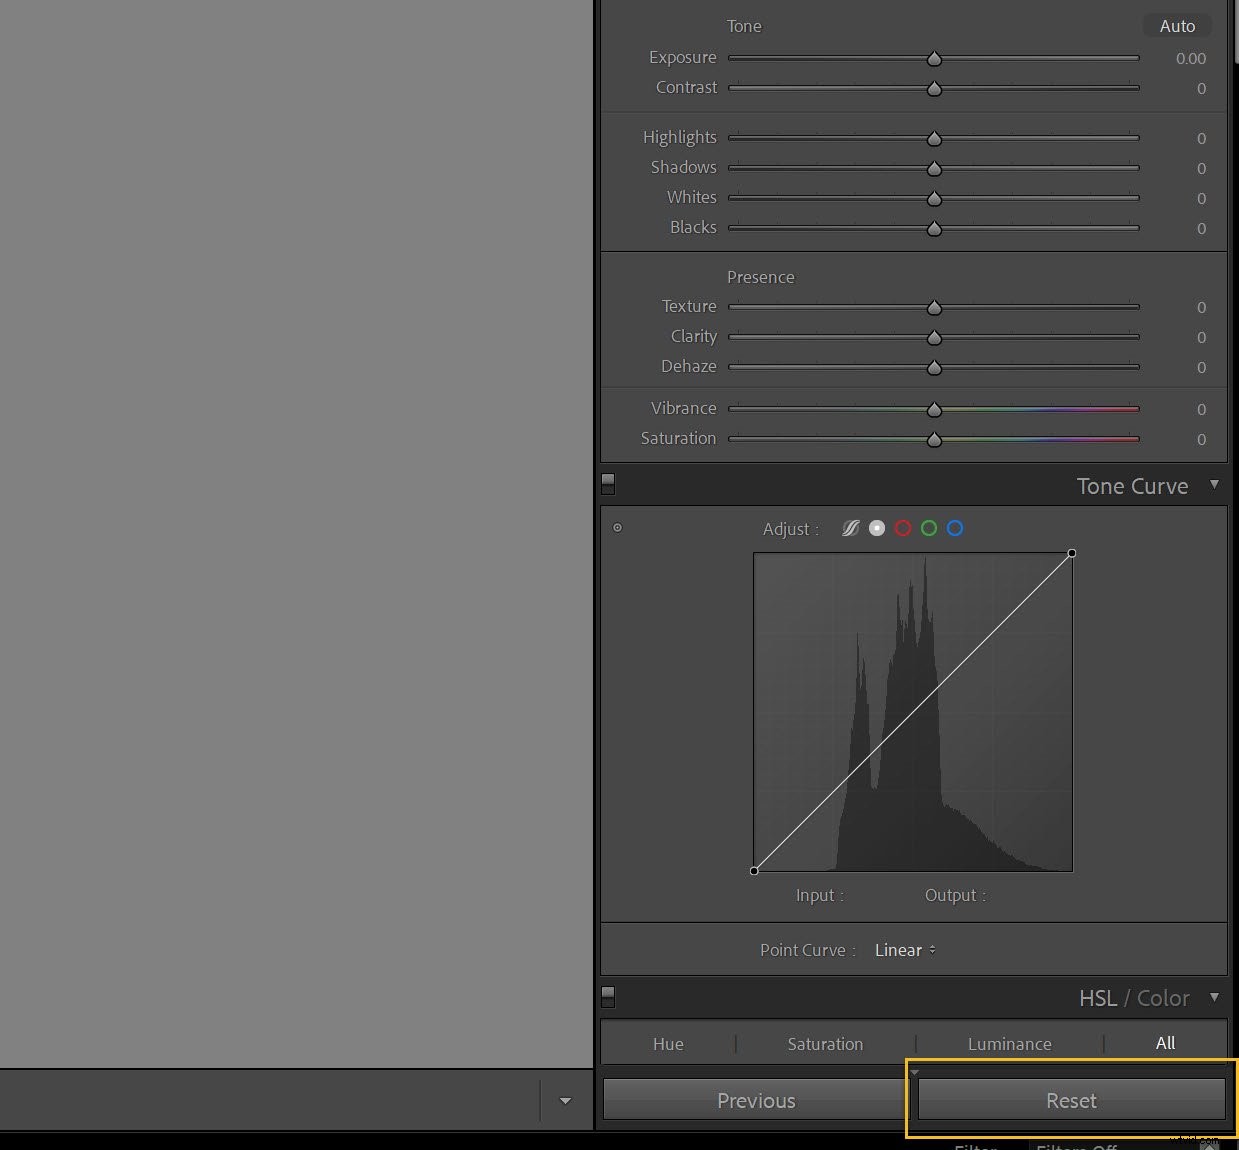
Hit the Reset button to zero out any existing settings:
(You may find it helpful to make a Virtual Copy of the photo first so you don’t undo any edits you have already made.)
Step 2: Set your Profile in the Basic panel
Next, you’ll need to pick a Profile. Think of this as a starting point or base layer, on top of which you’ll make all your edits.
So head up to the Basic panel and click to open the Profile fly-out menu:
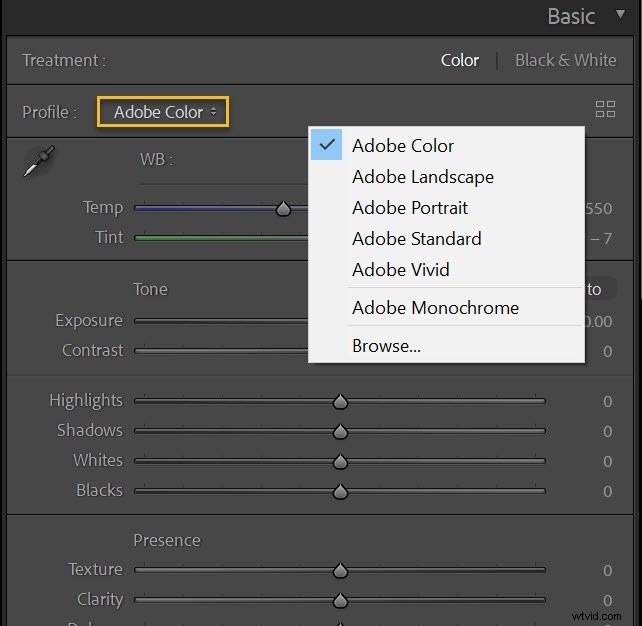
Lightroom’s default Profile is Adobe Color, and this is where I often leave my photos – but if you’re a frequent landscape photographer, you might try Adobe Landscape, portrait photographers might try Adobe Portrait, and black and white photographers might try Adobe Monochrome. Really, it’s all about experimenting. Test out a few options and see what you like!
Remember that you can always change these settings after applying the preset if you decide they don’t work for a particular shot.
(Also, note that your Profile options may vary depending on your camera, so if you can’t find one of the options I suggested, don’t worry; you probably have other cool Profiles to try out instead.)
If you shoot a number of different genres or in a number of different styles, or if you simply like several profiles, you might consider creating a preset for each one!
Step 3: Apply profile corrections and remove chromatic aberration
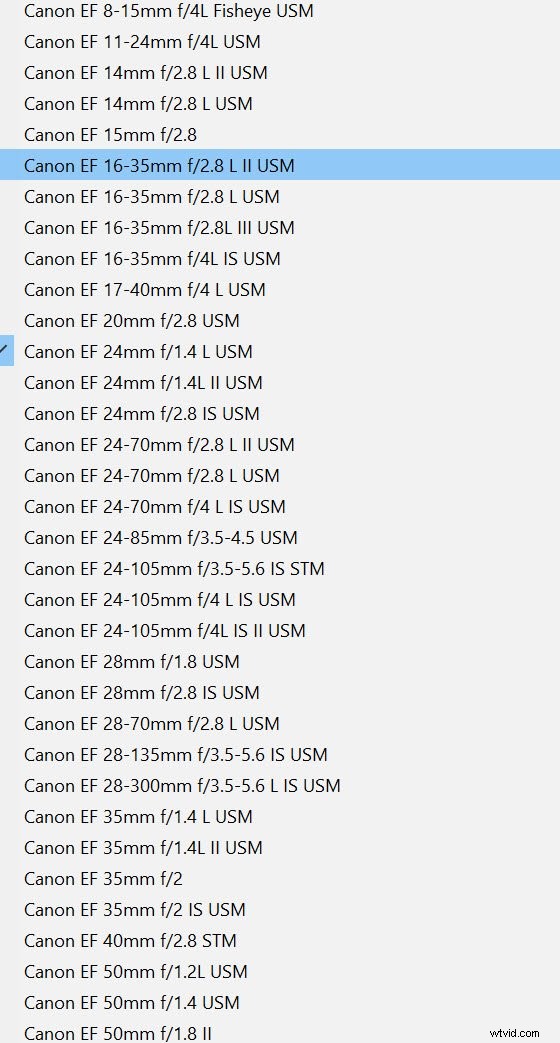
Most shots suffer from slight issues due to lens aberrations. The specifics depend on your lens, which is why Lightroom comes with profiles for a huge number of lenses:
So head down to the Lens Corrections panel and check Enable Profile Corrections:
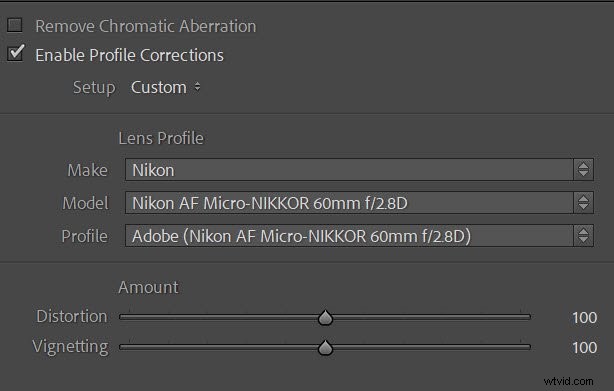
If Lightroom offers a profile matching your lens’s make and model – and it almost certainly will! – the profile corrections will be applied automatically.
I’d also recommend checking Remove Chromatic Aberration, which will get rid of unwanted fringing and is always a good idea.
Step 4: Make sure the Basic panel is ready to go
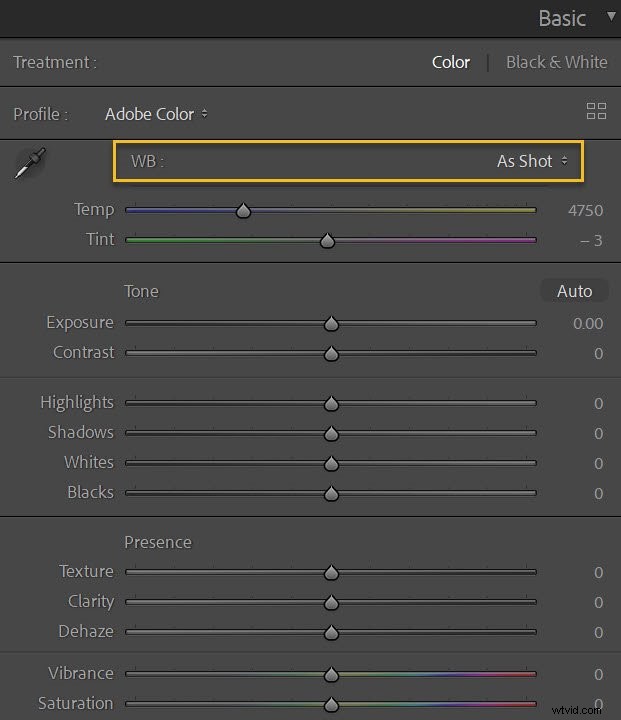
Now it’s time to look at the Basic panel. Make sure the white balance is set to As Shot:
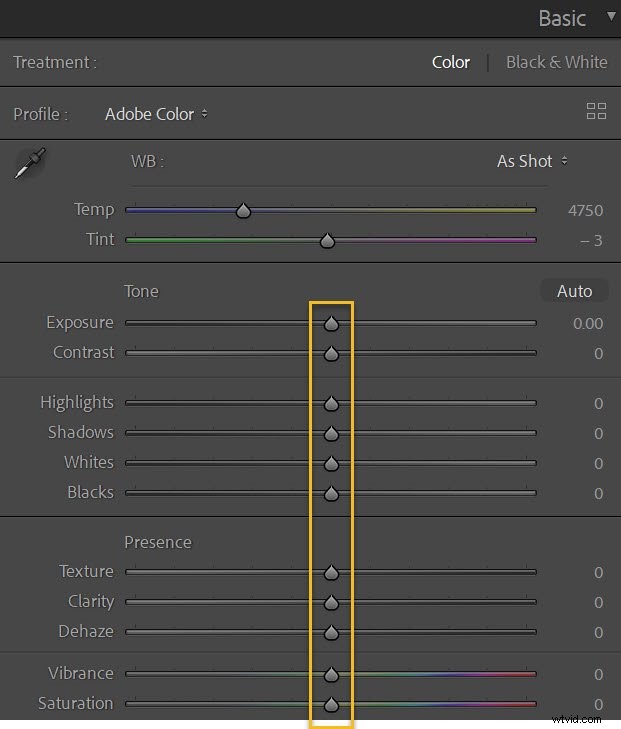
And make sure all the other sliders are zeroed:
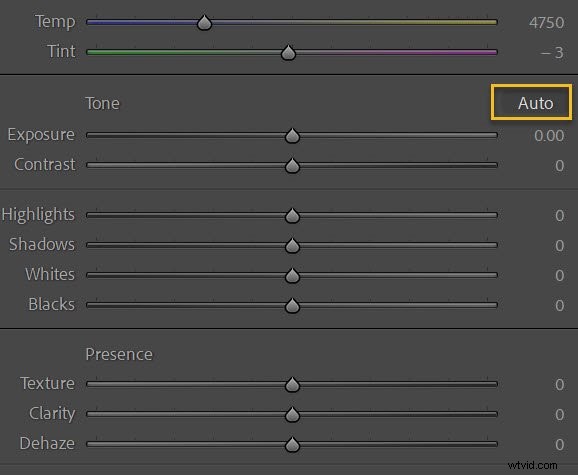
If you’re a fan of Lightroom’s automatic settings, you can hit the Auto button. This will automatically set the exposure, contrast, highlights, shadows, whites, and blacks, along with the vibrance and saturation. I don’t do this myself, but if it’s helpful to you, then go ahead and try it!
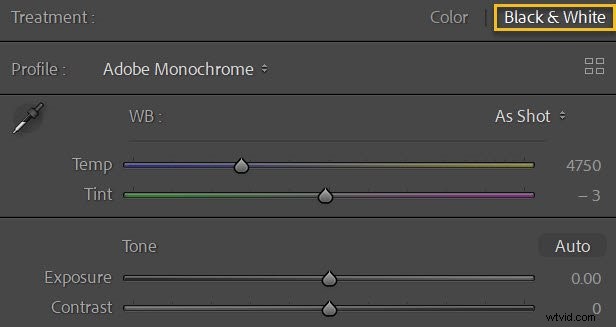
Also, if you shoot a mix of color and black and white, consider creating one preset for color photos and a second preset for black and white shots. Simply set the Treatment to Black and White:
Creating a preset in Lightroom
Now it’s time to actually make a Lightroom preset. The process is extremely simple:
Step 1: Click the Create Preset option
Make sure you’re in the Develop module, then click the Plus icon next to the Presets panel:
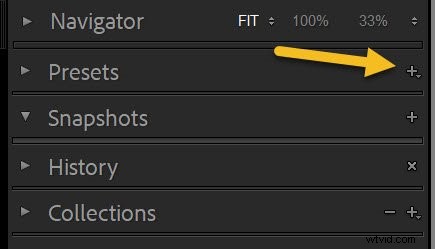
And select Create Preset:

Step 2: Determine which settings should be a part of your preset
The New Develop Preset window should come up:
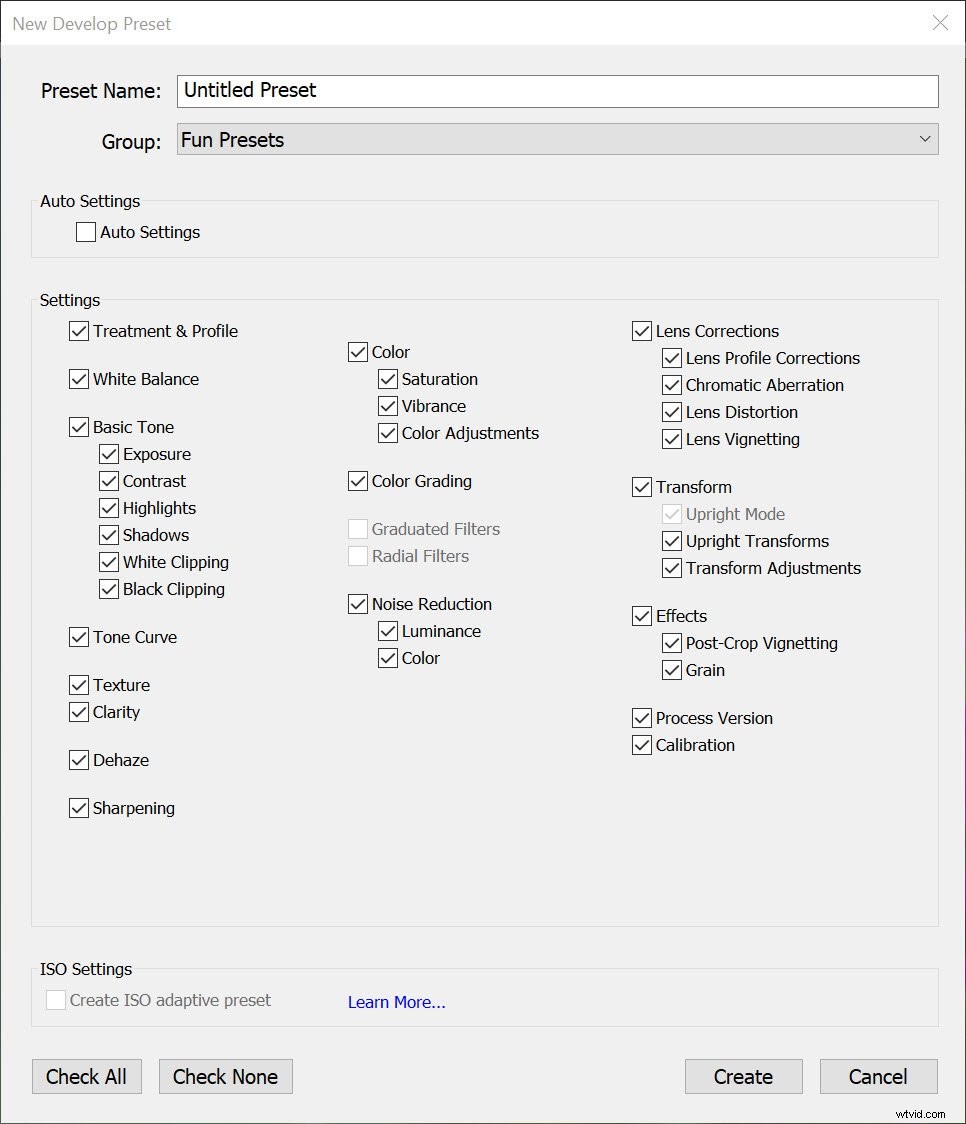
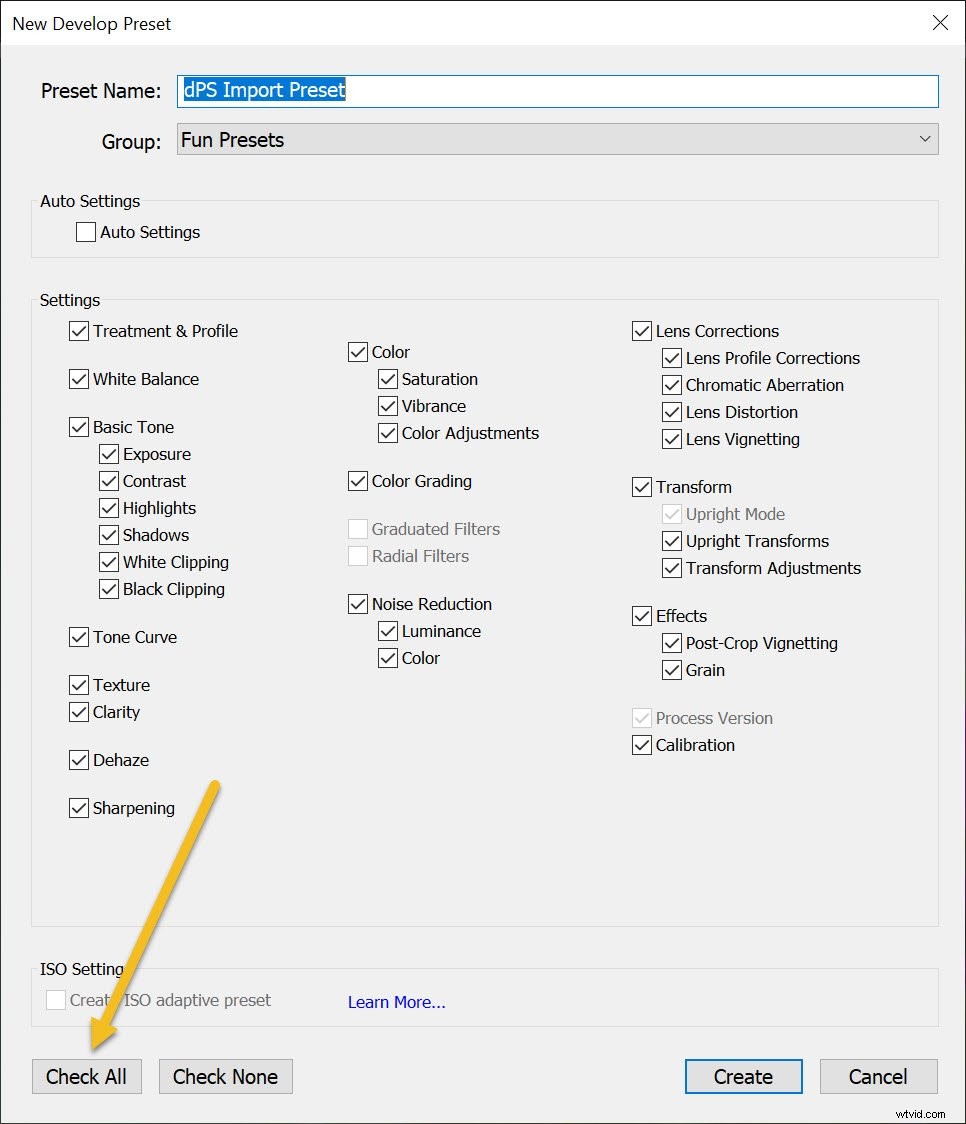
Give your preset a name and select a folder to save it in:

Then select the settings you’d like to save as your preset. Hitting Check All works fine if you’re creating the preset I discussed above – though if you’ve decided to create a more targeted editing preset, you may want to only check certain boxes.
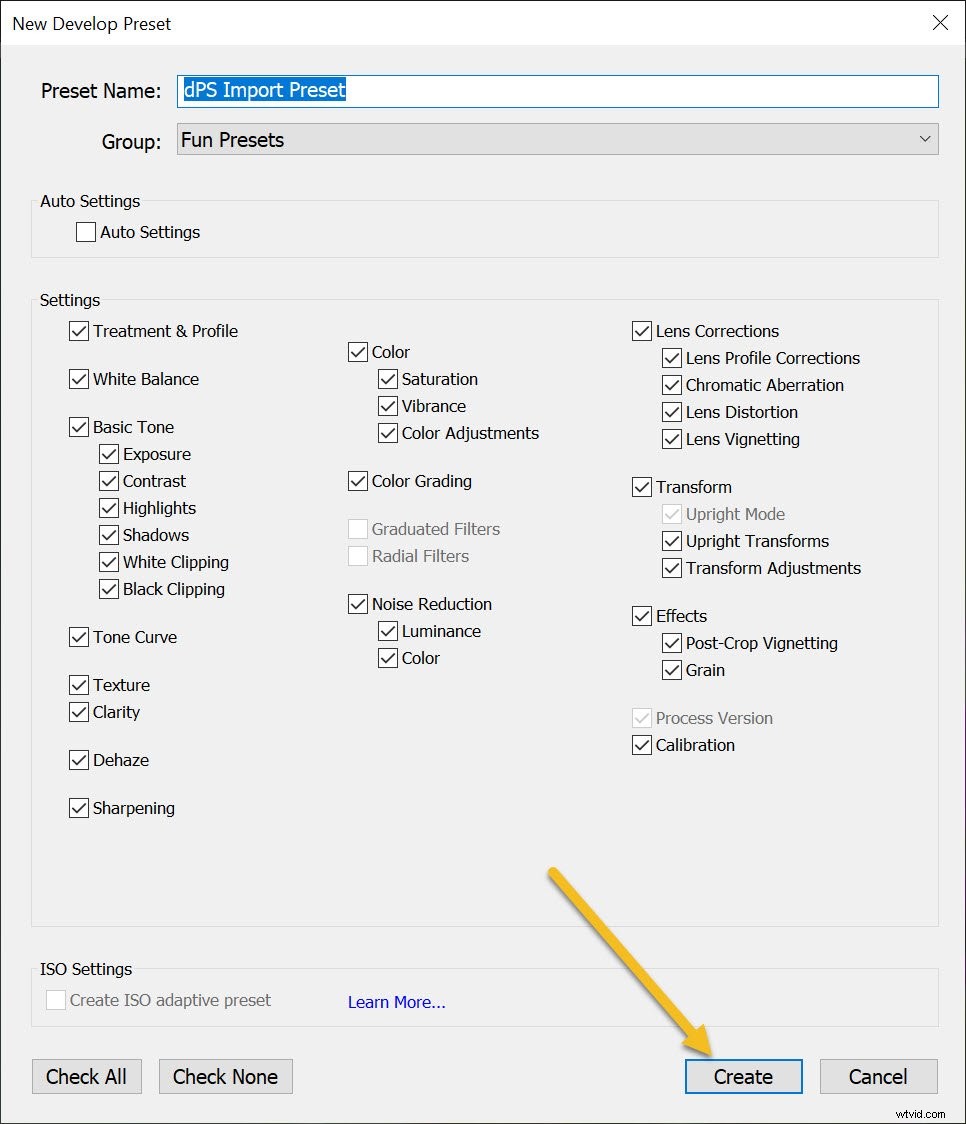
Step 3: Hit Create
Finally, once you’re ready to save your preset, press Create:
And that’s it! It’s a simple process that doesn’t take very long and can save you a lot of time when importing or editing your photos.
Applying presets upon import
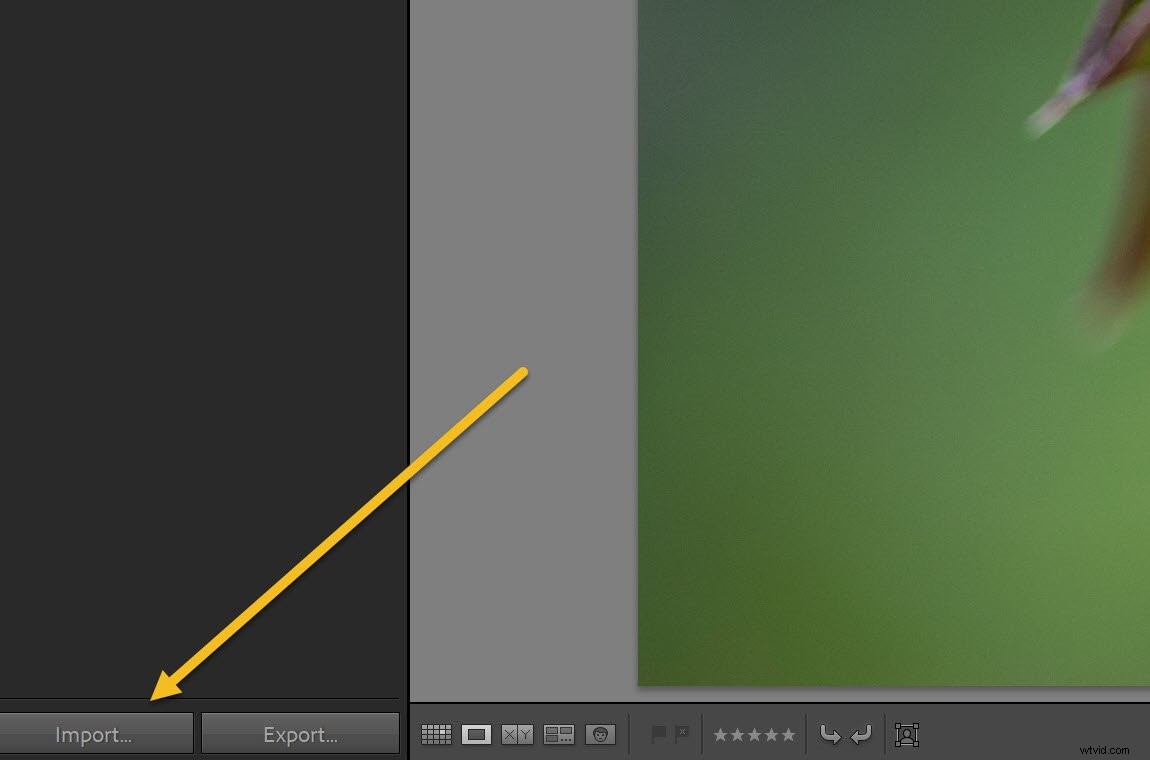
To apply the preset you just created upon importing your photos, launch the Import window:
Then head over to the Apply During Import panel and set the Develop Settings menu to the appropriate preset:
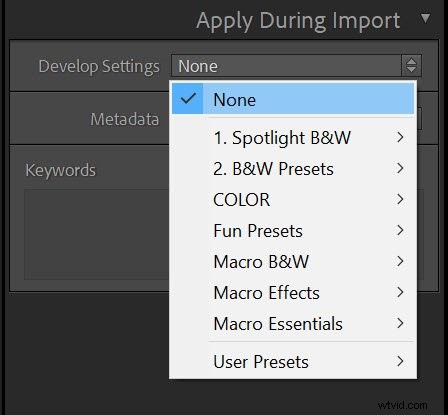
(This is where creating several presets helps saves time, as you can pick the best preset for the photos you are importing.)
Then, when you click the Import button, Lightroom applies the settings from your selected preset!
Adding copyright info
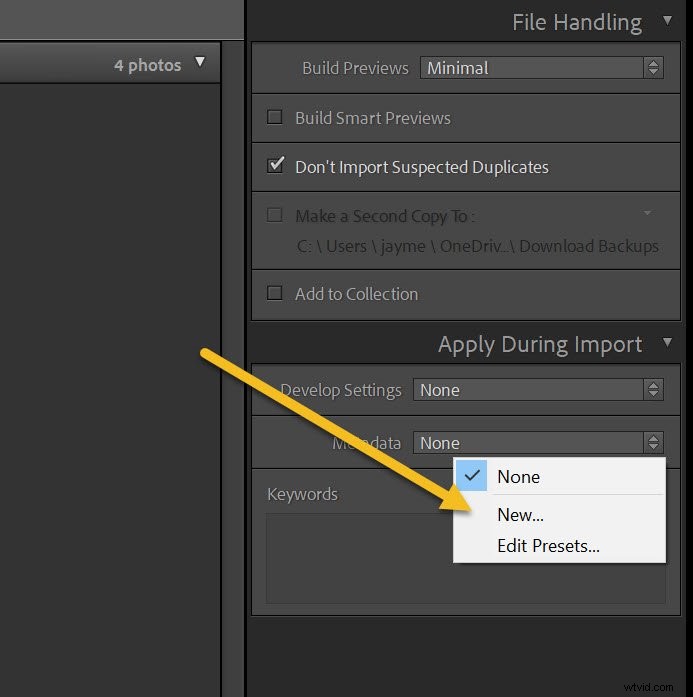
While you’re in the Import window, it’s worth setting up another preset to automatically add copyright information to photo metadata upon import.
So go to the Metadata menu in the Apply During Import panel and select New.
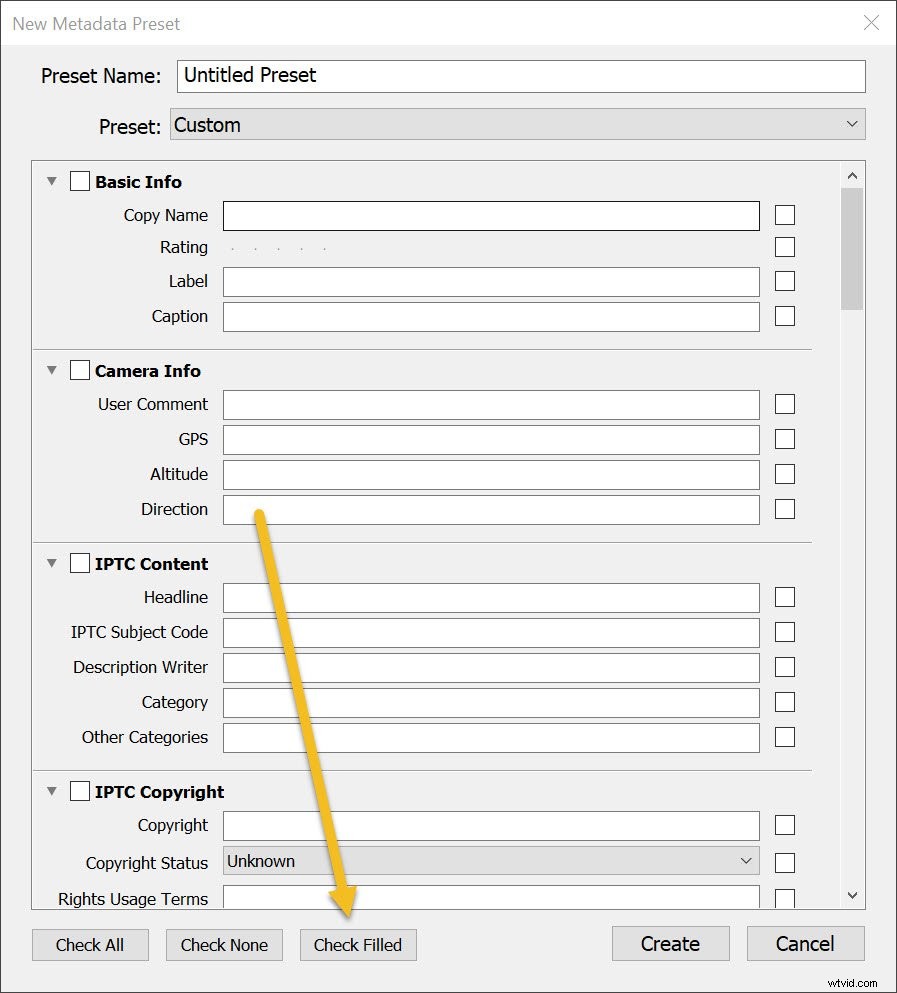
Lightroom will open the New Metadata Preset window, where you can add information such as your name and copyright details:
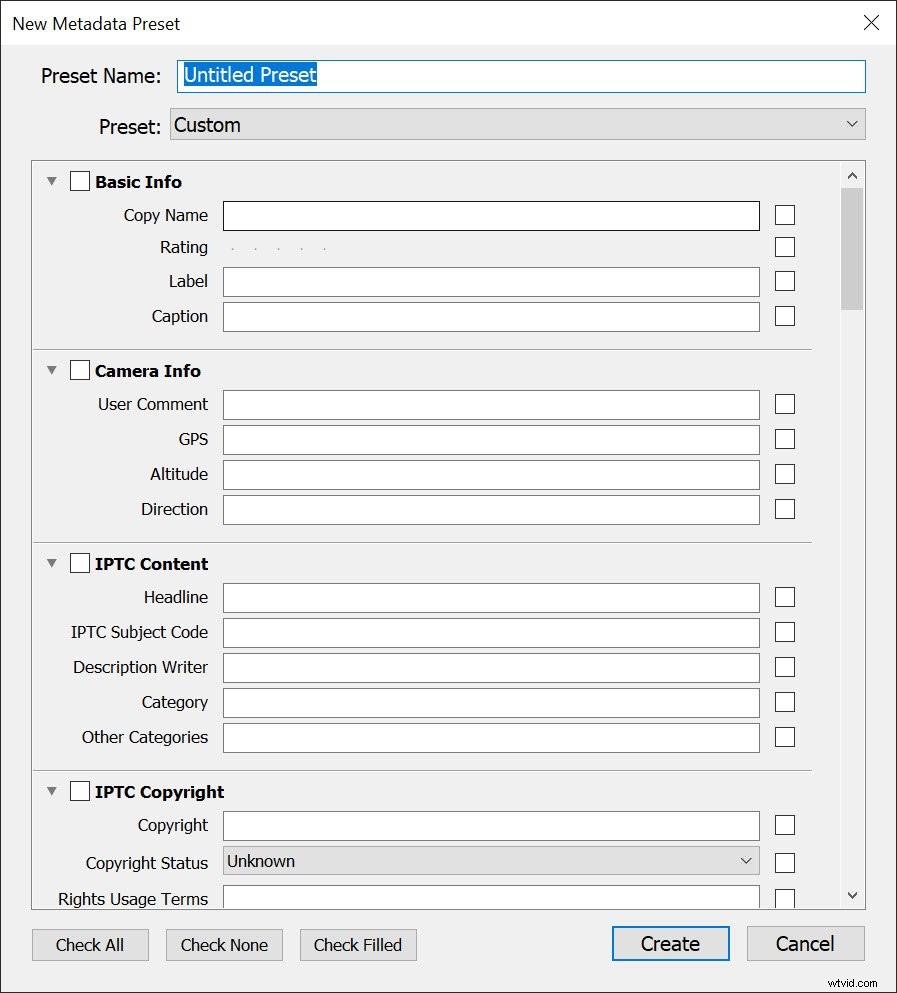
So give the preset a name, then click the Check Filled button (so the relevant boxes are checked as you go along):
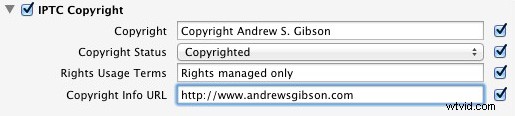
Under IPTC Copyright, set Copyright Status to Copyrighted and fill in the other fields appropriately (my entries are shown below).
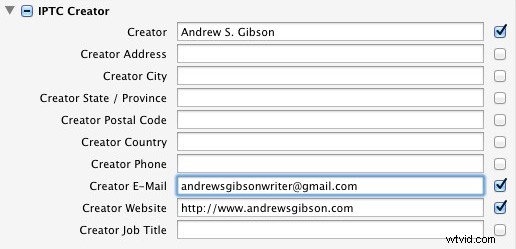
Under IPTC Creator, add your name, website, email address, and any other appropriate details. Personally, I leave out my address – I move around a lot so it’s constantly changing (plus identity theft is a risk).
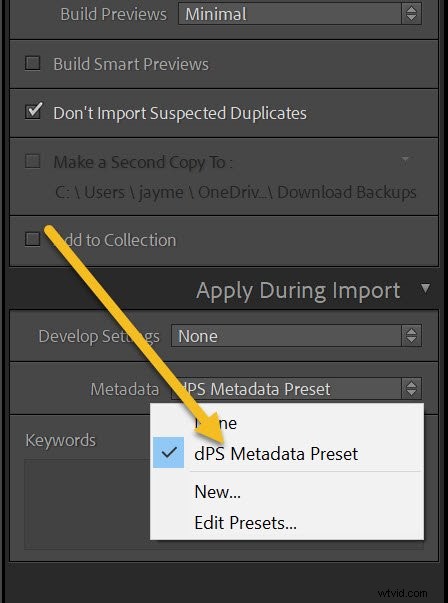
Click Done when you’re finished. Then, when you import photos, simply select the preset from the Metadata menu:
How to create your own Lightroom presets: your turn
Hopefully, you’re now ready to create Lightroom presets of your own (and you have some ideas for useful presets).
That way, you can save time and speed up your workflow!
Now over to you:
What kind of presets do you plan to create? How do you plan to use them on your photos? Share your thoughts in the comments below!
The Mastering Lightroom Collection
My Mastering Lightroom ebooks will help you get the most out of Lightroom. They cover every aspect of the software – from the Library module to creating beautiful images in the Develop module. Click the link to learn more or buy!