In April of 2018, Adobe took a much-anticipated advance in the way it allows users to process their images in Lightroom. Beginning with the version 7.3 release of Lightroom Classic (and ACR 10.3) Adobe now offers the use of something called “Adobe Profiles” as well as “Creative Profiles”.
For us photo nerds, this is a BIG deal.
Image courtesy Adobe Blog https://theblog.adobe.com/april-lightroom-adobe-camera-raw-releases-new-profiles/
But exactly what are these new “profiles” and how can you use them in your everyday image processing? Well, sit back and relax because I’m about to tell you all about the brand new creative profile section in Lightroom Classic. If you can’t tell…I’m really excited about this!
What are Creative Profiles?
Before we go too far it’s important to note that you’ve probably used profiles before either in Lightroom or right inside your camera. All those settings in your camera for things like Vivid, Standard, Landscape or Portrait are all considered profiles.
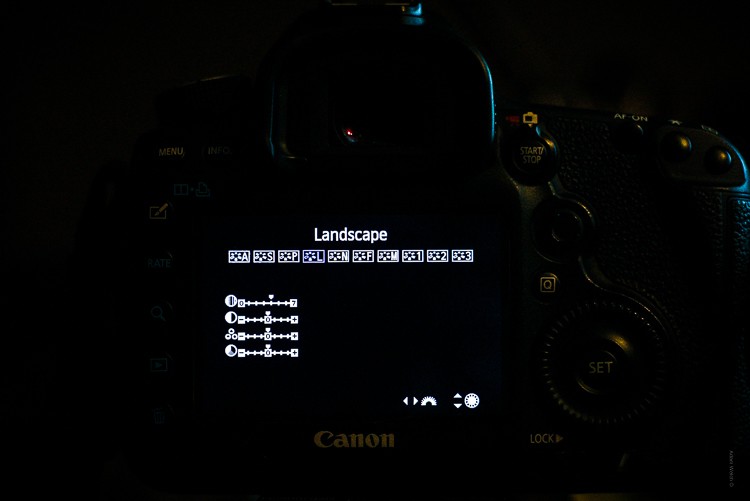
All of those modes found in your camera are just a way that your camera’s tiny internal computer can process your images. When you shoot RAW, those profiles are simply bypassed in favor of more control in your editing later. The new creative profiles in Lightroom Classic work in essentially the same way.
Think of the profiles as ways to “cook” your RAW files while not needing to sacrifice any editing power. Furthermore, Lightroom’s new profile feature harnesses the user-friendliness of develop presets and integrates that creative simplicity with the power and flexibility of what’s called a color LUT (look up table). I won’t go too far into explaining LUTs in this article but just know that they are used extensively to color grade images.
The great thing about the creative profiles is that they allow you to use custom made LUTs in your editing.
How to Use Creative Profiles
Making use of the new profiles feature in your editing is extremely easy. These profiles can be applied just like develop presets…only not. What I mean by this is that a profile is similar to a develop preset in that it instantly performs edits for you with simply a click of the mouse. But this is where the similarity between profiles and presets end.
The difference comes down to how the nature of the profiles and how they apply their edits. Develop presets are simply saved blueprints of adjustment slider settings. This means that develop presets override the current setting of each adjustment slider and set each slider according to the saved value on the preset.
While develop presets are a powerful tool for any workflow, you can still run into trouble when you begin to use multiple develop presets while editing the same image.
Applying Profiles
A creative profile works differently from a preset in that it does not rely on the adjustment sliders to make changes. This means that a profile can be added at any time during your processing workflow without affecting the edits you might have already made. Let me show you.
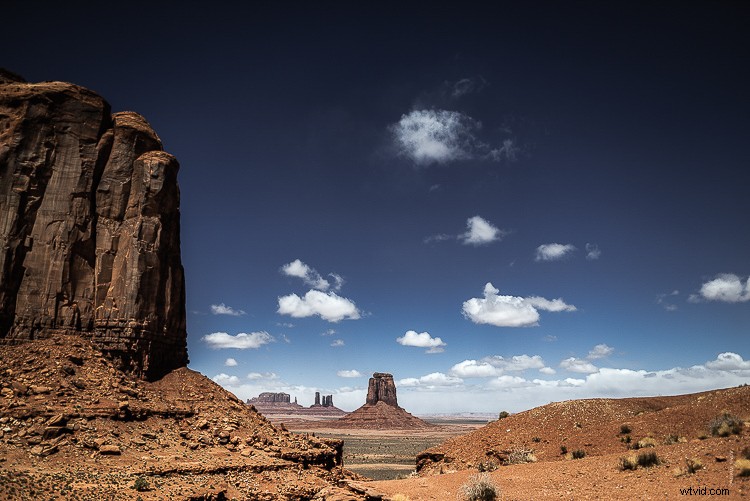
This image has had some basic processing and now I’m going to apply one of my presets.
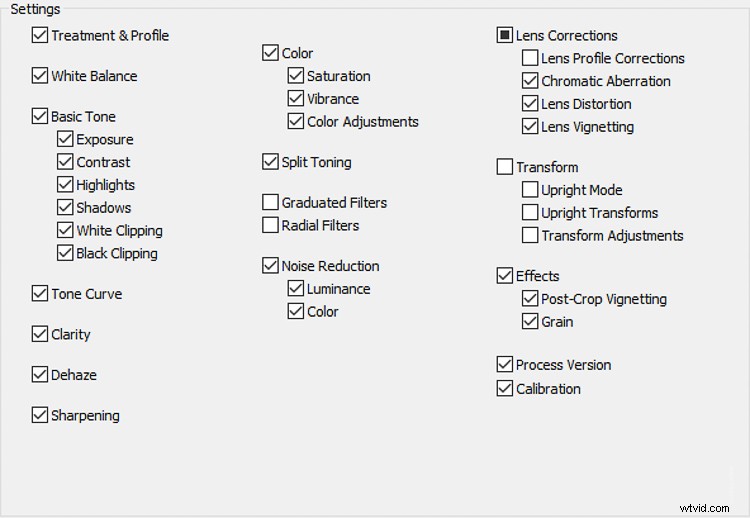
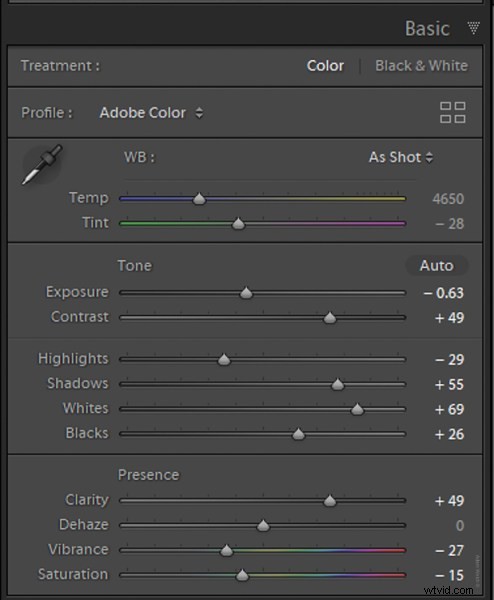
Have a look at the adjustment sliders before…
…and now after the develop preset is applied.
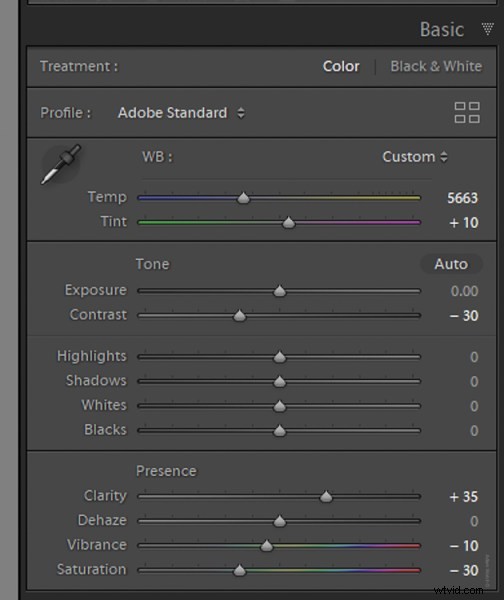
The preset will automatically change the respective sliders that I saved when I made the preset. This can cause some problems especially if you choose to apply the preset at the end of your editing. It can be one big post-processing headache.
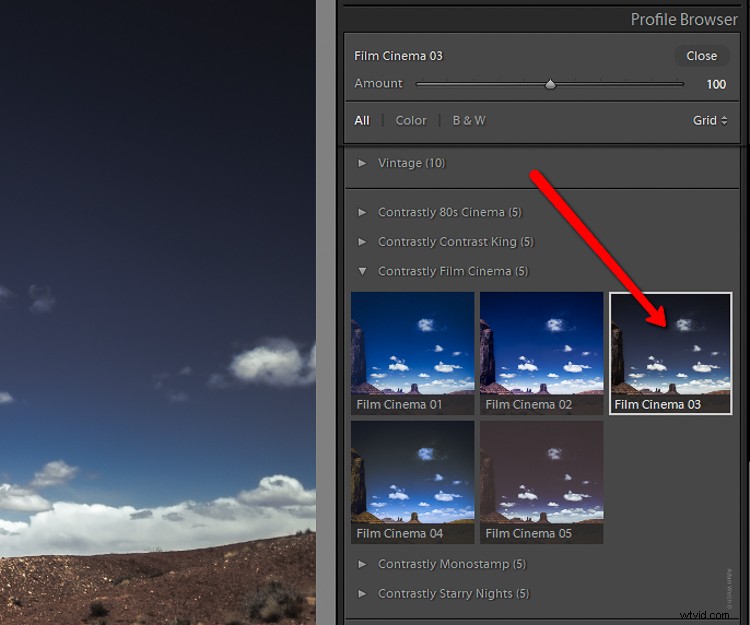
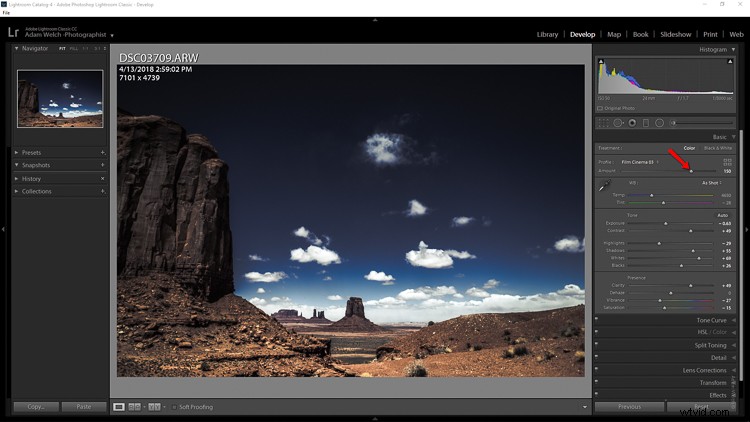
Next, we’re going to take that same image and apply a creative profile.
Just look at the image and the sliders as compared to before we applied the profile. The profile has applied edits without affecting those we already have made.
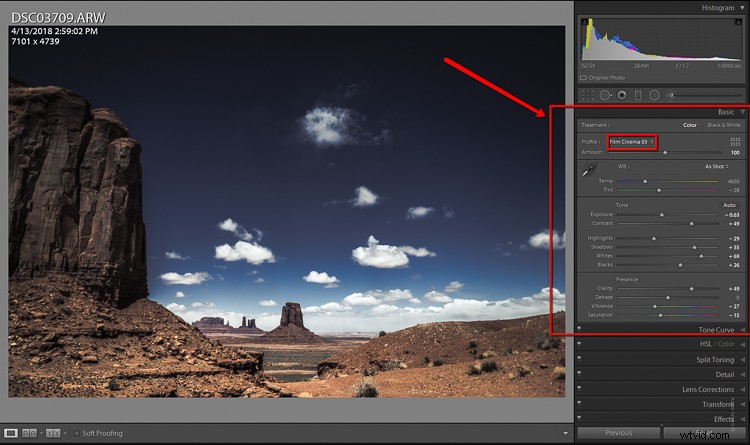
I don’t have to tell you how extraordinarily convenient it is to be able to impart a certain look to the photo without disrupting the things I’ve already adjusted.
Adjusting Profile Density
Not only can profiles be used completely autonomously of the current image adjustments, but you can also control how much of the profile is applied. Think in terms of opacity and intensity.
You can now determine how much or how little of the effect you need and then dial in the desired setting using the amount slider.
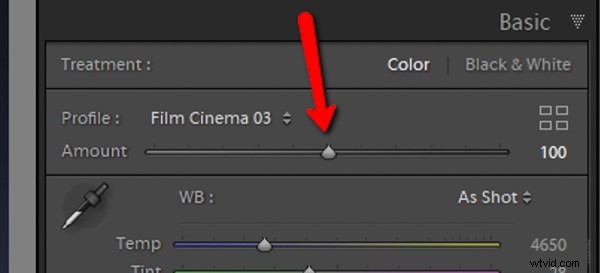
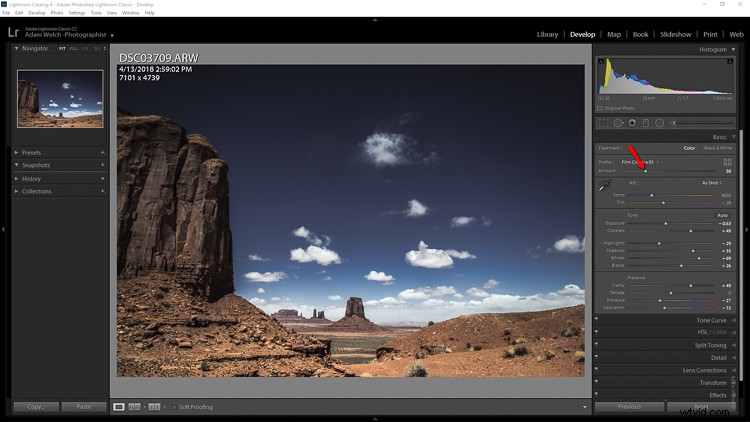
Here’s the profile effect at approximately 75%…
…and now with about 25%
Something to keep in mind when using profiles is that even though they are more flexible than develop presets that doesn’t mean they don’t come without their limitations.
The main one being that you can only apply one profile at a time. So don’t get any ideas of stacking profiles…at least not yet.
Final thoughts on Creative Profiles
I love presets. I love making presets. In fact, a good bit of my work revolves around the developing and constructing of develop presets for Lightroom. So when I say that I love the direction Adobe is heading with the profiles feature in their latest versions of Lightroom Classic CC hopefully you’ll want to give them a try as well.
Profiles are extremely similar to develop presets in that they allow you to perform a lot of processing in the fraction of the time it might normally require. The difference between profiles and presets is not in their outcome but rather in the little detours each one takes to reach the final destination.
Will profiles ever totally replace develop presets? I don’t think so, at least not for a while. And why should they? Like most aspects of photography, each small link in the chain serves to pull together a greater whole; it’s in this way that presets and profiles complement each other.
Once you understand the basics of using Adobe’s new creative profiles each one of them will serve you extremely well. As always, use presets and profiles up to and never beyond the point of your own creative vision for your images. Less is usually more. Have fun and enjoy shooting!