In their release of Lightroom 6.6 (or CC 2015.6 if you are using the Creative Cloud subscription package), Adobe added a feature, allowing us photographers to straighten our images even easier than before.
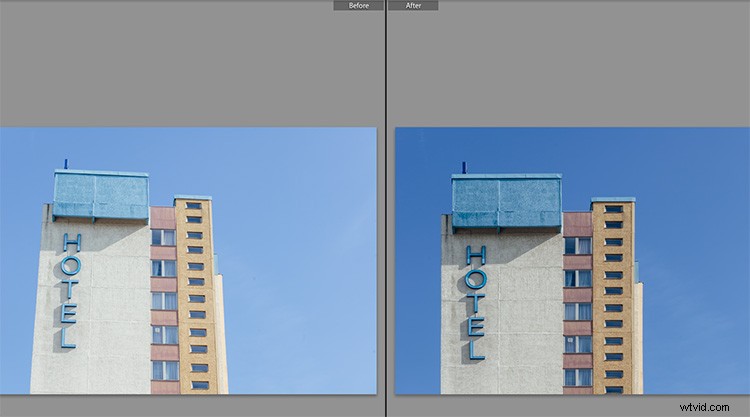
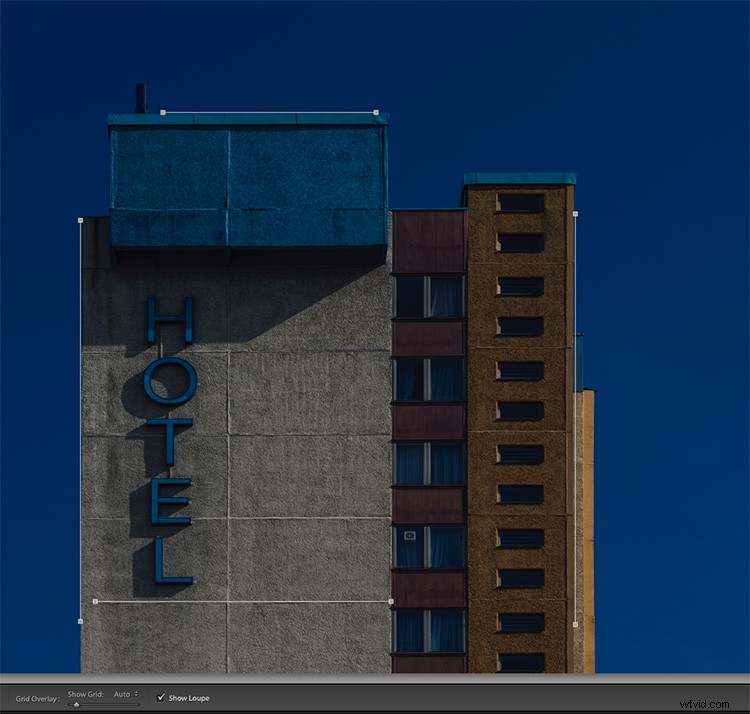
The image above is a typical example of a photo that can use some straightening. A tall building, shot from the ground, will always look tilted or skewed (unless you have the budget to buy a tilt-shift lens, designed to overcome these issues right in camera).
Lightroom’s Transform Section
For these purposes, Adobe Lightroom had already offered an Upright feature within the Lens Corrections tab in its Develop module. In version 6.6/CC 2015.6, this feature was extended, and is now in its own section called Transform.
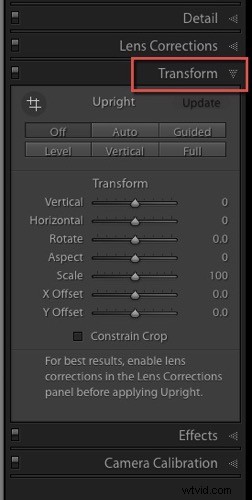
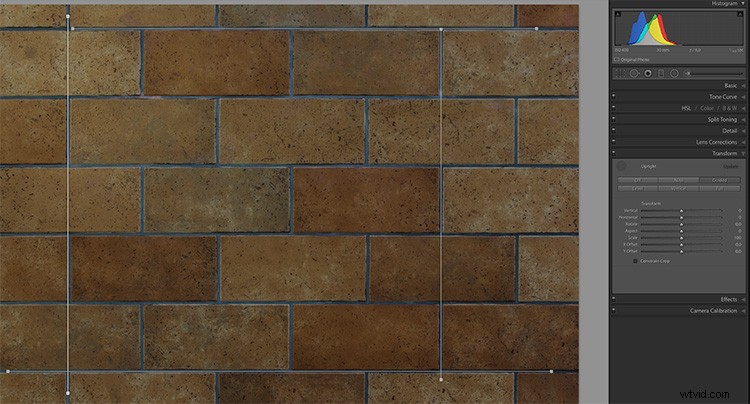
In the Transform section, some of the known Upright features from the old Manual section can be found again. The image shown below is a good and easy sample to test the new features. I shot it slightly tilted against the wall, and there is also a slight barrel distortion visible, due to the mild wide angle lens used.
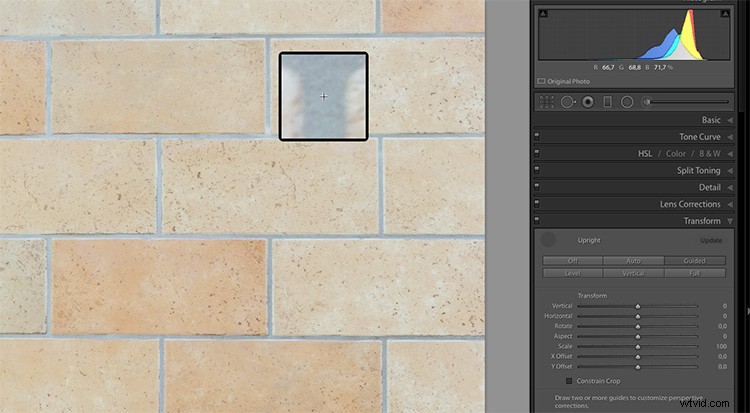
Most interesting for us is the Guided button, that allows us to show Lightroom which lines we want to have straightened. When you click on this button, Lightroom allows you to draw lines on the image, that show the software where and how you think your image is supposed to look straight.
When you turn on the Show Loupe checkbox below the image (if you don’t see that on your screen hit T on your keyboard to toggle the toolbar), you can now move the mouse over the image, and Lightroom will close in on the details you are hovering over. This can help you find the perfect spots to click on, and make your lines.
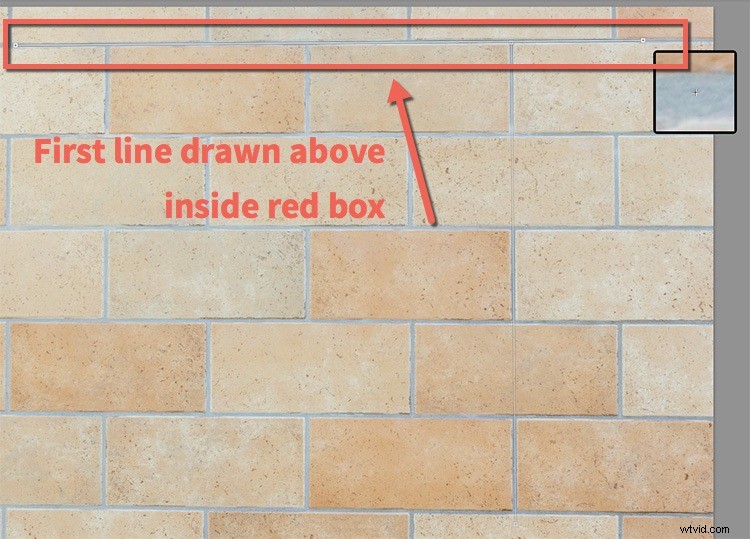
The first click (click and hold it down) starts a new line that now moves along with your mouse. Move the line to a second spot in the image (and let go of the mouse) and Lightroom will have drawn the first line. You can click on both of the endpoints of this line if you want to correct it.
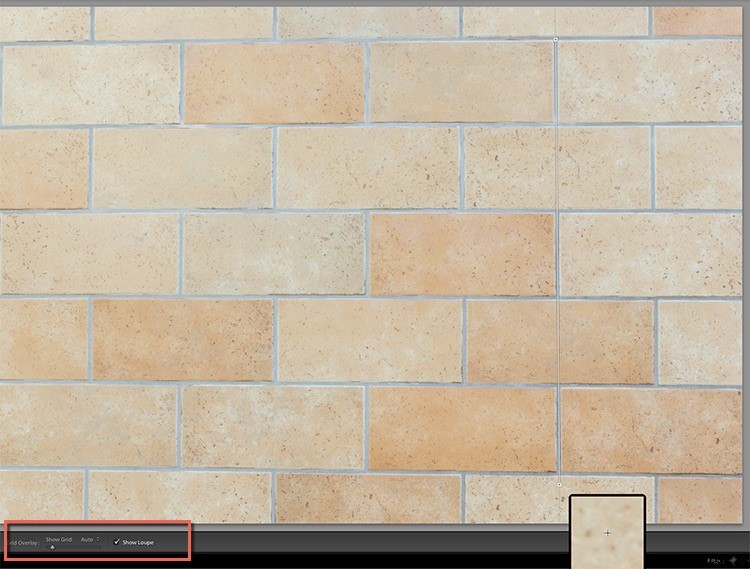
As soon as you draw a second line, Lightroom starts correcting the image. The best way to use this tool is to draw one vertical, and one horizontal line at the start. You may notice the improvement already in this but if you look closely, not all of the tilt, nor the distortion, has been corrected yet.
You can then draw two more lines (it accepts up to four guide lines in total) to help Lightroom catch the last perspective issues and resolve them.
Bonus tip: To make the lines more visible, I have temporarily reduced the Exposure value for the image, as you may notice in the last image (above). As the lines are thin and white, I found it easier to use when I darkened the photo to allow for good contrast with the tool.
Example image – correct a building tilt
Now, I will show you how I used the guides in the architectural image I showed on top of this article. Once again I have lowered the exposure to show the lines. As you can see, I have used two vertical and two horizontal lines, each of them way off the center of the image, to get the best results of this feature.
Finally, you might want to use the sliders to change the Aspect, Scale and the X and Y Offset to compensate for the changes in perspective that might turn the objects in your image into looking slightly wider or slimmer form, than would be seen in real life.
Additional tool tips for using Guided Upright
Adobe found the Guided Upright tool to be valuable enough to define a keyboard short cut for it. Shift-T will bring you to this tool directly from either the Develop module or even from the Library.
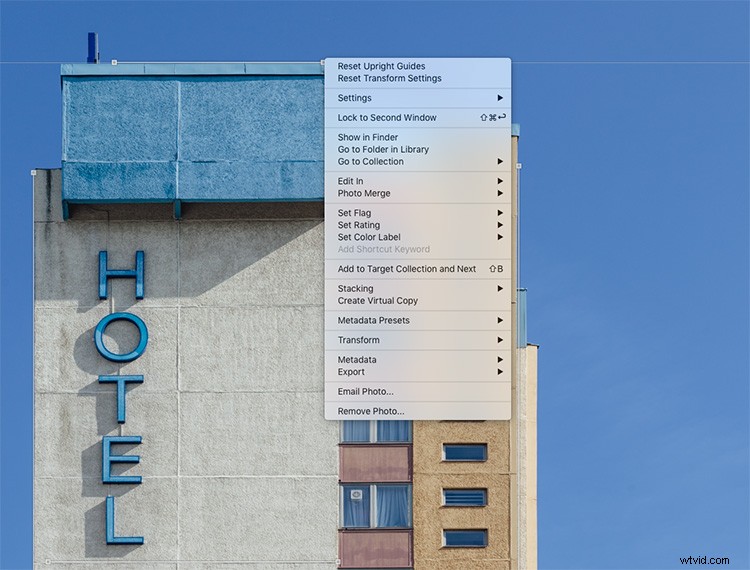
If you ever wish to reset the upright guides, or the whole Transform section, you can right-click into the image while using this tool. Lightroom will show two settings on top of the context menu offering you the option to reset the guides only, or all Transform settings.
Do you shoot architecture? Has this been a feature you’ve found useful? How have you applied it to your images? Let us know in the comments below. If you have any questions post them there as well.