Of course, I always like to get the photo as perfect as possible, right in the camera. But, sometimes the situation just doesn’t allow for a lot of adjustments to be made before the opportunity is lost. Today’s image of a Canadian Lynx kitten was one of those situations.
The kitten was in a forest on a bright sunny day with mottled light, pretty much nightmare’ish light. Fill flash would have helped, but I’m hesitant to use fill flash with most mammalian critters because the flash will often show off hairs that our eyes don’t normally see, thereby rendering an artificial appearance to the critter. So, instead, I attempted to expose for the highlights, trusting and hoping that my RAW files (later converted to Adobe’s DNG format) would help save the day when I got around to processing the image. Today, is that day.
Processing an Image in Lightroom 5
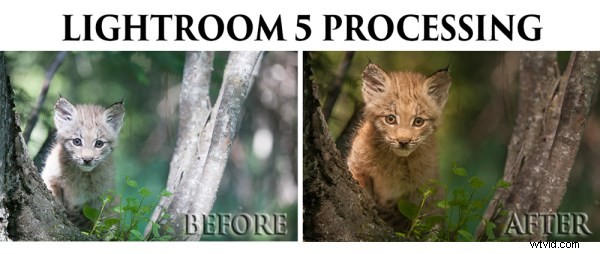
So here is a video tutorial on using the features in Lightroom 5 to change a photo that started off looking like this . . .
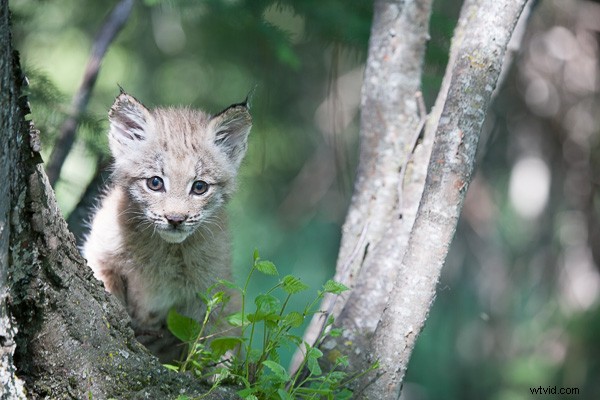
Before Lightroom Processing
. . . into a photo that looks like this!
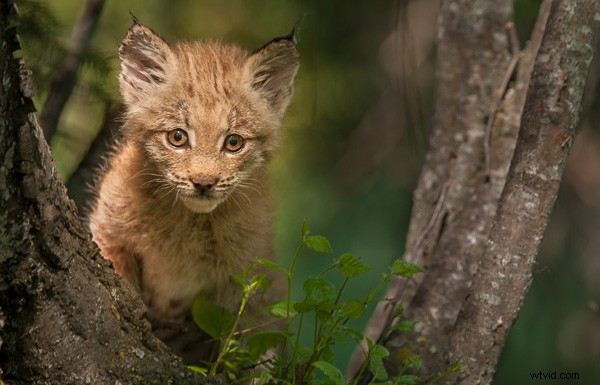
After processing in Lightroom 5 – Horizontal Crop
OR even this . . .
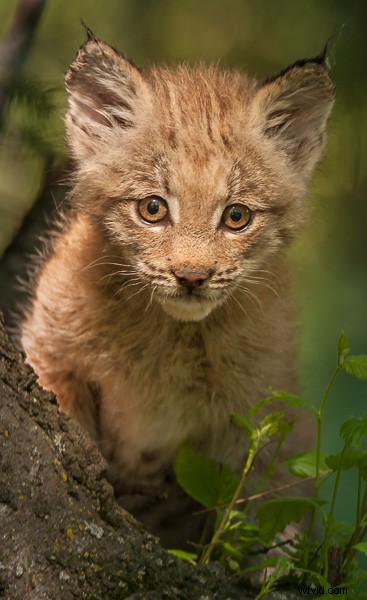
After Lightroom Processing – Vertical Crop
To accomplish this we’ll make use of the Crop tool, the Basic Adjustment Panel, the Adjustment Brush, the Radial Filter, the Detail (Sharpening) Panel and the Virtual Copy feature.
We’ll take the photo of the Canadian Lynx kitten that started off pretty bland and forgettable, and end up with a nice looking, intimate portrait of a beautiful cat. The video will cost you about 30 minutes of your life to watch through from beginning to end, but when you’re done, you’ll have an excellent idea on how to use these tools that come embedded in Lightroom to transform (or save) some of your own, less than stellar images.
Enjoy this video on processing an image in Lightroom 5
For more Lightroom tips try these articles:
- 3 Uses for the Radial Filter Tool in Lightroom 5
- Lightroom 5 Tips – Hidden Gems
- Lightroom Tips for the Develop Module – the Magic Alt Key
- Comparing Images with Lightroom 5’s Survey View