Introduction
This tutorial is a demonstration of the SLR Lounge Lightroom 4 Preset System. With over 200 presets, the LR4 Preset System has been critically acclaimed as the most powerful and intuitive preset system available for Lightroom 4. DPS users can get 10% off by using the DPS10 coupon code upon checkout. Click the link above to learn more/purchase.
Overview
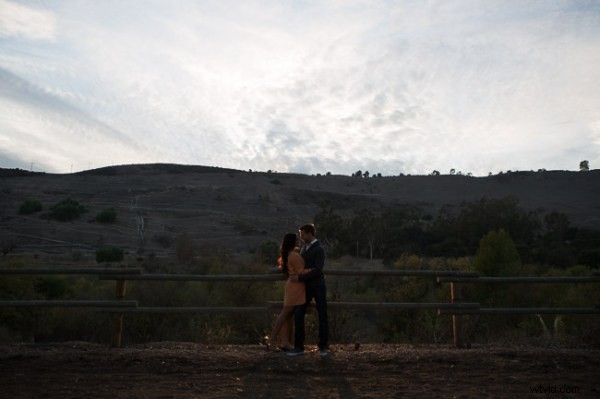
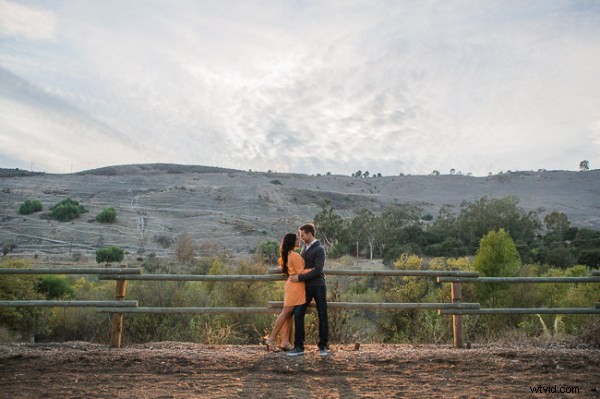
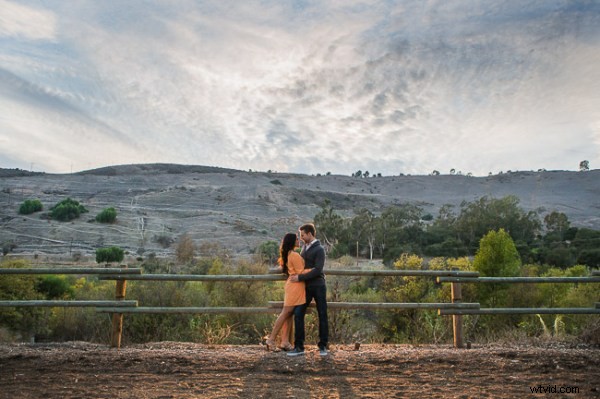
Often times when shooting environmental portraits we “expose to the right”, meaning we are pushing our highlights to the right of the histogram without blowing out too much of our highlights, or clipping too much of our shadows. Depending on the type of scene, this can lead to what looks like an underexposed image directly out of the camera since we are trying to preserve the majority of our highlight detail. However, since most of the range in the highlights and shadows are still retained, we can bring it out through post production. In this step-by-step tutorial, we will demonstrate how to not only correct the exposure in this type of portrait, but also how to increase its dynamic range.
Lightroom 4 Preset System Mixology
This effect can be achieved quickly in under a minute with the SLR Lounge Lightroom 4 Preset System, If you don’t own the preset system, please skip to Step 1 to learn how to do it manually.
1. MY MIXOLOGY > 25 HDR Strong
2. BASE ADJUSTMENTS > 23 Light Soften Skin (Detail)
3. BASE ADJUSTMENTS > 34 Medium Boost (Contrast)
4. BASE ADJUSTMENTS > 62 Light Noise Reduction (Noise Reduction)
5. Add +.30 Exposure
6. 13 Nature | Color Adjustment Brush
7. 12 Sky | Cloud | Ocean Adjustment Brush
The Original Image
Step 1. Applying our Basic Adjustments
What we usually recommend when working in Lightroom is to work your way down the Develop Module Panels starting from the Basic Adjustment Panel.
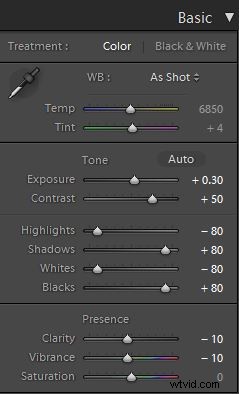
Because the image is underexposed, one of the first steps that we need to do is to correct the exposure by adding +0.30 stop to Exposure. In order to increase the dynamic range, we are also going to bring down the Highlights and Whites by -80 and lift up the Shadows and Blacks by +80. When applying this technique to your own photos, you may be better off dialing in your Highlights, Whites, Shadows and Blacks and then adjusting the Exposure as necessary.
At the same time, when we increase the dynamic range, the contrast flattens out, so we do need to add Contrast to compensate.
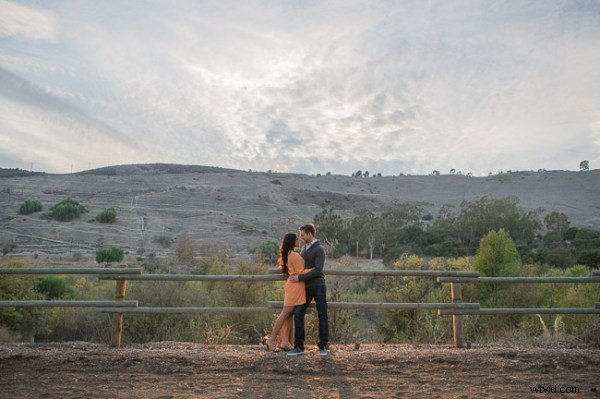
Because we are working with a portrait, we want to have nice, smooth skin tone that is not overly saturated, so let’s decrease Clarity and Vibrance by -10. Your Basic Panel adjustment and image should look like the following:
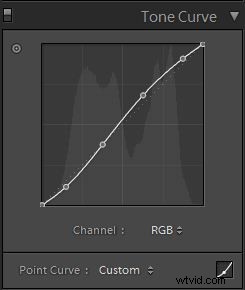
Step 2. Adding Additional Contrast via Curves
The image can still use some more contrast, so let’s add a subtle contrast-boosting “S” curve.
Step 3. Sharpening and Noise Reduction
With the SLR Lounge Preset System, we typically apply the following Sharpening setting to our image:

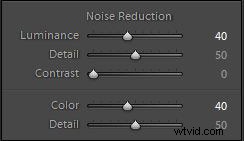
We are also going to add Noise Reduction because we to smooth out any noise that is introduced from the dynamic range boost. We use this setting for Noise Reduction:
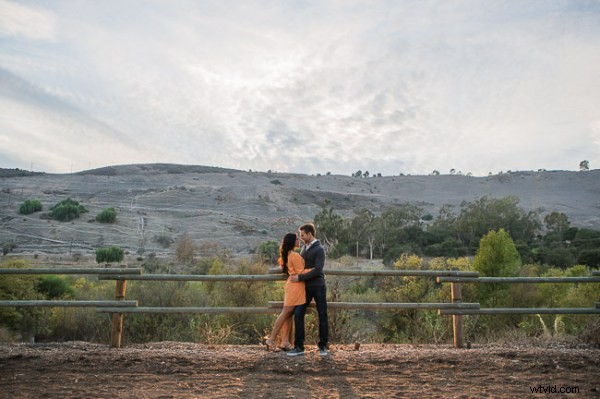
Here is how your image should look like after applying all of these adjustments.
Step 4. Using Adjustment Brushes for Sky and Landscape
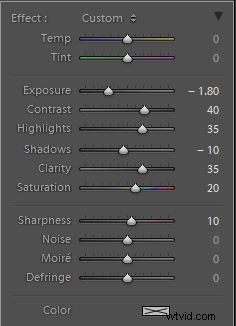
Even though we boosted the dynamic range of this image, the sky is still overblown. The LR4 Preset brush we use for the sky is called “Sky | Cloud | Ocean.” This brush lowers the exposure, highlights, and shadows, and increases contrast, clarity, and saturation in the sky. Here is our settings for this brush.
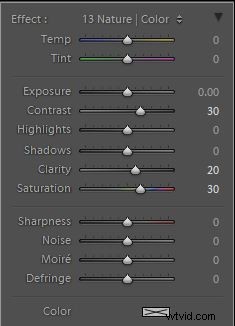
Finally, we want to add more midtone contrast and saturation to the foliage in order to make them pop. Here is how the settings look like for the “Nature | Color” LR4 Preset Brush that we applied to the landscape. This also increases contrast, clarity, and saturation.
Now that all our adjustments have been applied, let’s take a look at the before and after images to compare the original underexposed image against the final image.
ORIGINAL
HIGH DYNAMIC RANGE PORTRAIT
The Lightroom 4 Preset System
The SLR Lounge Lightroom 4 Preset System is designed to enable users to achieve virtually any look and effect within 3-5 simple clicks. From basic color correction, vintage fades, black & white effects, tilt-shift effects, faux HDR, retouching, detail enhancing, and so much more. The sky is the limit with what has been dubbed the most powerful and intuitive preset system available. Click the link above to learn more/purchase.