Venice. It is one of the most enchanting places in the world. There is an old-world charm to this city that endears you to it like no other destination you’ve traveled to.
I spent only 1.5 days in Venice, but took hundreds of photos there. When I came back and started my sorting and editing, it was very important to me to preserve that enchanting look and feel. The shadows and highlights were equally strong. The colors were vibrant and subtle all at the same time. And the textures were diverse and beautiful.
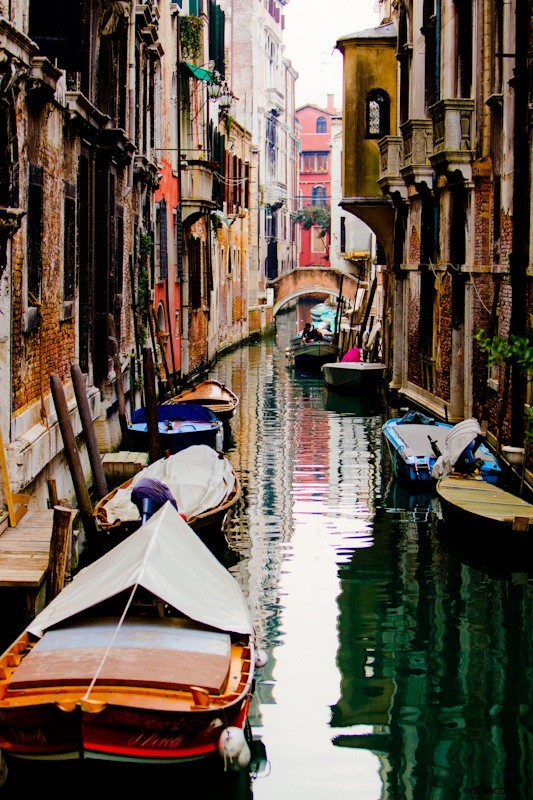
Editing to preserve a look and feel can be very challenging, and it does take time, effort, and care to accomplish. Rather than giving you “tips” to consider while editing your own photos in Adobe Lightroom, I thought it may be productive to walk you through my own process for this particular image – one of my favorites from Venice. Even though it was taken too dark, I do love the composition and storytelling quality. This is the picture I want to represent my take on Venice.
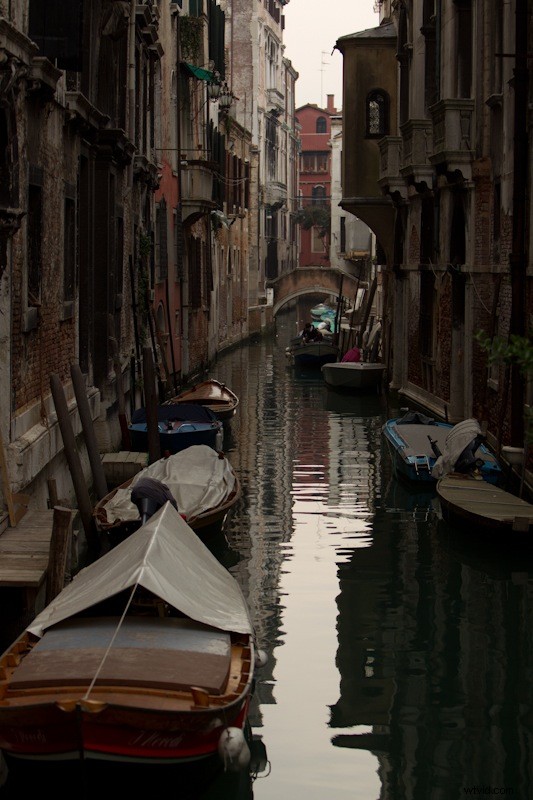
1. Exposure
Always adjust exposure first. Anything else you edit will change based on the exposure settings.
This image is way too dark, so I know it will take a bit to adjust correctly. I want to increase the exposure without losing color in my darks, so I finally settle on the following.
a. Exposure – 1.25
b. Blacks – 16
c. Fill Light – 40
2. Detail Adjustments
I want to be sure to catch detail in the textures, so I’ll increase the recovery a bit. Recovery can tend to flatten the image, so I will also increase brightness and exposure to give a little more depth. I will also decrease the clarity to smooth the lines and add to the etherial feeling.
a. Recovery – 31
b. Brightness to pop: 45
c. Contrast: 73
d. Clarity: -16
3. Exposure Details
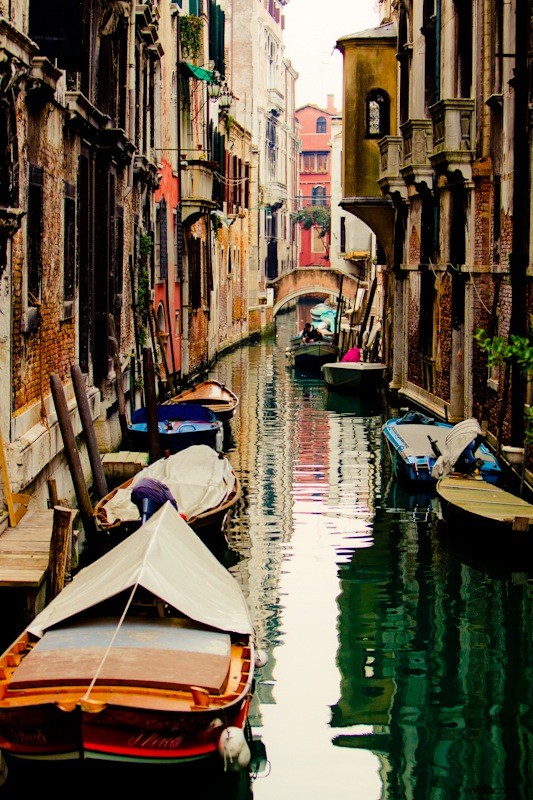
After making my detail adjustments, I find that I want to make a few more modifications to my exposure. To do this I navigate to Lightrooms Tone Curve. I pull up the lights a hair more, and then lift the darks so that my colors aren’t muddy. I do like strong shadows though, so I bring these down significantly.
a. Lights +2
b. Darks +43
c. Shadows -70
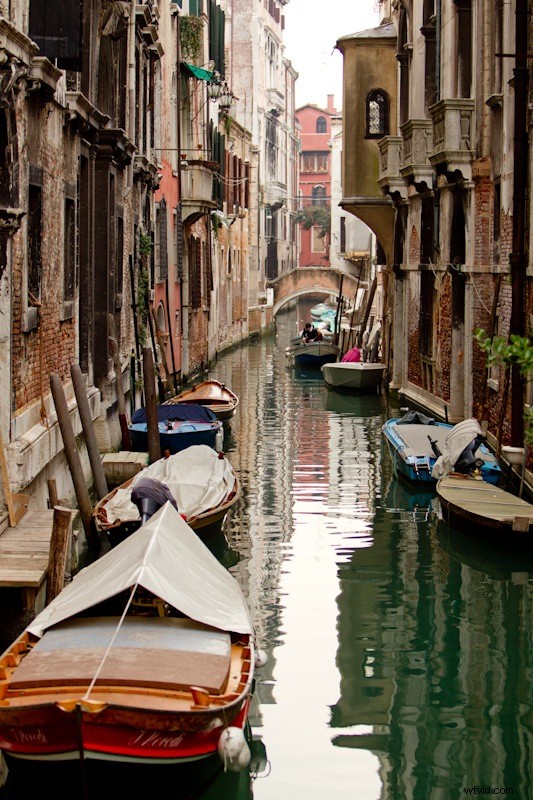
4. Colors
Venice has an old world charm, but it is also full of color. I want to reflect this in my picture. I start with the temperature and general colors first.
a. Temperature: Cooling down to 5523
b. Vibrance +40
c. Saturation: +34
5. Split Toning
I like the strength of the color, but at this point the picture is too cold. I would like some additional warmth, but want to control this based on the highlights and shadows. For this, I play around with the split toning. This gives me the control to balance cool and warm tones.
a. Highlights
– Hue: 57
– Saturation: 31
b. Shadows
– Hue: 55
– Saturation: 0
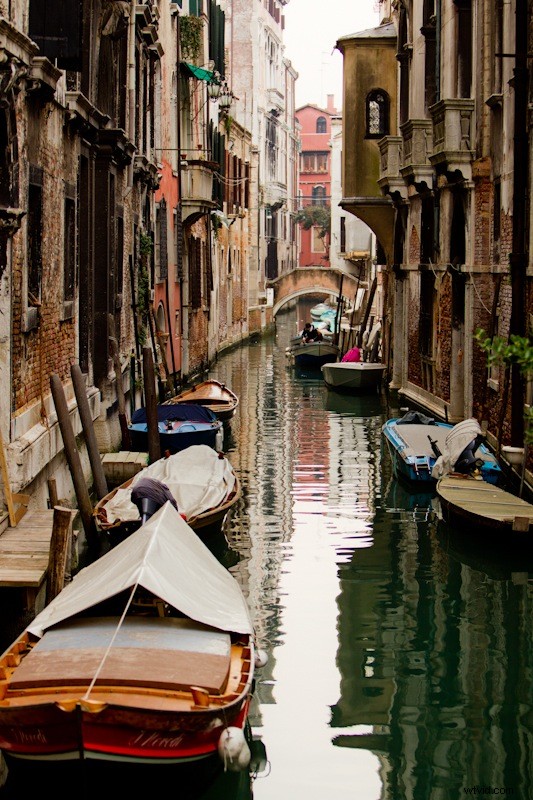
6. Final Details
I know I am close to the final product. But I am still finding too much or too little of some colors. I also want to adjust the quality and depth of the colors. So I will adjust these details in the Hue/Saturation/Luminance tabs.
a. Luminance
– Yellow+9
– Green – 63
– Blues +96
b. Saturation
– Orange+17
– Green – 17
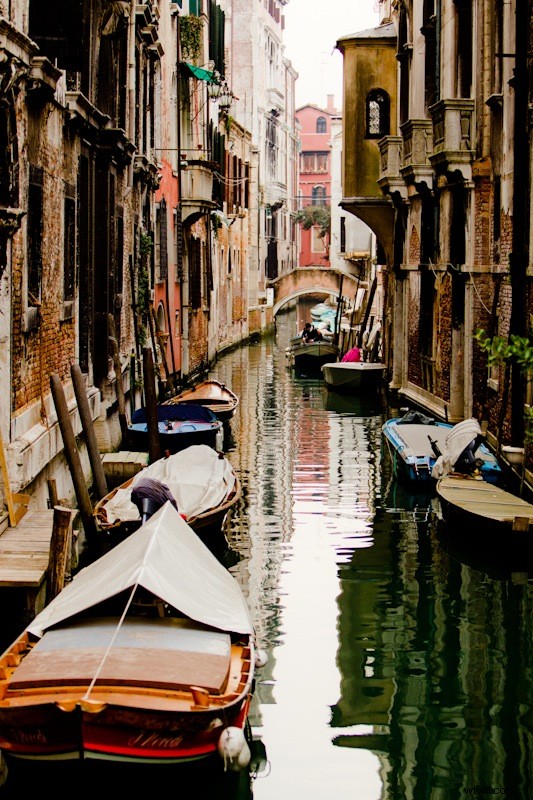
After about an hour of editing, I’m very pleased with this image. I believe it maintains the character and feel of Venice, but I’ve also allowed for some creativity as the artist.
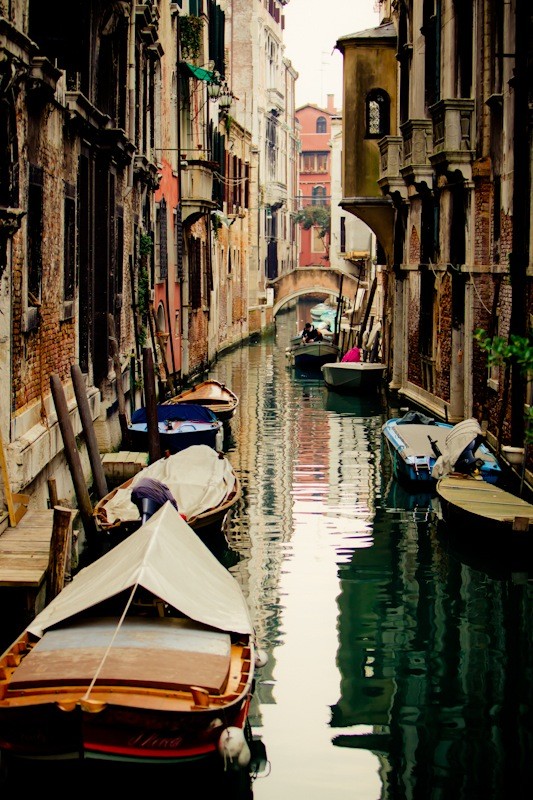
The most important element to remember about editing is this: What is your purpose? You have thousands of editing options at your disposal. To sort them all out, you just need to determine what you want to achieve with the end results.