This tutorial is a lot of fun, transforming photographs into kaleidoscopic wonders, often with surprising results. The resulting kaleidoscope patterns make fantastic desktop backgrounds and wallpapers too.
Remember kaleidoscopes? Those curious tubes with an array of mirrors and colorful beads inside? As a kid, I would while away sunny weekends straining my eye against the viewing aperture, hypnotized by the endless combination of shapes, patterns, and colors. Although I now spend most of my time looking through the viewfinder of a camera, the magic of the kaleidoscope remains in my mind as an early foray into image making.
Step 1 – Setting up the canvas
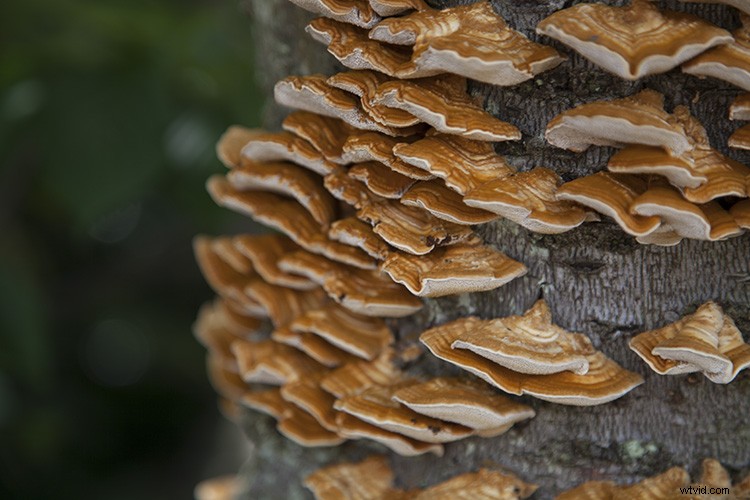
First, select a photograph. I’ve chosen this photograph of some fungi growing on an old tree stump. From my own experimentation I’ve found images with bold, contrasting colors and negative space result in the best kaleidoscopic images.
Once you have selected an image and opened it in Photoshop, right click on the image in the layers panel and select Convert to Smart Object. This will enable you to move the image around the canvas.

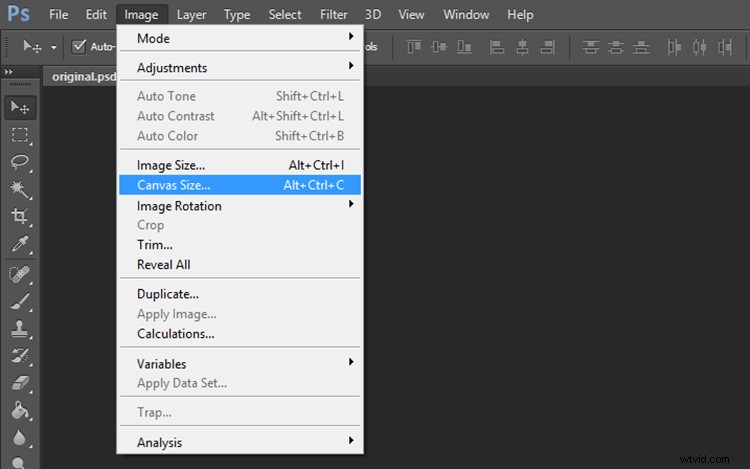
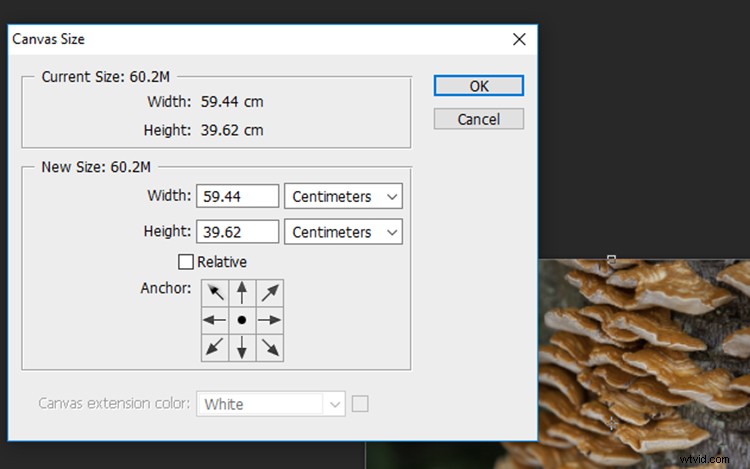
Now we need to add some space around the image. Go to Image > Canvas Size and a window will pop up with the dimensions of your current image.
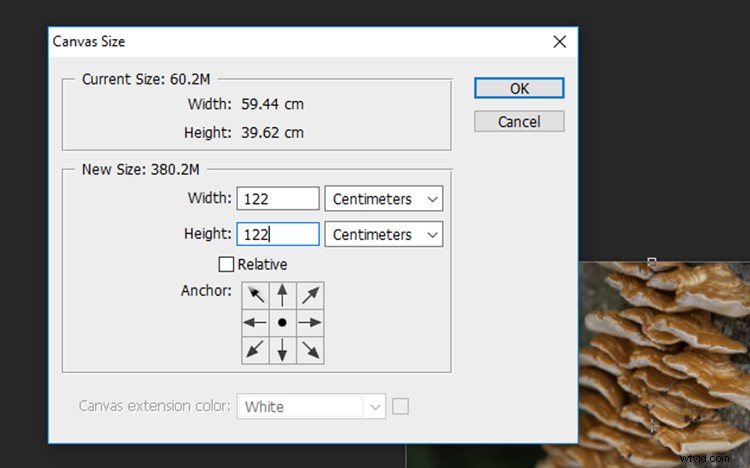
To calculate the dimensions of the canvas, look at the largest side of the image, double that figure and add four. For example, the image I selected was originally 59.44 x 39.62cm so I multiplied 59 by 2 to get 118m then added 4 to get 122. Add the same value to the smaller side of the image so that the canvas will be square. Click OK.
Step 2- Creating the template
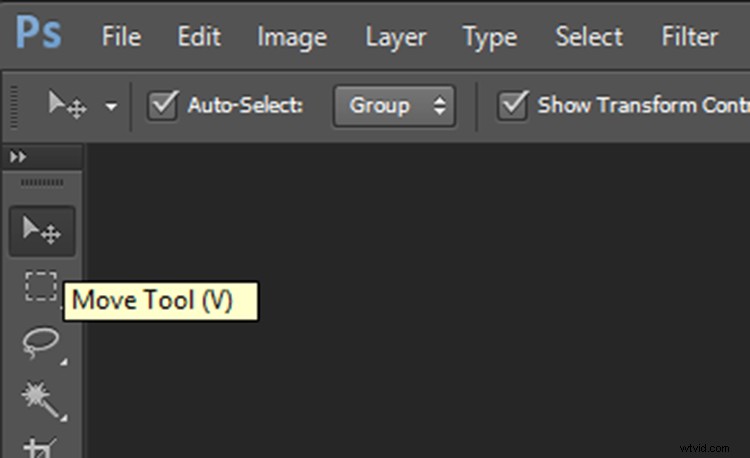
Zoom out so you can view see the entire canvas and select the Move Tool located at the top of the left toolbar.
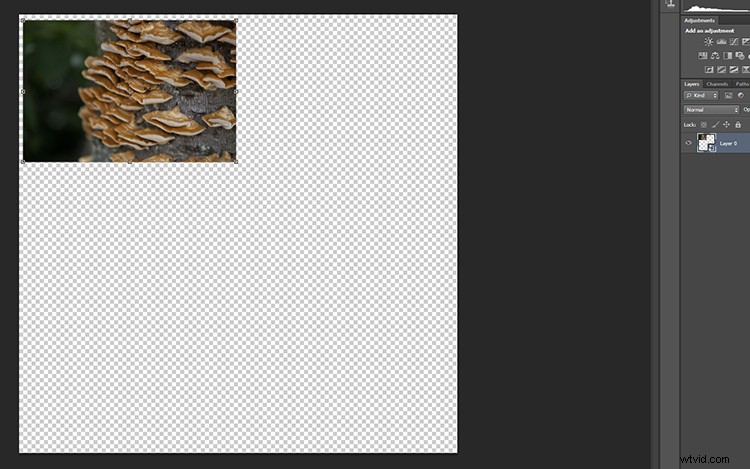
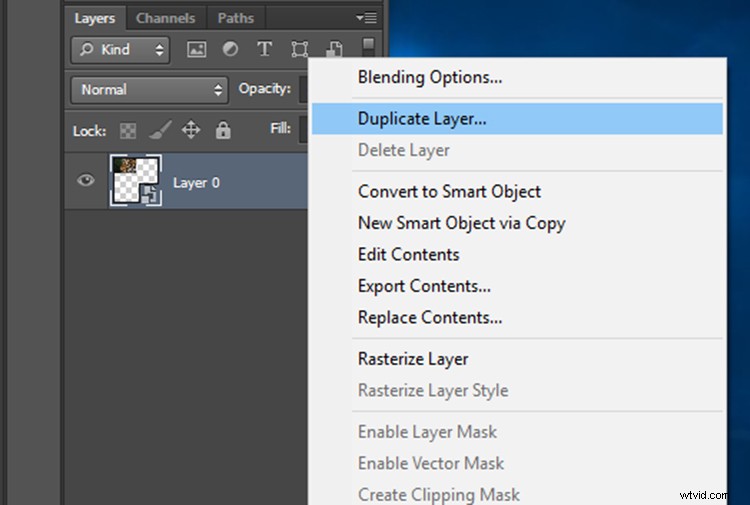
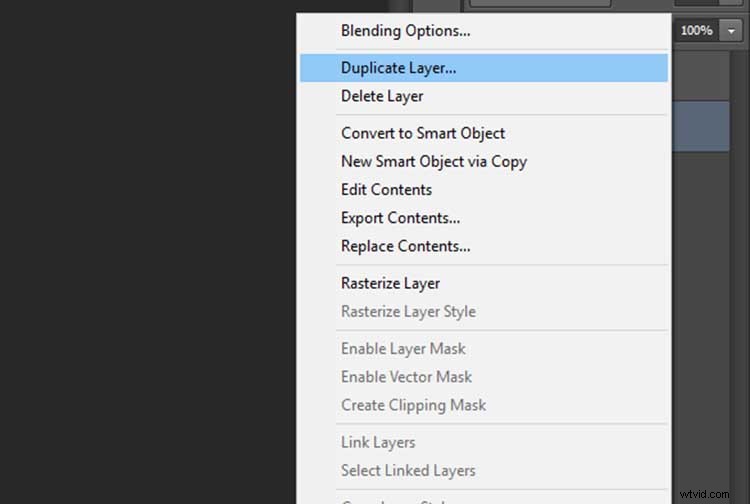
Click on your photograph on the canvas, and with the left mouse button depressed, drag the image to a corner of the canvas. Leave a few centimeters between the image and the edge of the canvas. Don’t worry about making this too exact as we will crop it to more exact proportions later. Now, duplicate this layer by right clicking it in the layers panel and selecting Duplicate Layer (or use the keyboard shortcut Cmd/Ctrl+J).
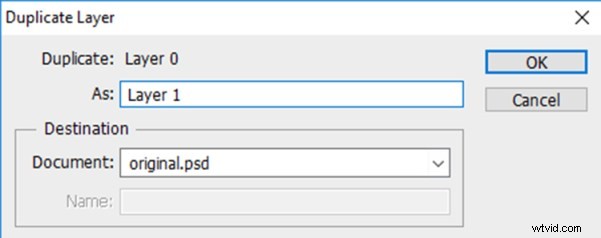
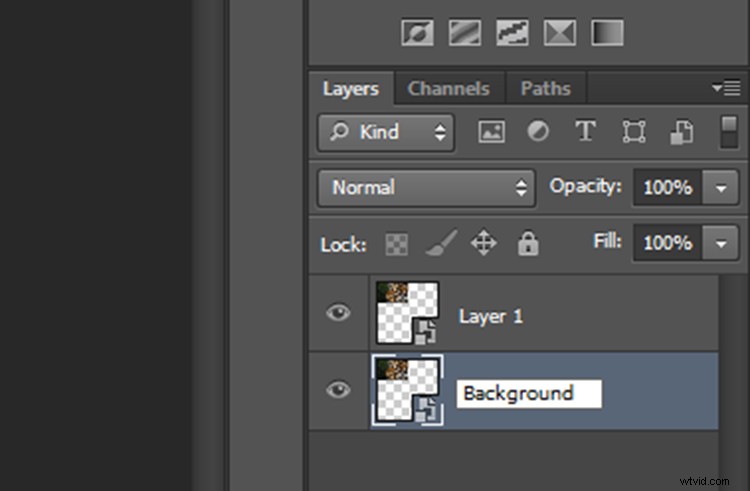
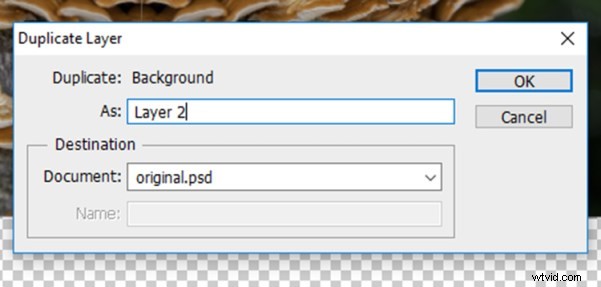
In the Duplicate Layer prompt, rename this layer as “Layer 1” as we will be duplicating a number of layers over the next few steps. Click OK and a new layer will appear in the layers panel.
Rename the original image layer as “Background” by double clicking on the name “Layer 0” in the layers panel. This will help avoid confusion later.
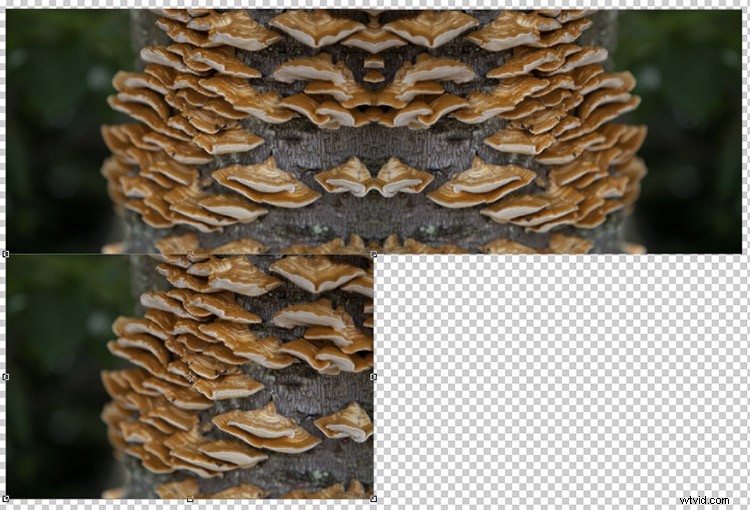
At the moment, both layers will be in the same spot on the canvas, with Layer 1 sitting on top of Background. With the Move Tool selected, click on the top layer, and with the left mouse button depressed, drag Layer 1 next to the Background image.
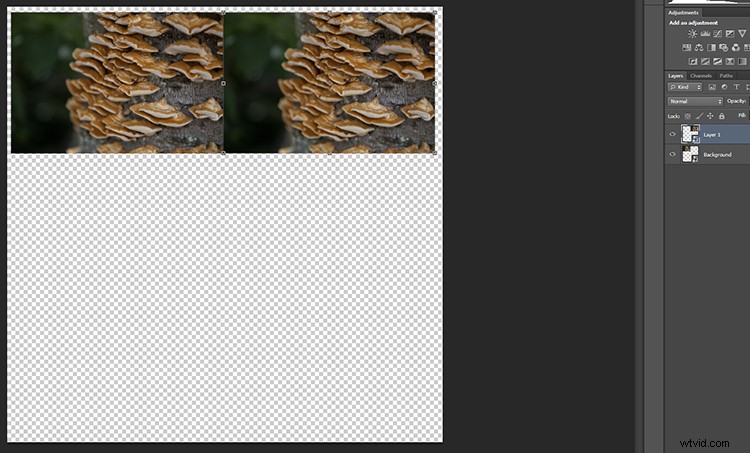
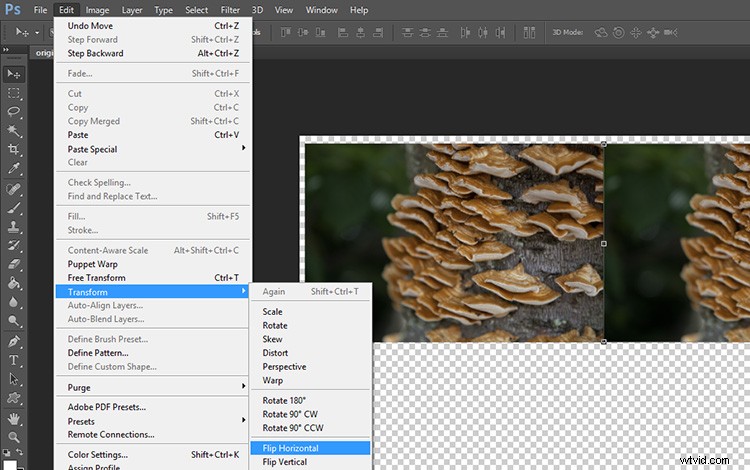
Keeping Layer 1 selected, click Edit on the main toolbar and then Transform > Flip Horizontal. Layer 1 will flip to create a mirrored image of the Background.
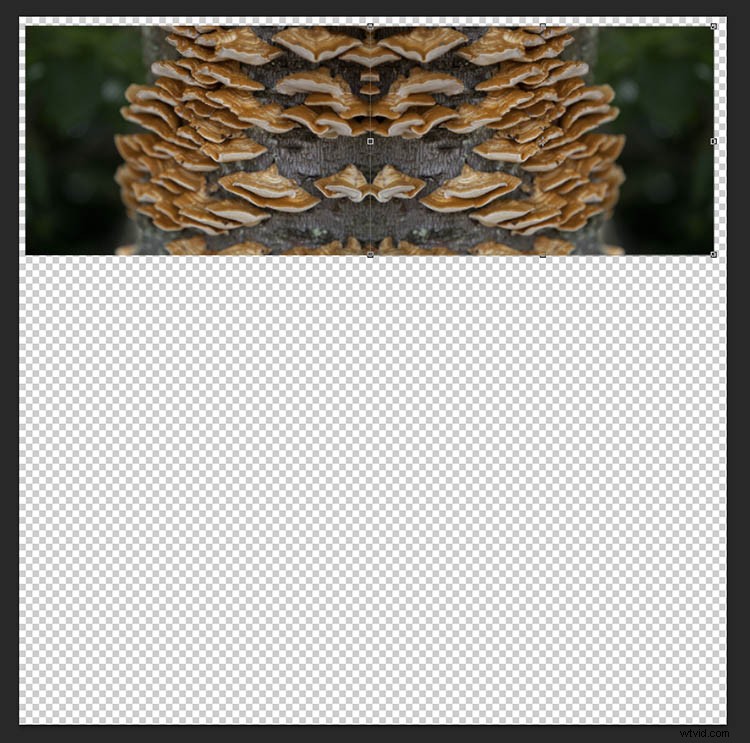
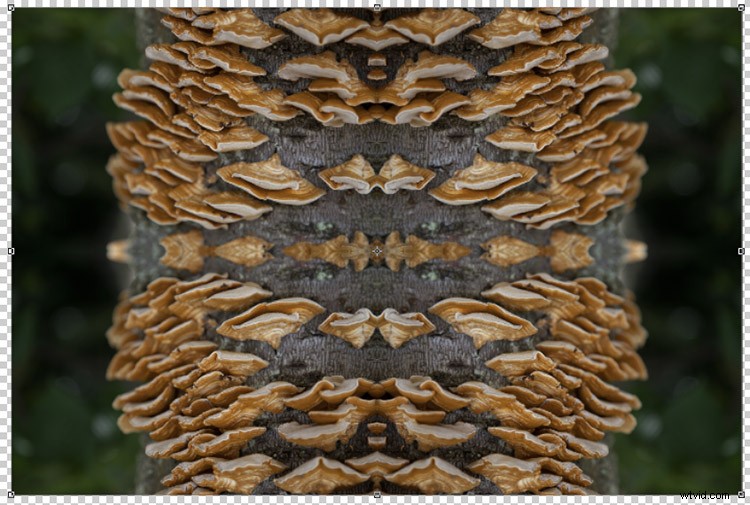
Your image should look something like this now.
Just two more to go!
Duplicate the Background layer again, and when the prompt window appears, rename it “Layer 2”.
With the Move Tool selected, click on the newly created Layer 2 (which will be over Background). Keep the left mouse button depressed, and drag Layer 2 underneath Background.
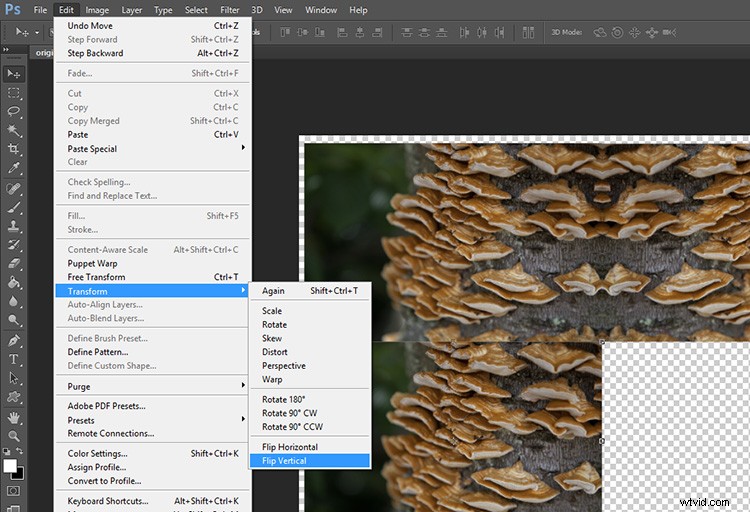
With Layer 2 selected, click Edit on the main toolbar and then Transform > Flip Vertical. Layer 2 will flip vertically to create a mirrored image of Background from below.
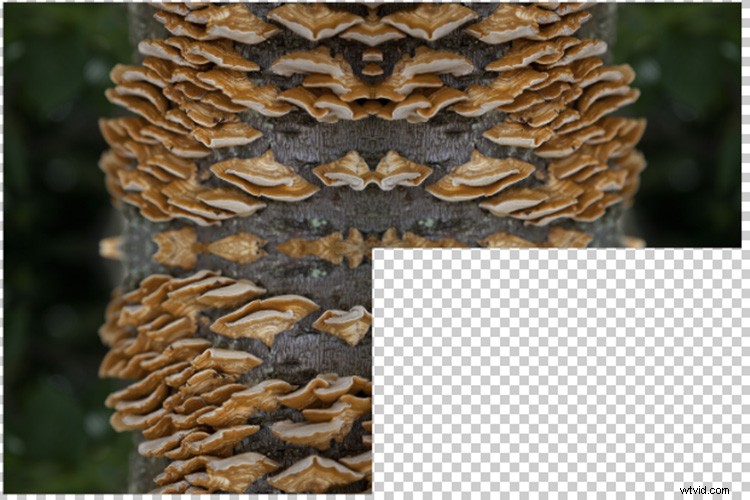
Duplicate Background one more time, this time naming the layer “Layer 3”. With the Move Tool selected, click on the newly created Layer 3 (which will be over Background) and with the left mouse button depressed, drag Layer 3 into the remaining slot to complete the rectangle.
With Layer 3 selected, click Edit on the main toolbar and then Transform > Flip Horizontal. To complete the pattern, keep Layer 3 selected click Edit on the main toolbar and then Transform > Flip Vertical.
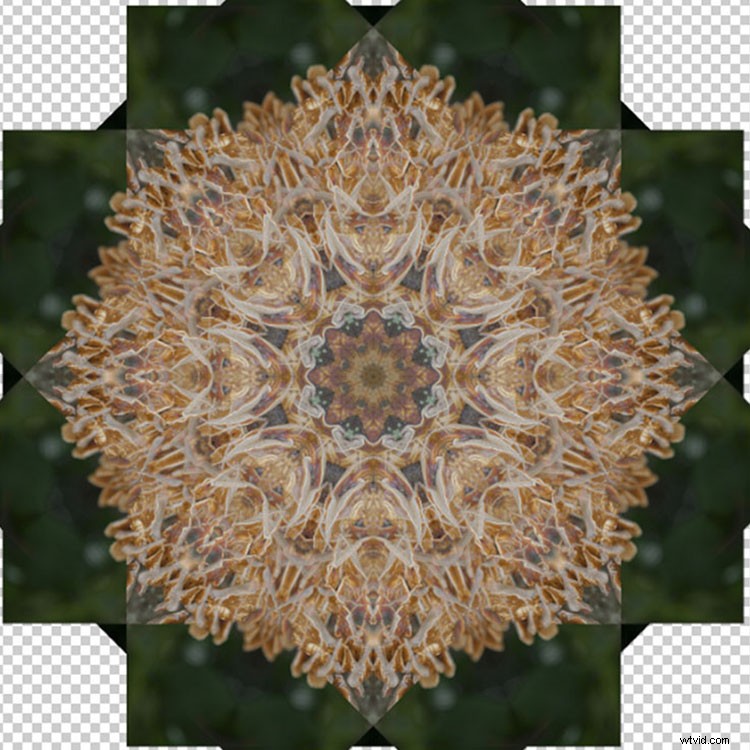
The next step is to merge the layers of the rectangle you have made so that it can be moved around as one layer. To do this, right-click on the layer titled Background in the layers panel and select Merge Visible.
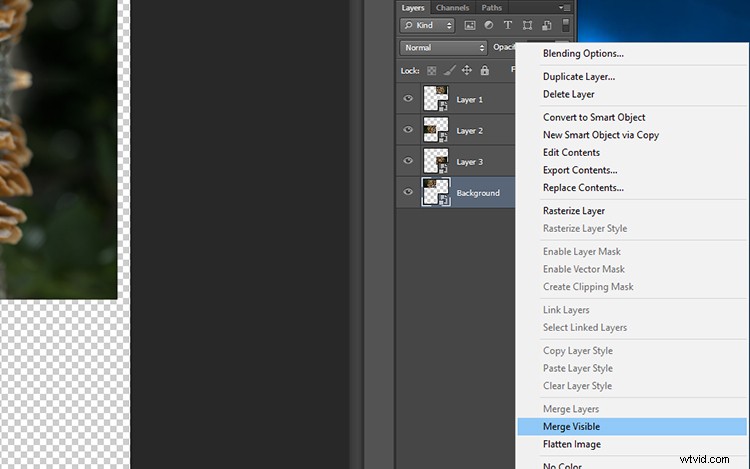
If it hasn’t done so automatically, it is a good idea to rename this merged layer as “Background” so it will be easier to keep track of which layers are where. You now have the template for your kaleidoscopic image!
Step 3 – Creating the kaleidoscope
Select the Background layer, and with the Move tool selected, drag the layer into the center of the canvas. Right-click on Background in the layers panel and select Duplicate Layer. Rename this layer as “Layer 1”.
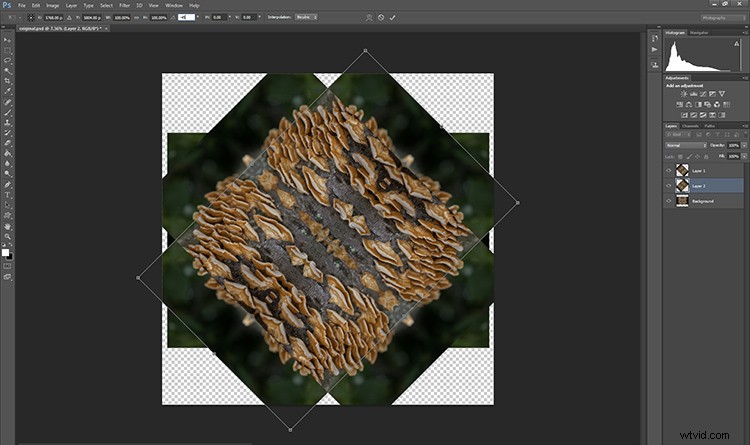
With Layer 1 selected, click Edit > Transform > Rotate.
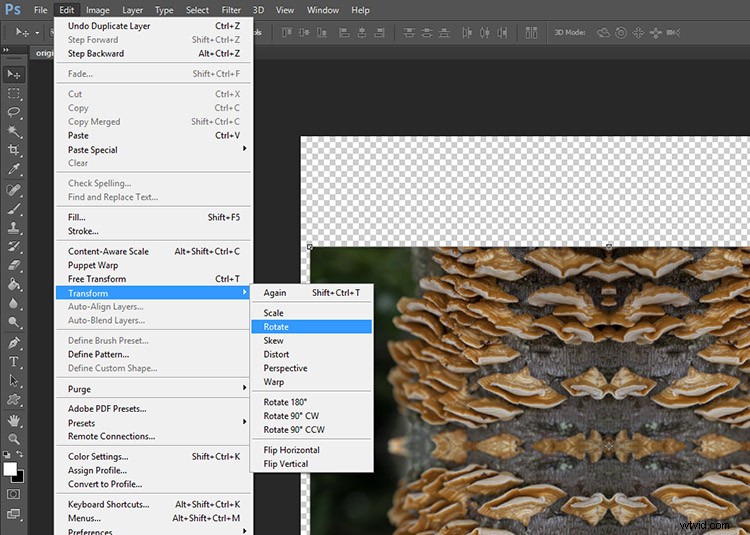
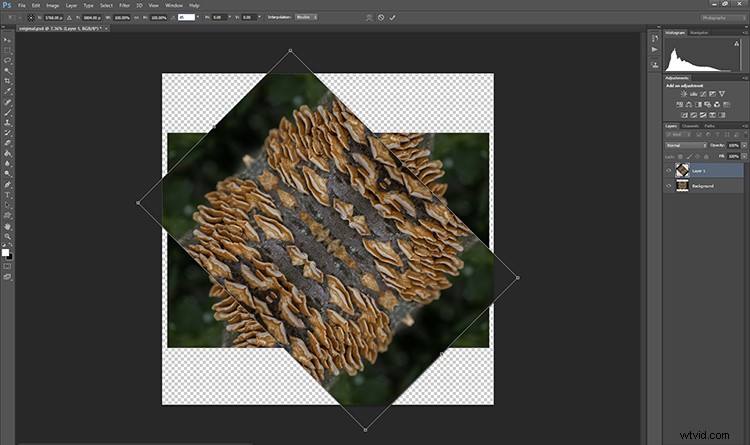
In the Transform settings panel, there is a text box next to the symbol of an angle. In this text box, type 45 and press enter. Layer 1 will be rotated to a 45-degree angle.

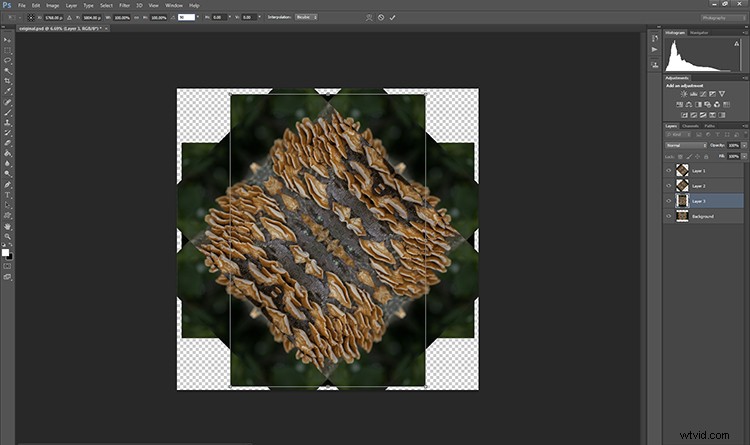
Duplicate Background again, this time renaming the layer “Layer 2”. With Layer 2 selected in the layers panel, click Edit > Transform > Rotate. In the Transform settings panel, in the text box next to the angle symbol, enter -45 and press enter.

Duplicate the Background layer one last time, renaming the layer “Layer 3”. With Layer 3 selected in the layers panel, click Edit > Transform > Rotate. In the Transform settings panel, in the text box next to the angle symbol, enter 90 and press enter. The layer will be rotated 90 degrees.

Step 4 – Blending Modes
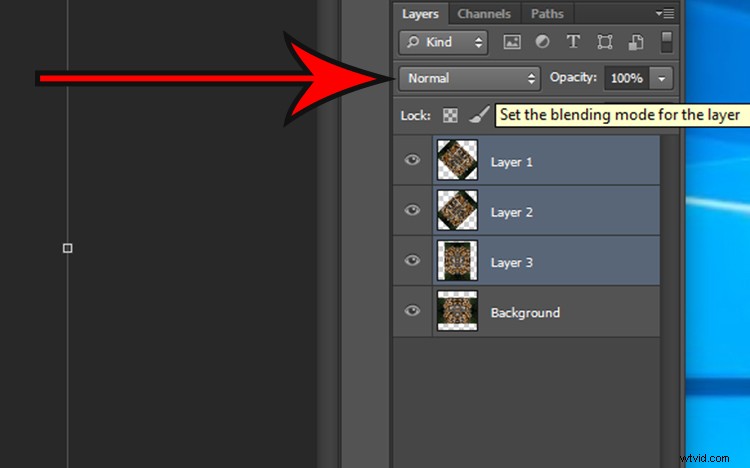
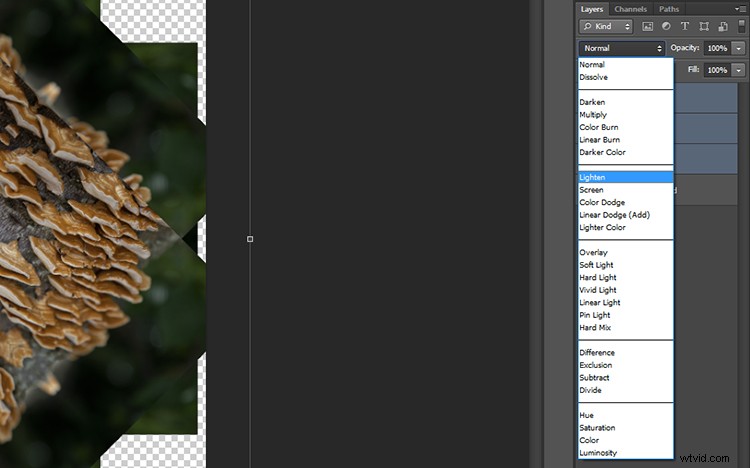
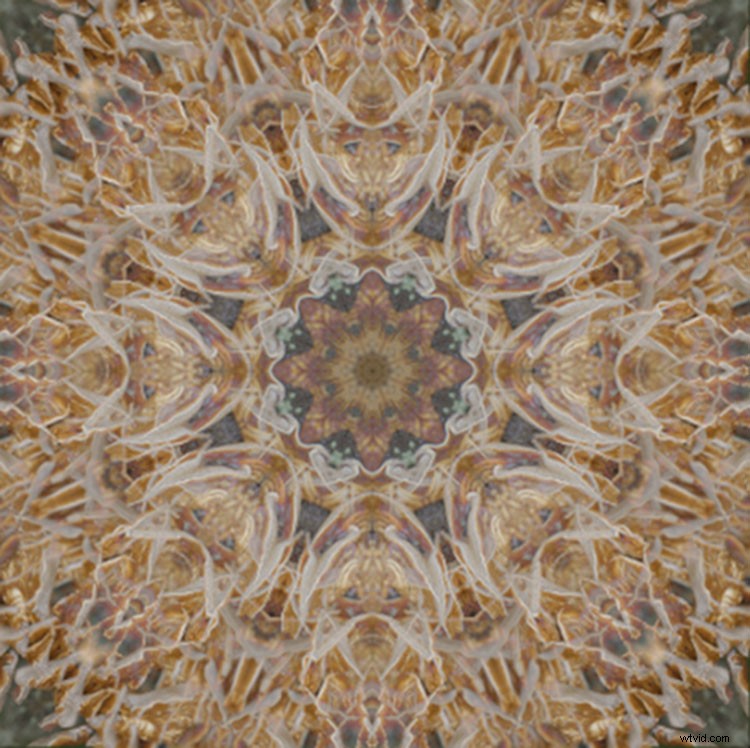
Select the top three layers in the layers panel by holding down the shift key and clicking on Layers 1, 2, and 3. With the layers selected, click on the Blending Mode drop down menu (red arrow below) and select the Lighten option. The selected layers will blend to form a kaleidoscope pattern.
Crop it
To neaten up the image you can crop the edges of the kaleidoscope down to a square or rectangle. With the Crop Tool selected, hold the shift key on your keyboard and drag the corners of the Crop Tool over the image to create a square or rectangle. When you are happy, press enter and save the image via File > Save As.
Step 5 – Making a desktop background
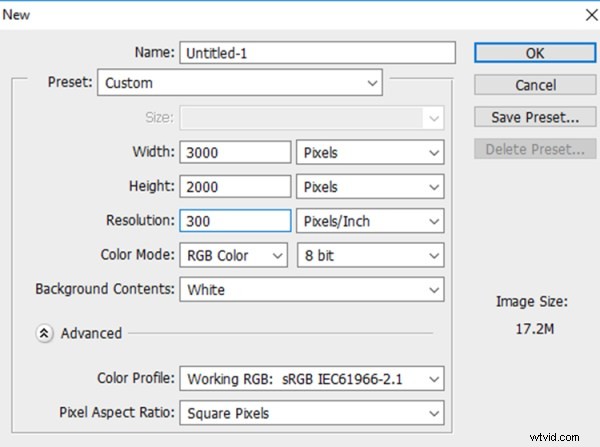
To make a wallpaper effect, open a new Photoshop document by selecting File > New and entering the dimensions 3000 pixels by 2000 pixels in the text boxes. Make sure the resolution set to at least 300 pixels/inch, so it will look nice on a large monitor screen.
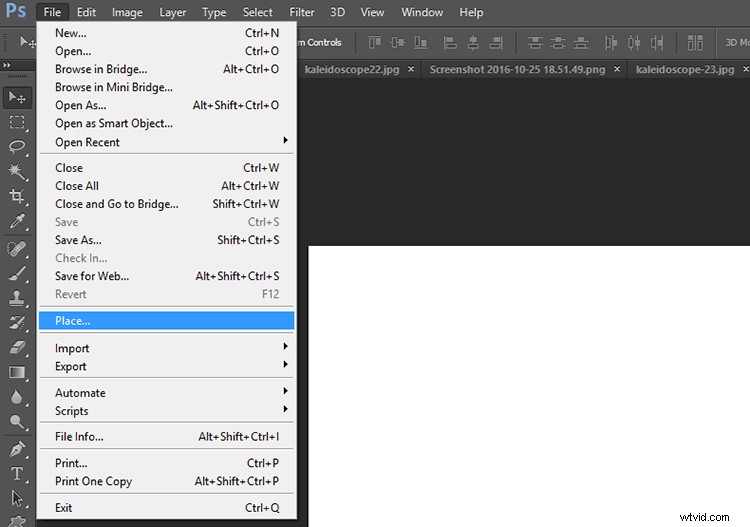
Select File > Place… and select your new kaleidoscope file.
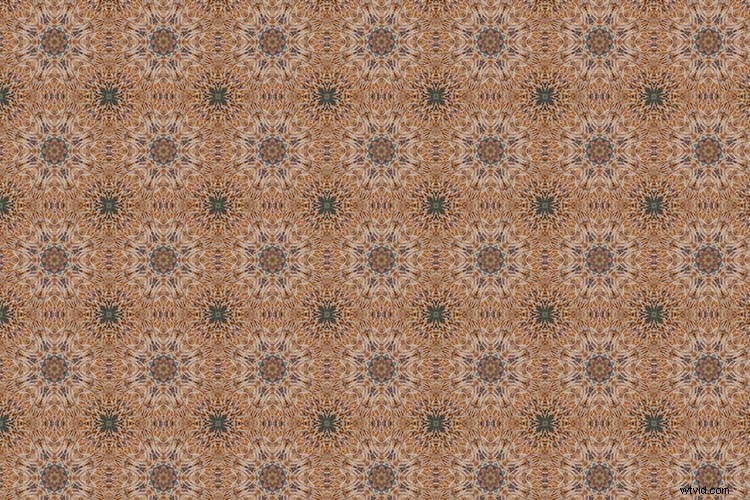
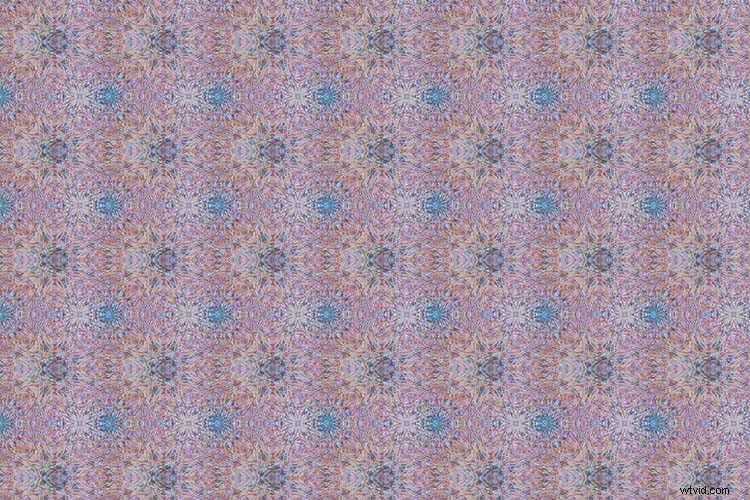
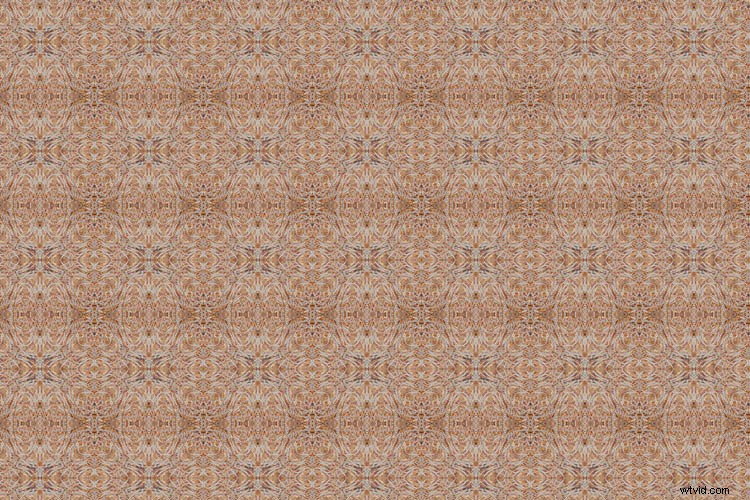
Once placed in the Photoshop canvas, you can choose to duplicate the image any number of times to create an interesting pattern, or add layers on top of one another and have fun experimenting with more Blending Modes. The possibilities are endless! Here are a few ideas.
Have you done this technique before to make a kaleidoscope pattern? Please share your results in the comments section below.