If you’re a gamer or a video enthusiast, capturing on‑screen moments quickly can be frustrating. EZ Grabber offers a straightforward, reliable solution for recording MPEG video directly from your desktop, supporting resolutions up to 720p and built‑in editing tools.
Download and Install EZ Grabber
Below is a step‑by‑step walkthrough to get EZ Grabber up and running on Windows 10. Follow these instructions carefully to avoid any hiccups.
Step 1: Download the Installer
After you download the EZ Grabber package, Windows will prompt you that a new hardware device has been detected. Click Cancel to dismiss the message.

Step 2: Run the CD Setup
Insert the CD (or use the downloaded ISO) and let Windows automatically launch the driver installer. Click Run to begin the setup process.
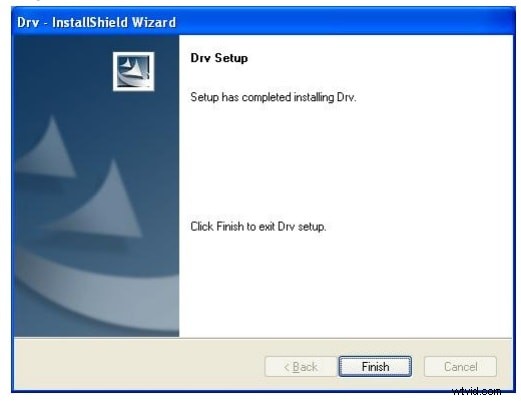
Step 3: Complete the Installation
Click Next and follow the on‑screen instructions until you see the Finish button, which confirms the device is installed.

Step 4: Ensure DirectX 9.0 Is Present
EZ Grabber requires DirectX 9.0. If it’s missing, Windows will prompt you to install it. Follow the installer to add the necessary components.
Step 5: Continue with Additional Components
Proceed through the wizard, clicking Next until all components are installed.
Step 6: Finalize the Setup
When prompted, click Next to begin the final configuration stage.
Step 7: Install Windows Media Format 9
A dialog will appear asking if you want to install Windows Media Format 9. Select Yes to continue.
Step 8: Reboot and Verify
Restart your computer, then look for the EZ Grabber icon in the system tray. Its presence confirms a successful installation.
Using EZ Grabber
Once installed, the following steps will help you master EZ Grabber’s core features.
Recording
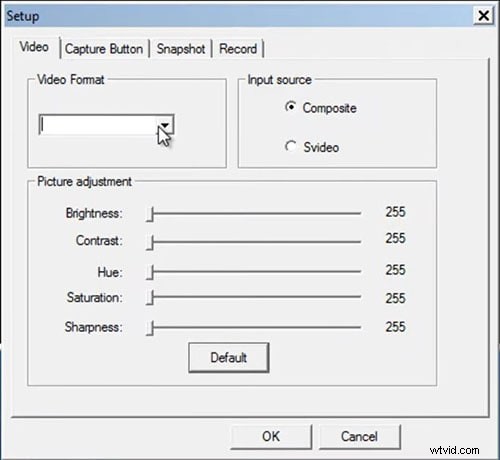
Press the Record button to start capturing your screen. EZ Grabber stores recordings as compressed MPEG files, which saves space without sacrificing quality. When finished, click the same button to stop. Files are saved automatically in the default location.
Additional settings are available in the Setup panel to customize frame rate, resolution, and audio capture.
Screenshot
While viewing any content, press the Snapshot button to capture a still image. The image is saved in BMP format by default.
Playback
Double‑click a recording to open it in EZ Grabber’s built‑in player. The interface shows the file’s location, allowing you to manage your clips easily.
Alternative: Filmora for Screen Recording
If EZ Grabber’s feature set feels limited, Filmora offers a modern, versatile screen‑recording experience. Below are three methods to record your desktop with Filmora.
- Method 1: Use the Record on PC screen button on Filmora’s startup screen.
- Method 2: Navigate to the player panel, click File → Record, and choose between webcam, screen, or voice‑over recording.
- Method 3: Combine webcam, screen, and voice‑over in a single session.
Step 1: Choose Recording Mode
On Filmora’s main screen, click the rectangle icon on the left to start recording. Pick Full screen, Custom, or Target window as needed.
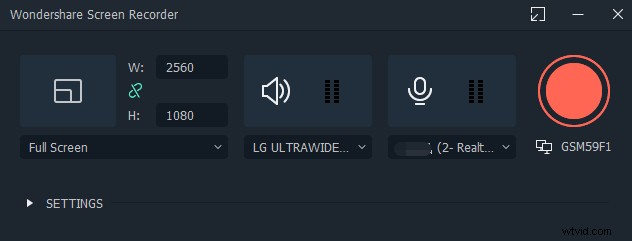
Configure microphone input and mute the system audio if desired.
Step 2: Configure Settings
- Click the settings icon in the lower‑right corner to choose the destination folder.
- Adjust quality and frame rate under the Quality menu.
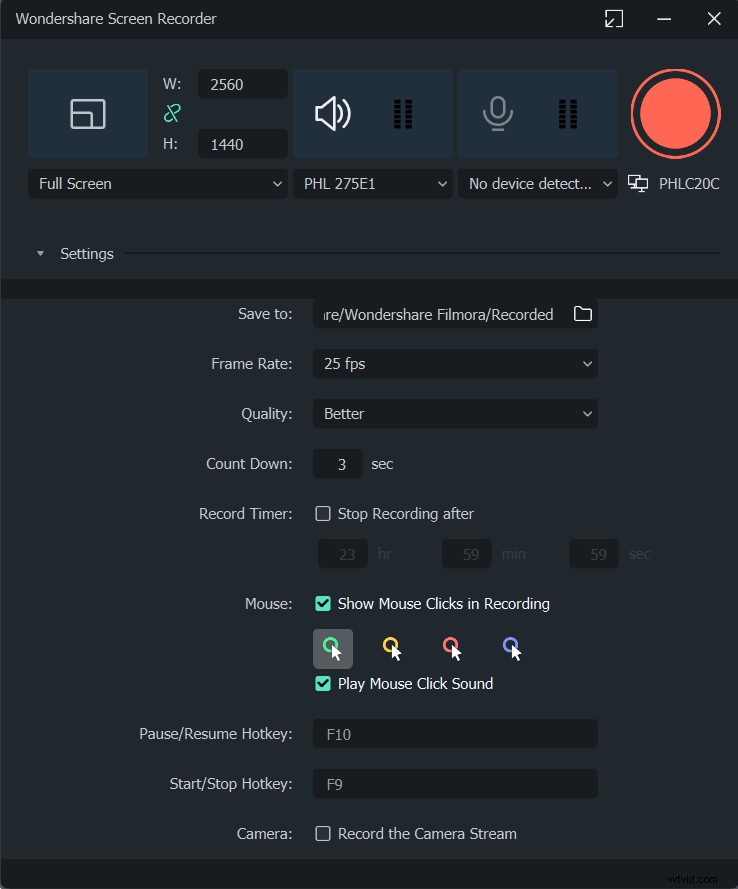
Step 3: Advanced Options
Toggle whether to display the mouse cursor and set a timer for automatic start/stop.
Step 4: Start Recording
Click the record button; a three‑second countdown will precede the capture. Press F9 to stop mid‑session. Your video will be saved in the Filmora folder for immediate editing.
Conclusion
EZ Grabber remains a solid choice for quick, lightweight screen recording, especially if you need MPEG output up to 720p. Should you require more advanced editing features or multi‑source recording, Filmora offers a robust, user‑friendly alternative. Try both to determine which best suits your workflow.