After finishing a video edit, you may notice uneven, noisy, or hard‑to‑hear audio. The Essential Sound panel in Adobe Premiere Pro is designed to tackle these issues by balancing levels, reducing background noise, and enhancing overall clarity.
By grouping audio into categories—Dialogue, Music, SFX, and Ambience—the panel streamlines adjustments, giving you a polished mix without the need for external plugins.
In this guide, we’ll walk through the panel’s capabilities, show you how to use it in detail, and offer a faster alternative for those who prefer a more automated workflow.

What Essential Sound in Premiere Pro Can Do
The panel organizes audio into four distinct types, each with controls that address common problems:
| Category | Purpose |
|---|---|
| Dialogue | Enhances speech clarity by reducing background noise, adjusting volume, and boosting presence. |
| Music | Balances background music, fine‑tunes loudness, and shapes tone to complement dialogue and effects. |
| SFX (Sound Effects) | Controls dynamics so effects stand out without overpowering the mix. |
| Ambience | Maintains atmospheric sound while preventing clashes with other tracks. |
Step‑by‑Step: Using the Essential Sound Panel
Follow these steps to get the most out of the panel:
- Open the Panel
Go to Window > Essential Sound to display the workspace. - Assign an Audio Type
Select a clip on the timeline, then choose Dialogue, Music, SFX, or Ambience. The panel will reveal controls specific to that category.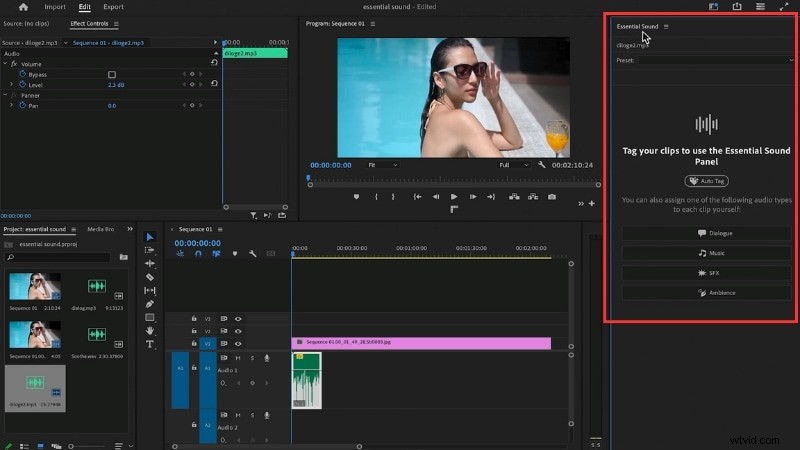
- Auto‑Match Loudness
Click Auto‑Match to normalize volume across clips, ensuring a consistent level.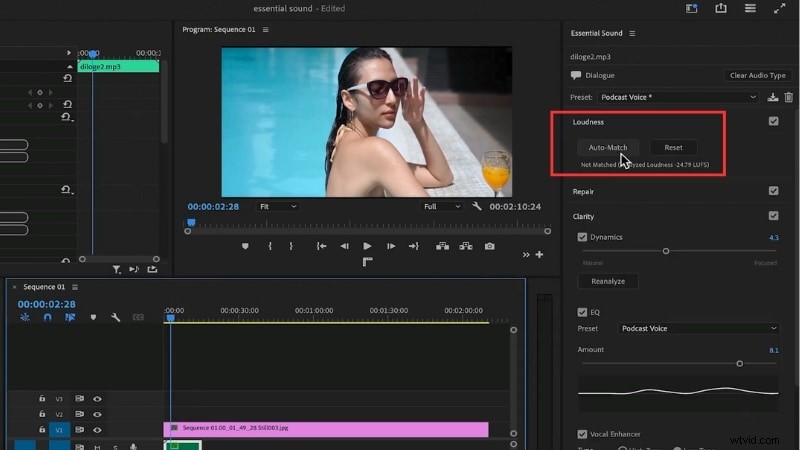
- Repair Common Issues
Use the Repair sliders to reduce noise, hum, rumble, and excess reverb without altering the main sound.
- Enhance Clarity
Apply EQ, dynamics, or the Vocal Enhancer for dialogue; adjust tone and dynamics for music and ambience to highlight key details.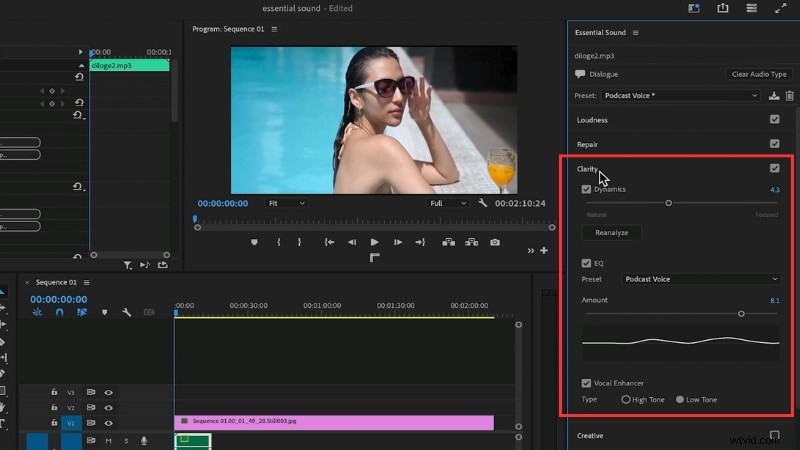
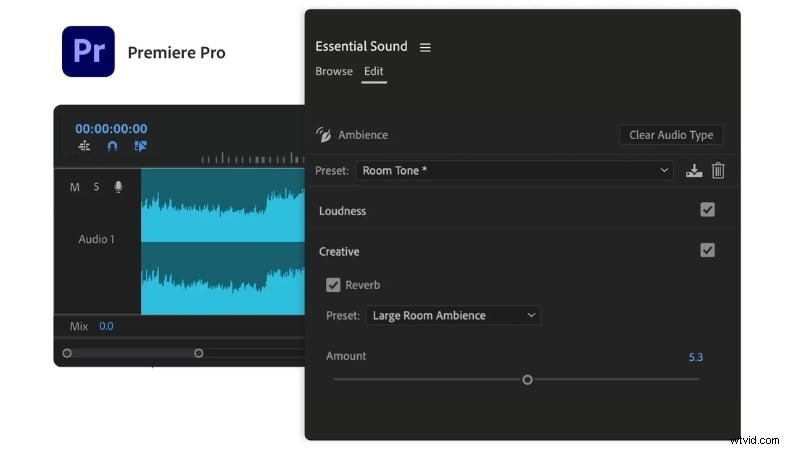
- Add Creative Touches
Once fundamentals are set, experiment with radio‑style presets, reverb for depth, or richer ambience layers.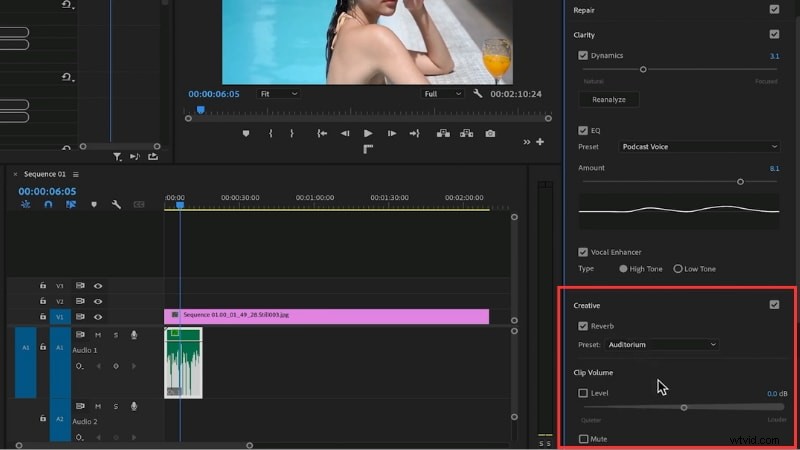
Pros & Cons
Like any tool, the Essential Sound panel has strengths and limitations.
- Pros
• Simplifies audio editing by grouping tools. • Auto‑Match loudness saves time. • Built‑in repair tools handle noise and reverb. • Works directly inside Premiere Pro. - Cons
• Less granular than Adobe Audition for advanced users. • May not fully fix heavily damaged audio. • Presets can feel restrictive for complex mixes. • Full manual control is limited.
Alternative Workflow: Filmora’s AI‑Powered Audio Tools
If the panel’s many settings feel overwhelming, Filmora offers a streamlined, AI‑driven solution. It automates volume balancing, clarity, and noise reduction in a few clicks.
Filmora vs. Premiere Pro Essential Sound
Below is a quick comparison of how each platform handles core audio tasks.
- Open the Audio Tab
Import your media, select a track, and go to Audio > Basic for Filmora’s AI features.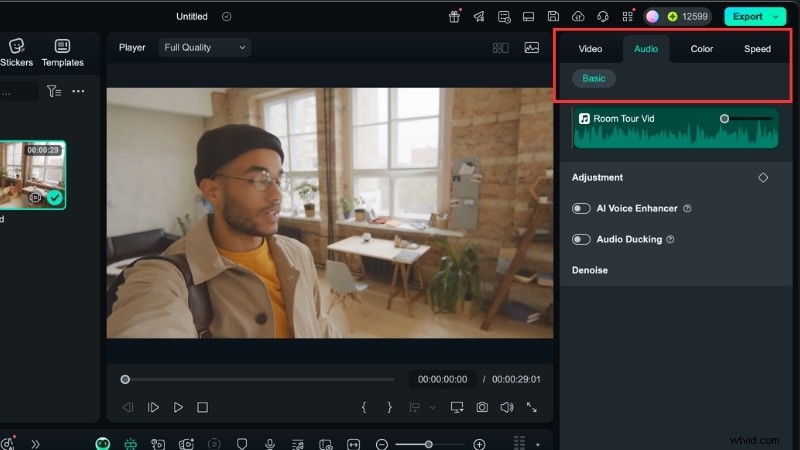
- Apply AI Audio Enhancer
Toggle the enhancer, choose Quick or Enhanced mode, and adjust Voice Clarity and Beautification sliders.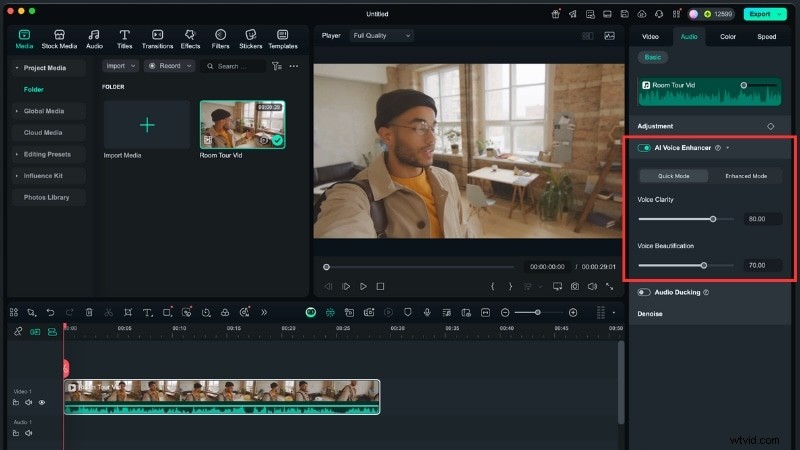
- Use Audio Ducking
Automatically lower music when dialogue is present.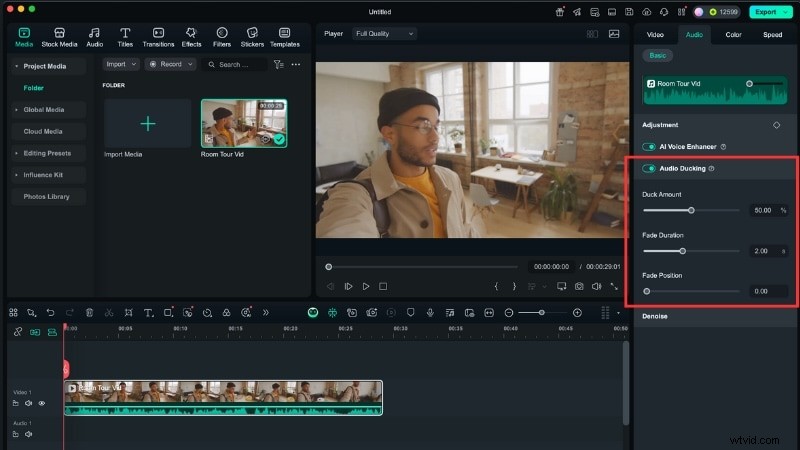
- Clean Up Background Noise
Activate AI Denoise, Normal Denoise, DeReverb, Hum Removal, or Hiss Removal with simple toggles.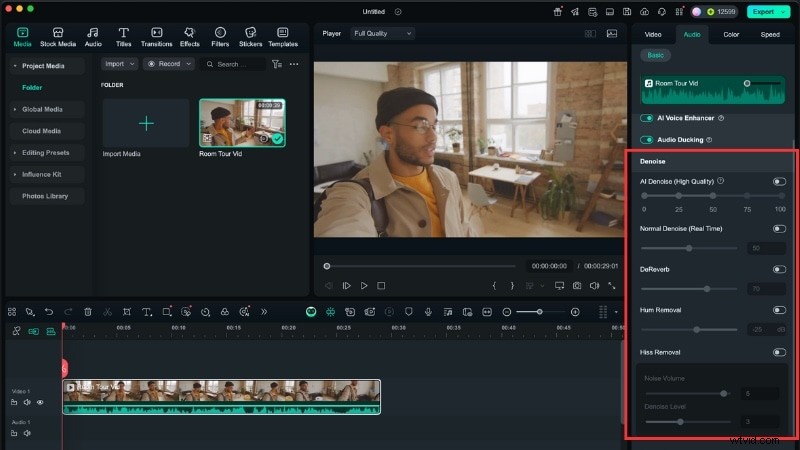
- Optional Creative Enhancements
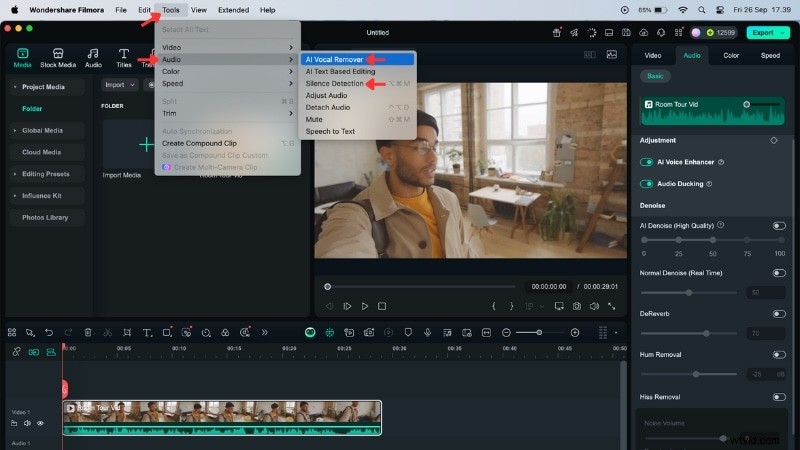
• AI Voice Removal and Silence Detection (Tools > Audio).
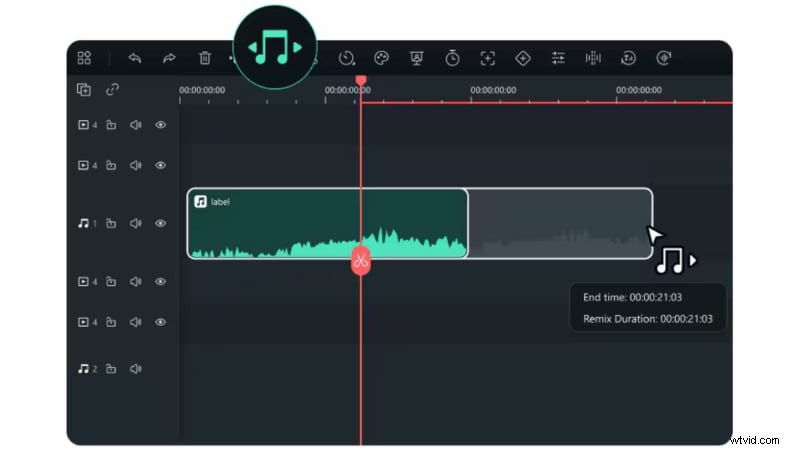
• Audio Stretch to match music length to video duration.
Why Filmora?
- Automated workflow: volume balancing, clarity, and noise reduction in one place.
- Time‑saving features like Silence Detection and Audio Ducking.
- Creative tools—Vocal Removal, Audio Stretch, Voice Changer—for experimentation.
- Beginner‑friendly interface and flexible pricing compared to Adobe’s subscription model.
Filmora delivers professional audio quality quickly while remaining approachable for creators of all skill levels.
Conclusion
The Essential Sound panel in Premiere Pro gives you powerful control over loudness, noise, and clarity. Assigning clips to categories like Dialogue, Music, or Ambience streamlines the editing process and produces a balanced mix.
If you’re looking for a faster, less complex solution, Filmora’s AI tools provide a simplified workflow that still achieves clean, polished audio.
Try Filmora for an easier editing experience and experience the difference for yourself.
